Quickbooks
Synchronization with Quick Books allows you to import data from ManageMart to Quick Books or export data from Quick Books to ManageMart. Thus, you can work with both programs separately, and keep records of them by using synchronization.
Please note that at this moment, Intuit can only synchronize its programs with online versions. The desktop version of Quick Books cannot be synchronized with the ManageMart software.
In this video we’ll tell you about how the ManageMart Quickbooks Synchronization features works.
How to search Employees
To get to the Quick Books Sync page you need to click on the “Money” menu item on left side navigation bar and than choose Quick Books Sync submenu item.
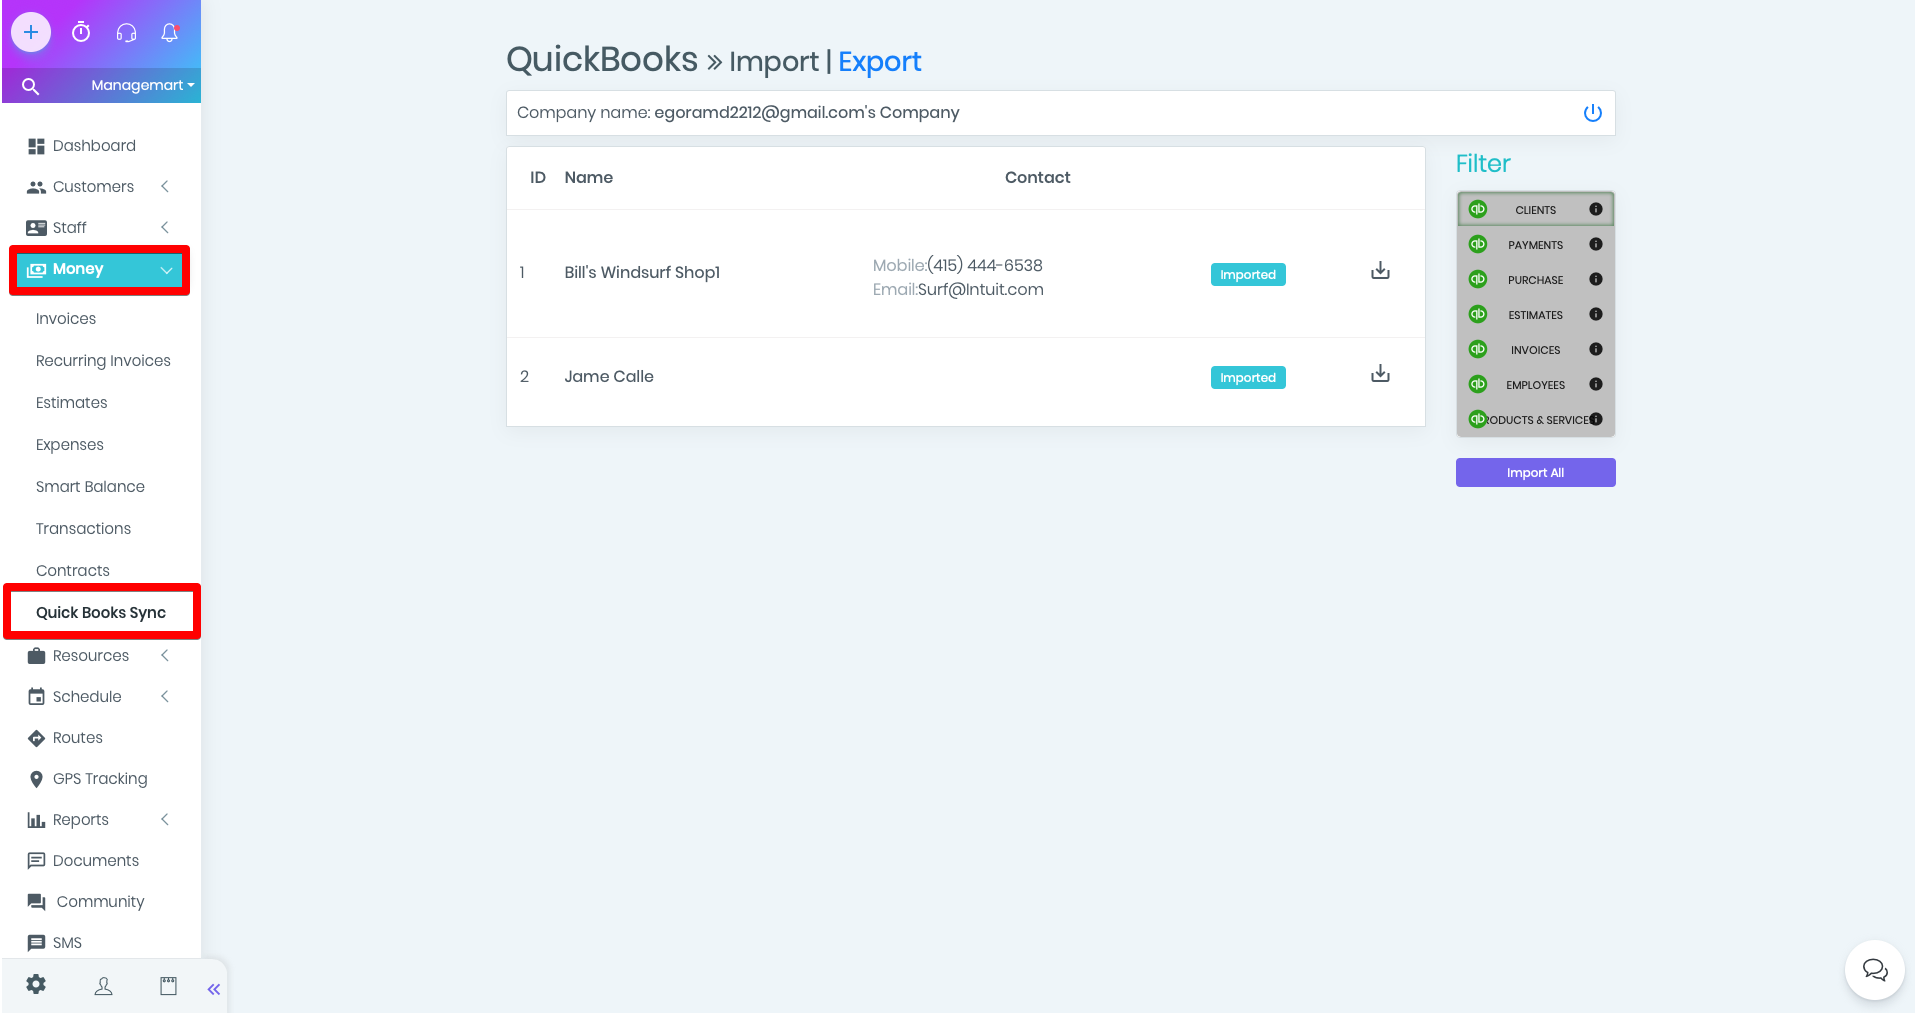
How this feature works
Before starting your work with, you should connect or create your QuickBooks. Simply, press button Connect on the main page of the feature.
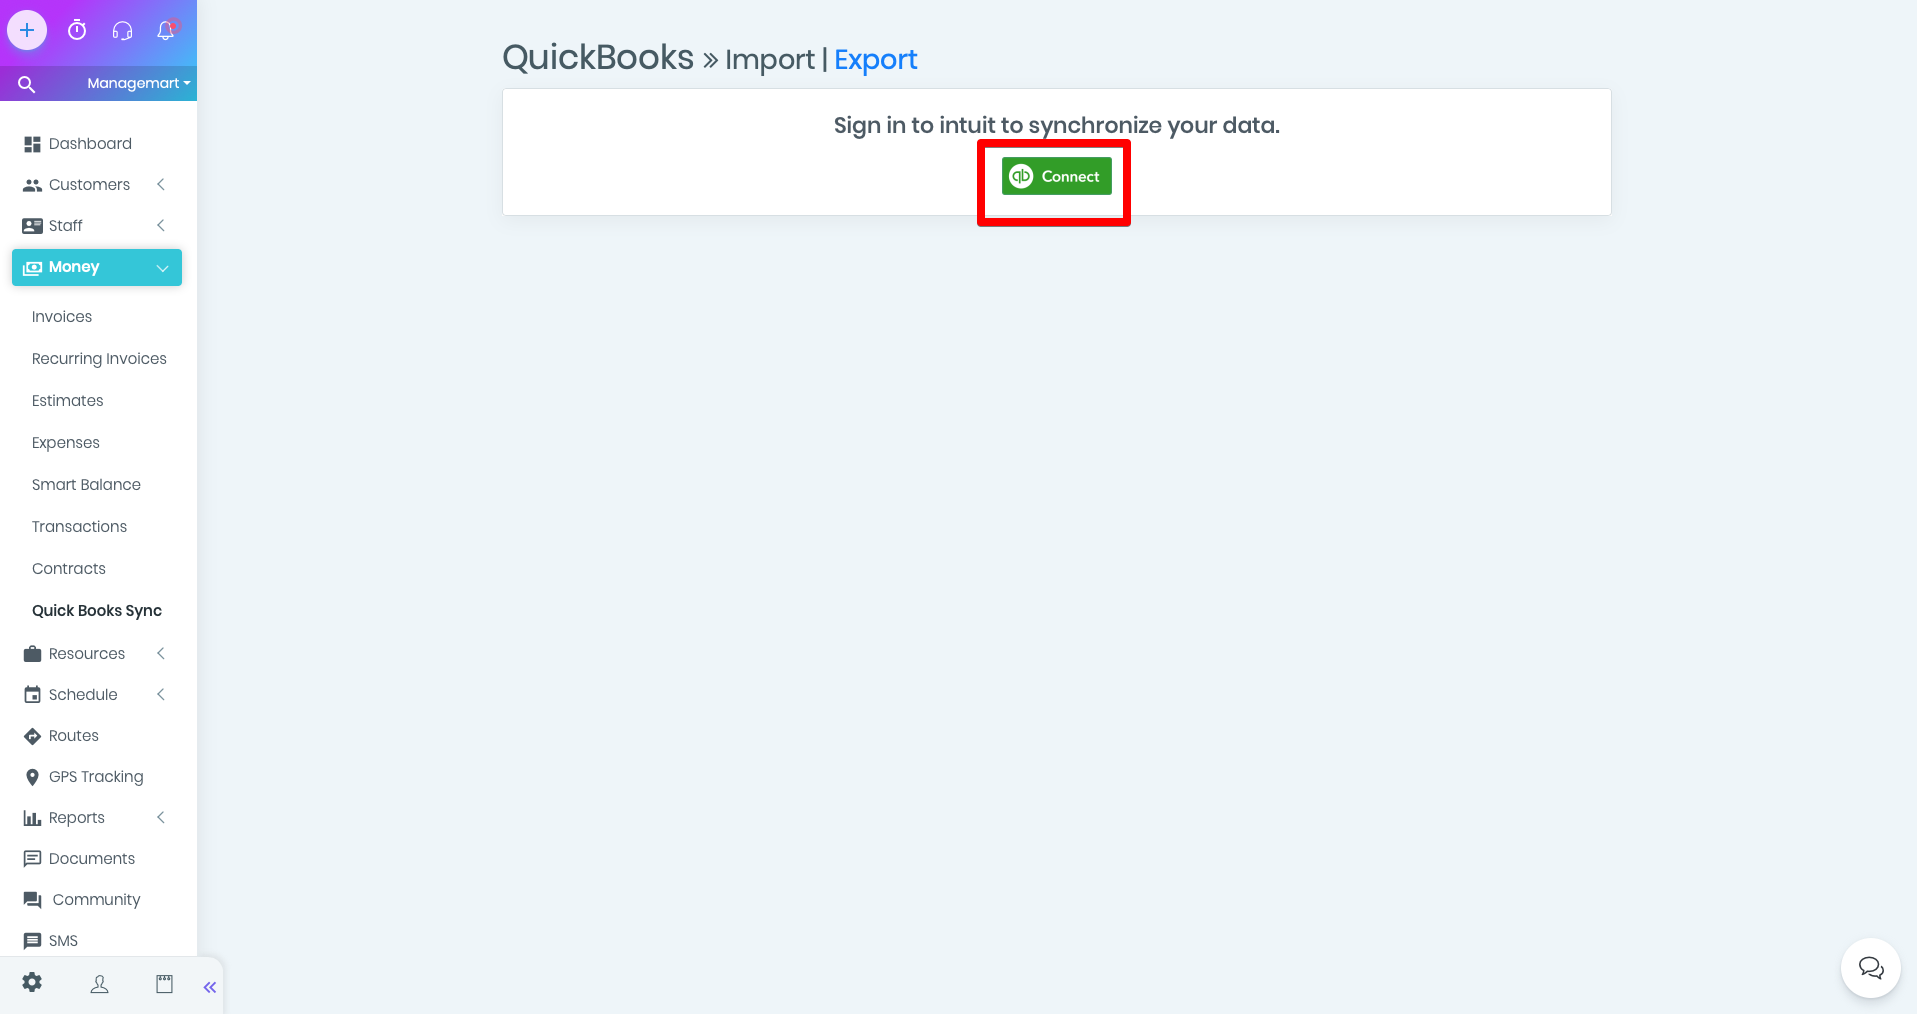
In the appeared window, please enter you login and password from QuickBooks account or create an account by following the instructions.
Once you do this, you will be taken back to the ManageMart synchronization page.
Import option
This are two different pages. One has an function responsible to export information, another to import.
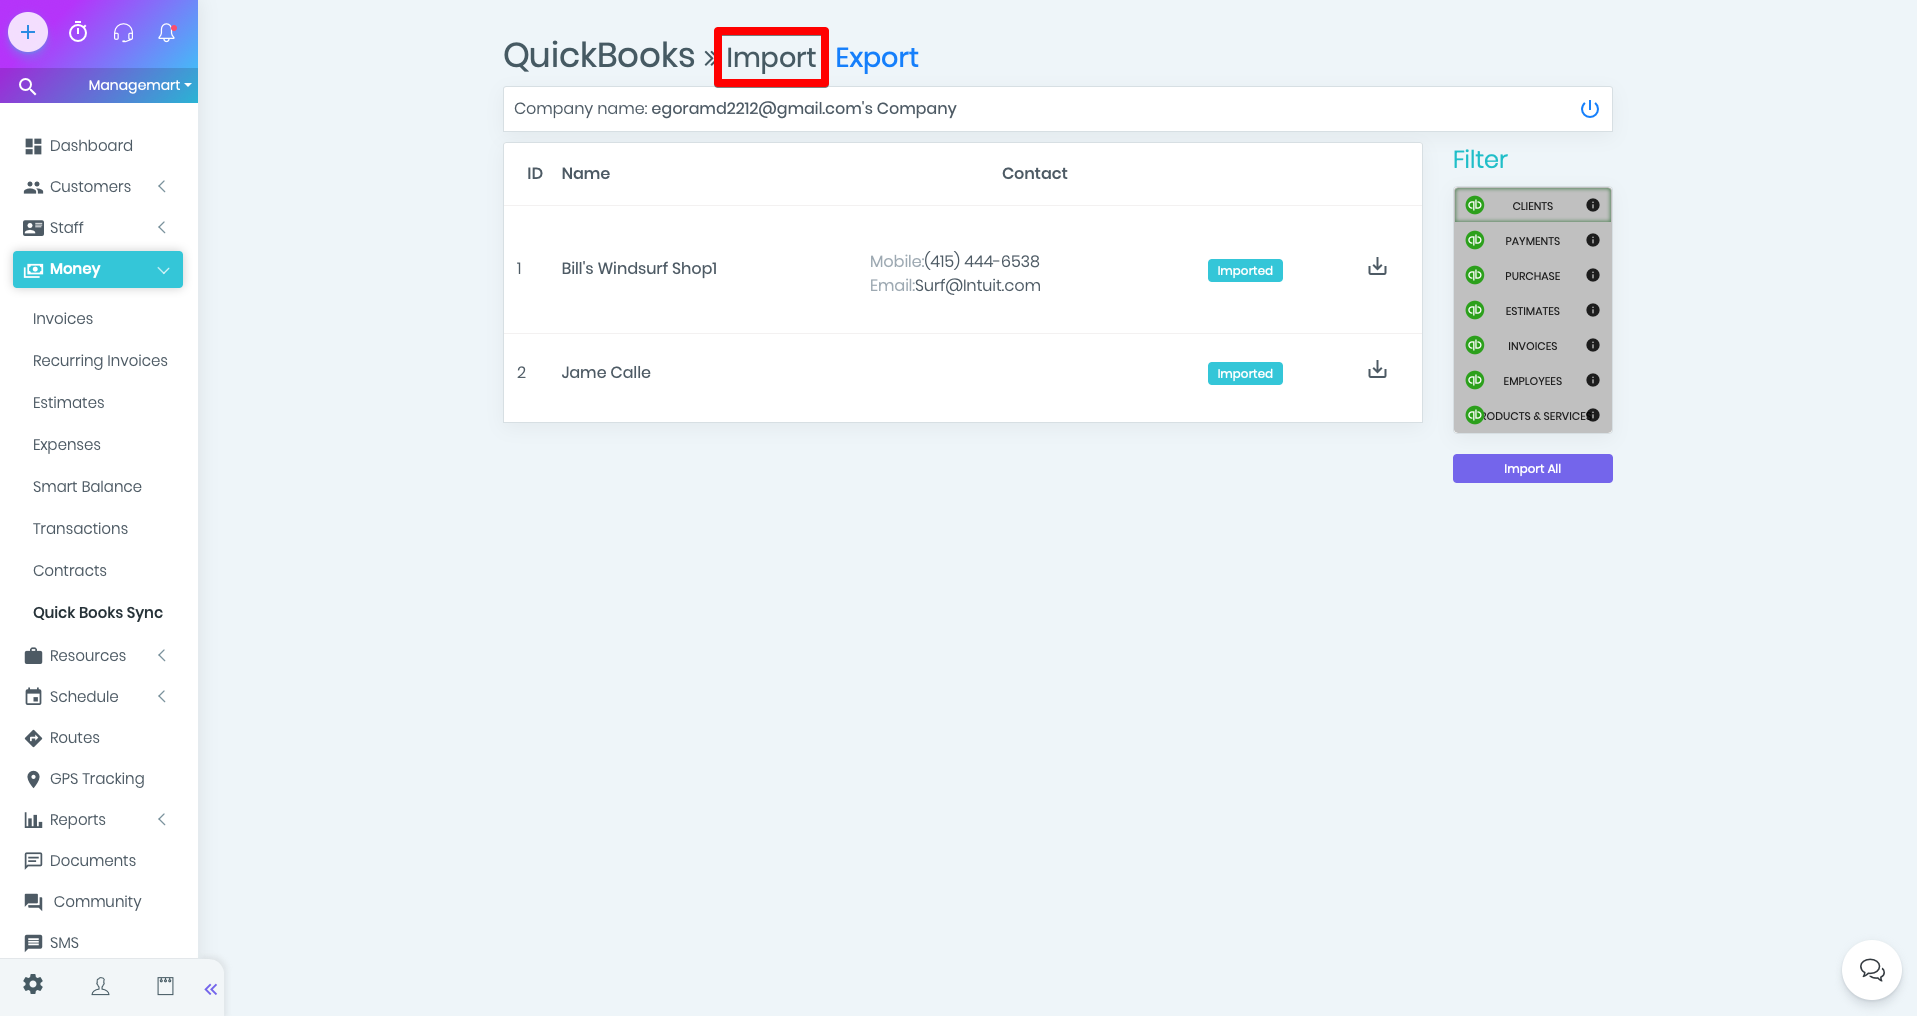
Import you can use when you need to synchronize data from Quick Books in ManageMart. The Company Name field will show your company name as it is entered into the Quick Books system.
Export option
Export you can use when you need to transfer data from ManageMart to Quick Books. So that you are not confused, the name of your company will be indicated in the Company Name field as it is entered into the ManageMart system.
If the data has already been exported, then the line will be marked Exported.
If not, only the download button will be displayed (down arrow).
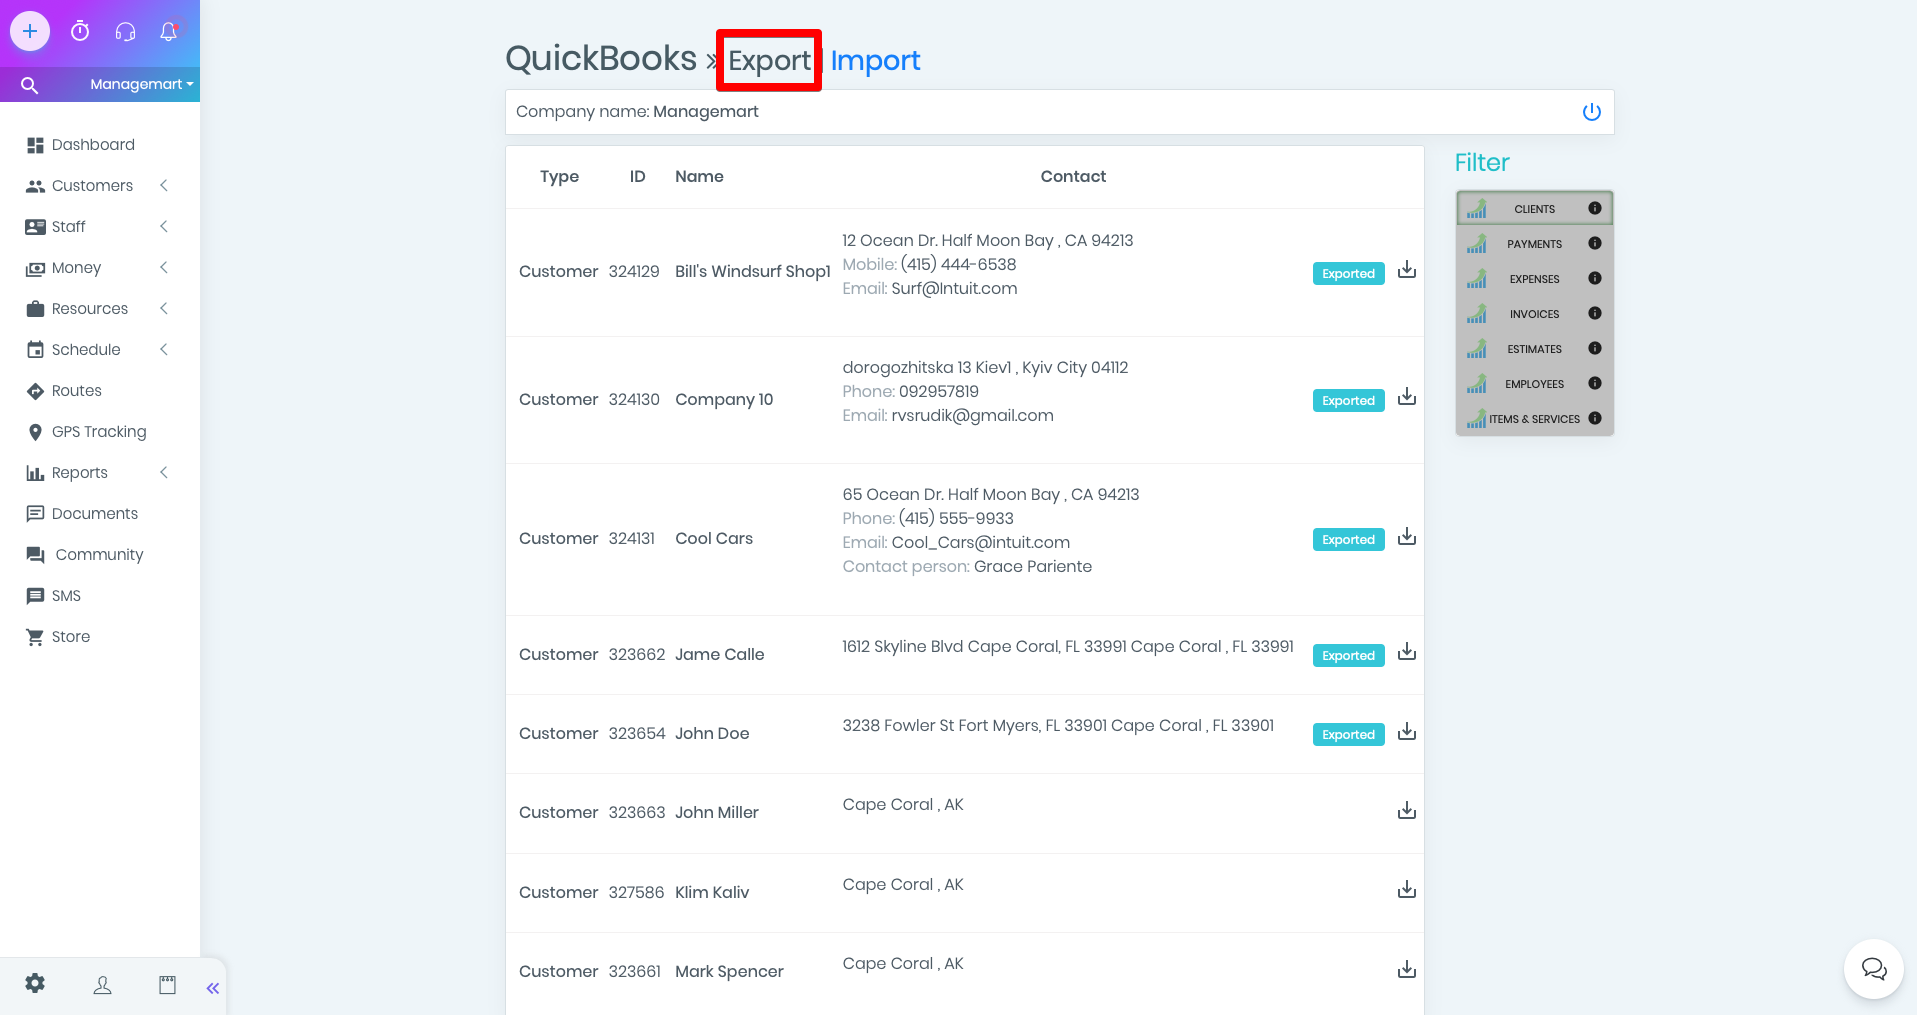
Also, if you make changes in the data in the ManageMart or QB system, then you should update them by re-exporting / importing. It will depend on where the data was changed and where they need to be synchronized. The Download button not only starts export but also can update previously exported/imported data, if it has been changed.
Interface
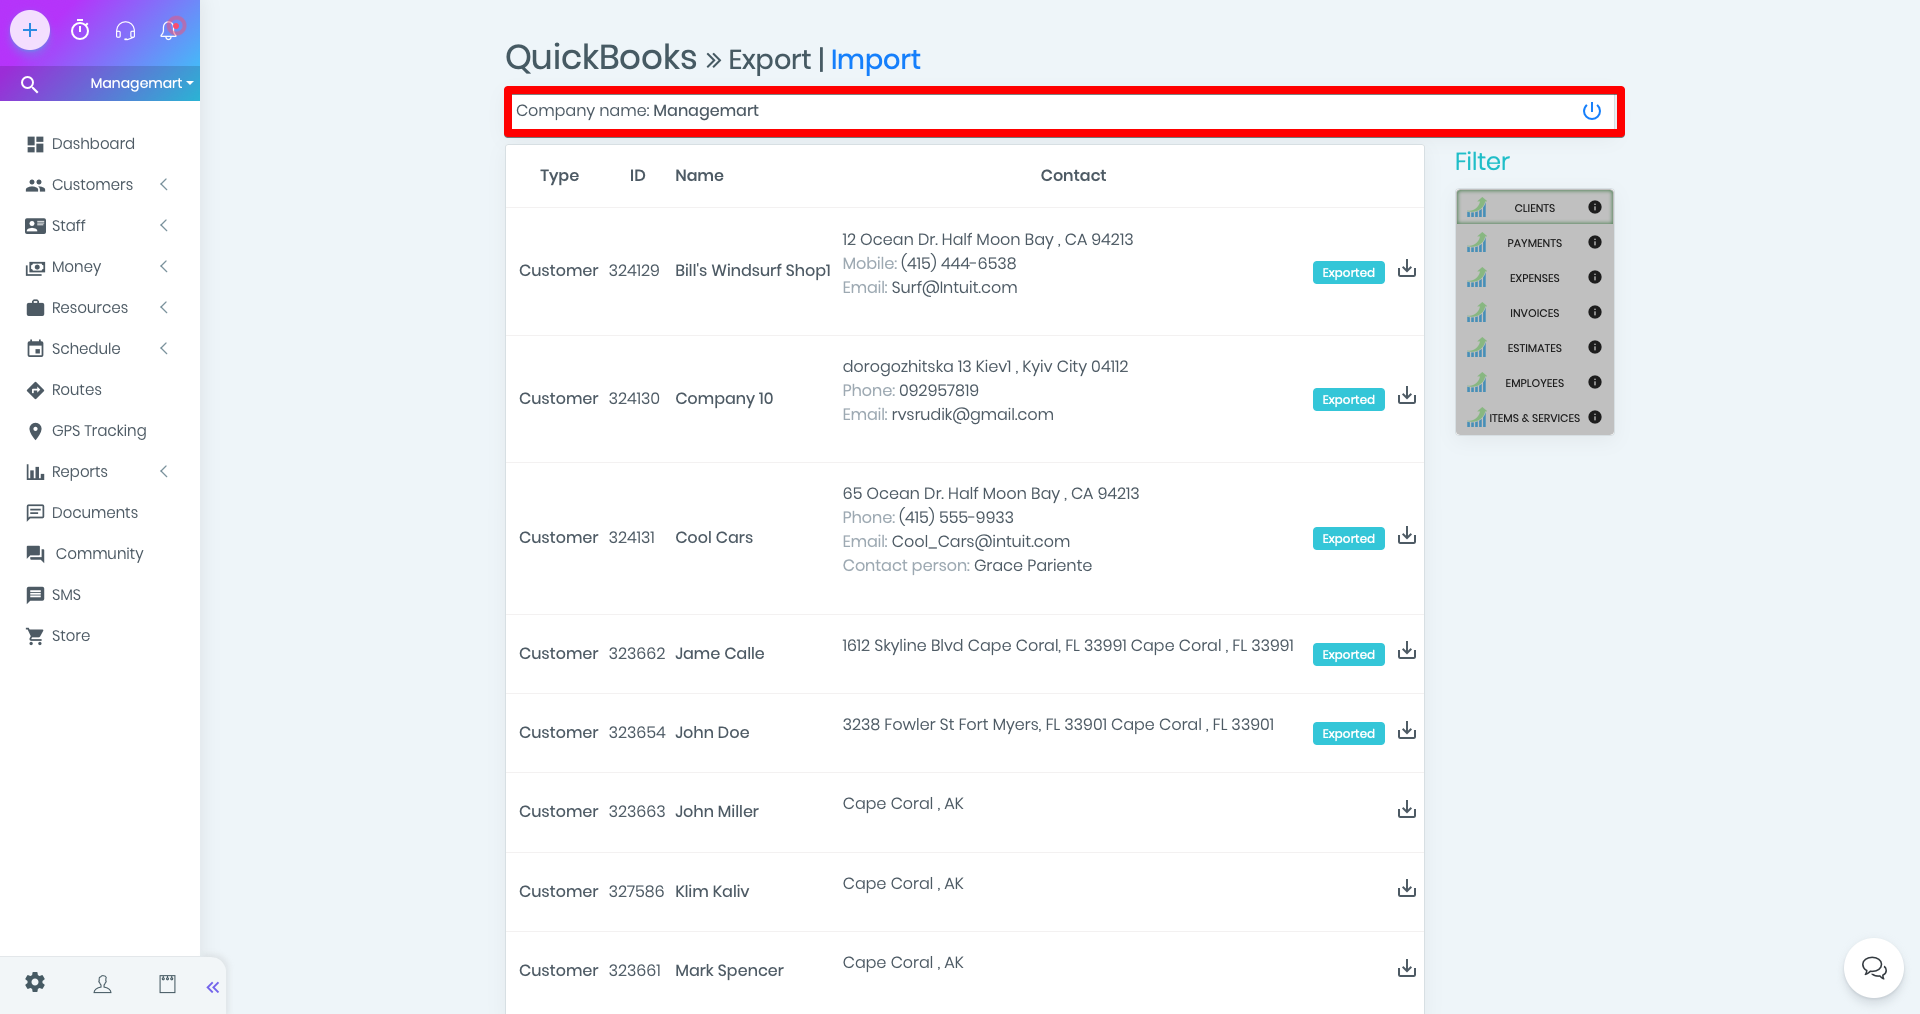
There is a button in the right corner of the Company Name. It is is an exit from the Quick Books account.
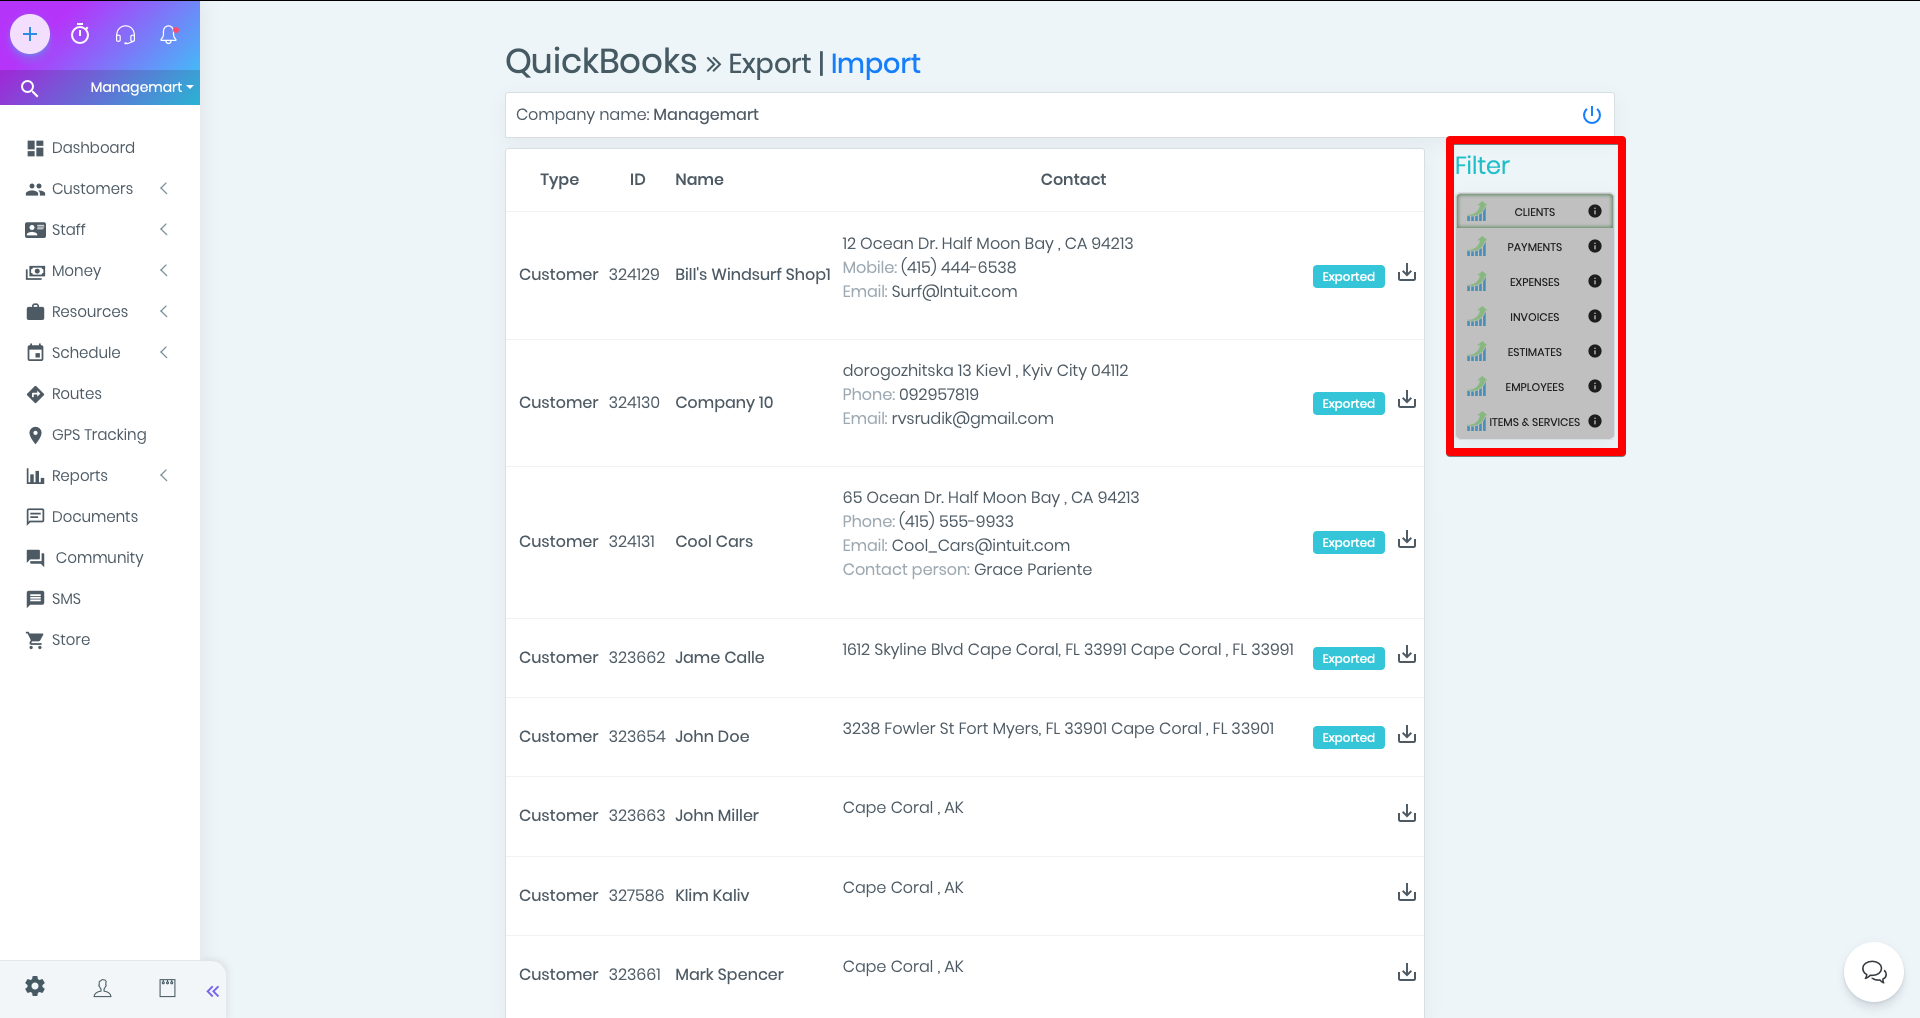
Filter
The data on the page will be displayed as a list.
In total there are 7 types of data that can be exported / imported. They are listed in the Filter section.
- Clients
- Payments
- Expenses
- Invoices
- Estimates
- Employees
- Items and services
The names of the data types are listed as they are called in our system. If you hover your cursor over the black circle with “i”, you will see how these kinds of data are called in the QuickBooks system.
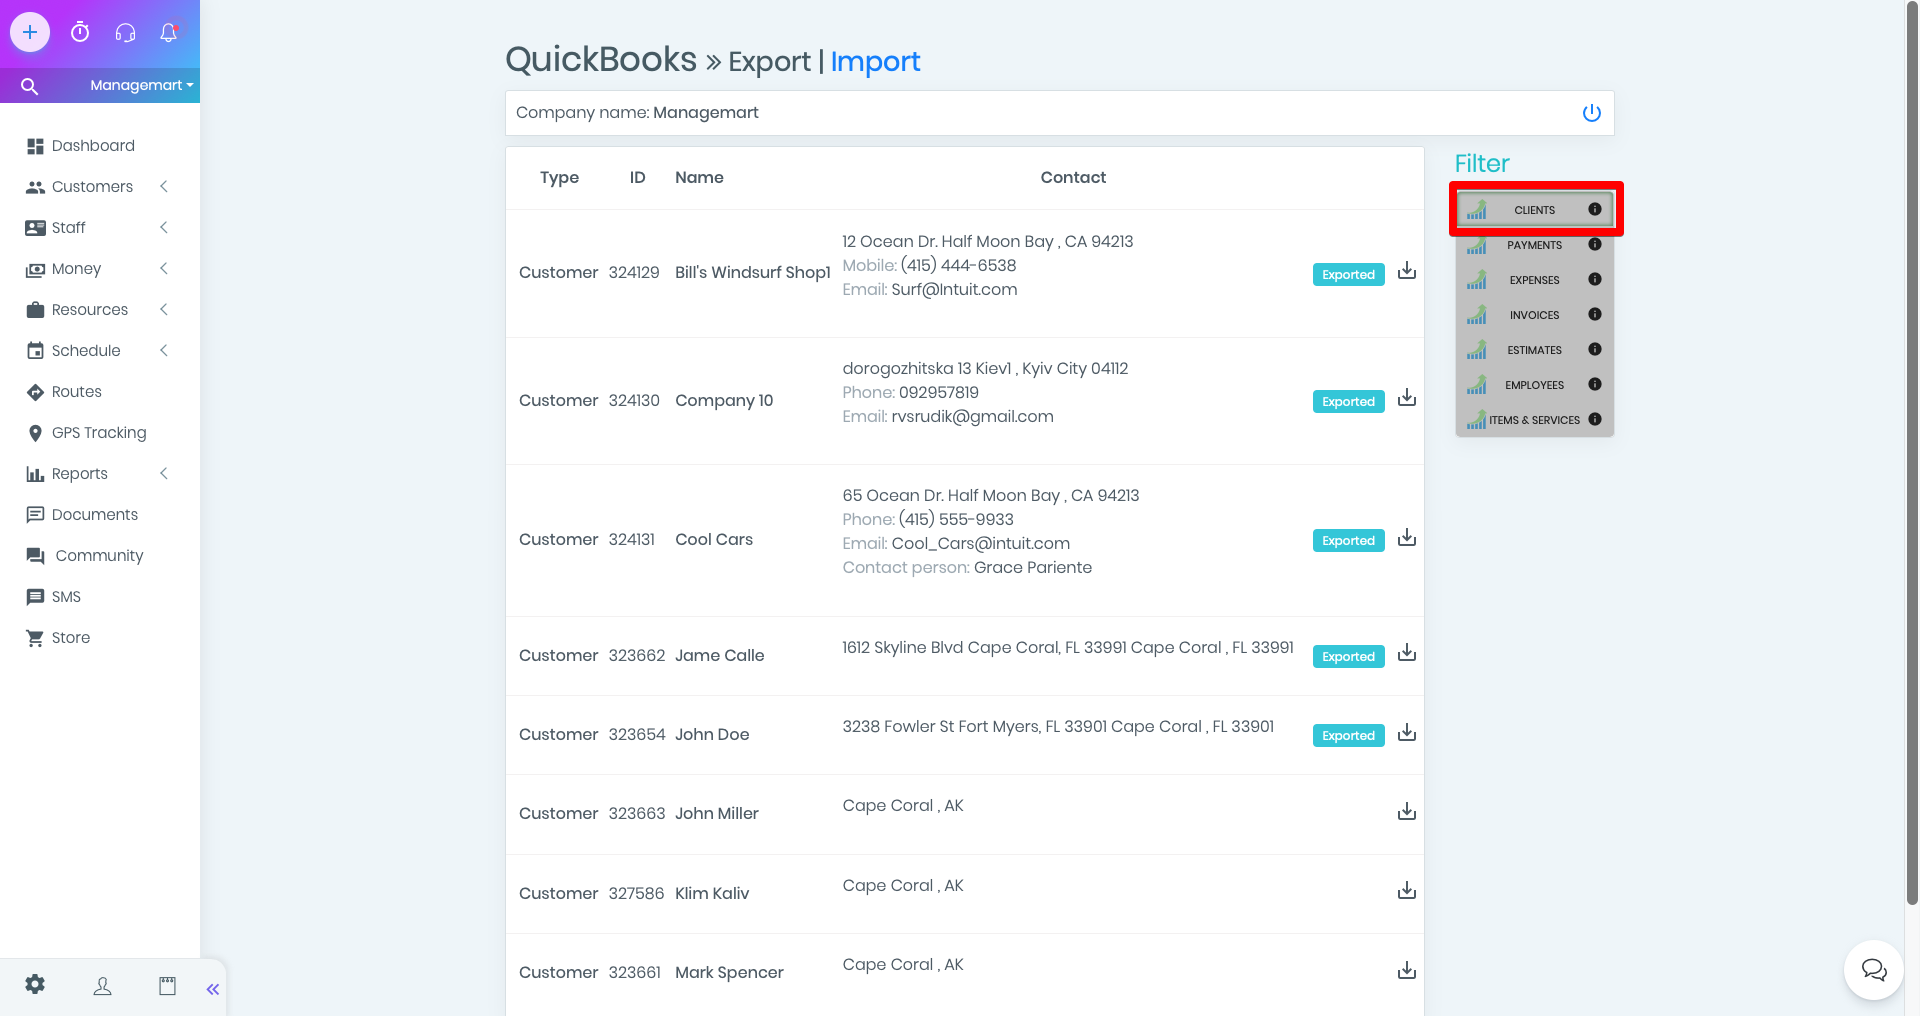
Clients page
To open a page with a specific type of data, simply click on the filter on its name.
Depending on the type of data, the pages will display lists with specific parameters.
Let’s see how the Clients page looks like.
In column you can view the following information about the customers:
- Type
- ID
- Name
- Contact
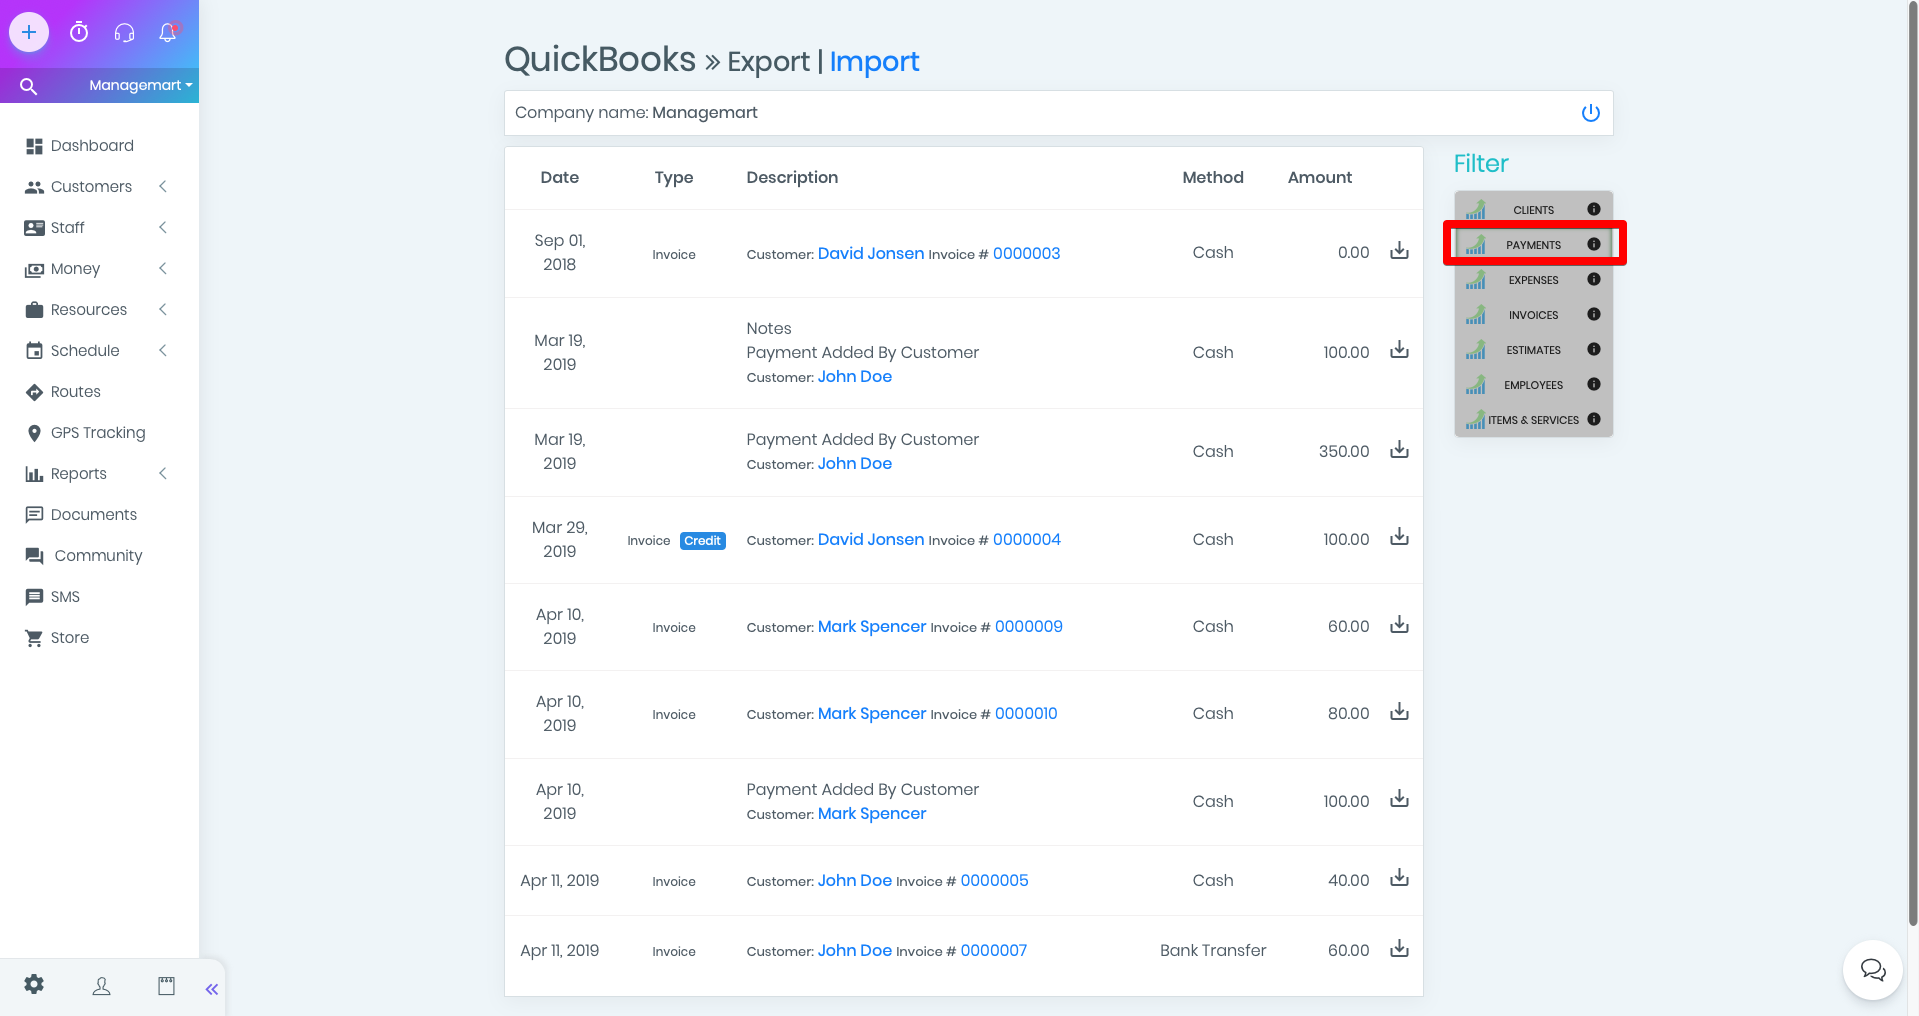
Payments page
In this section, in columns you can view the following information:
- Date
- Type
- Description
- Method
- Amount
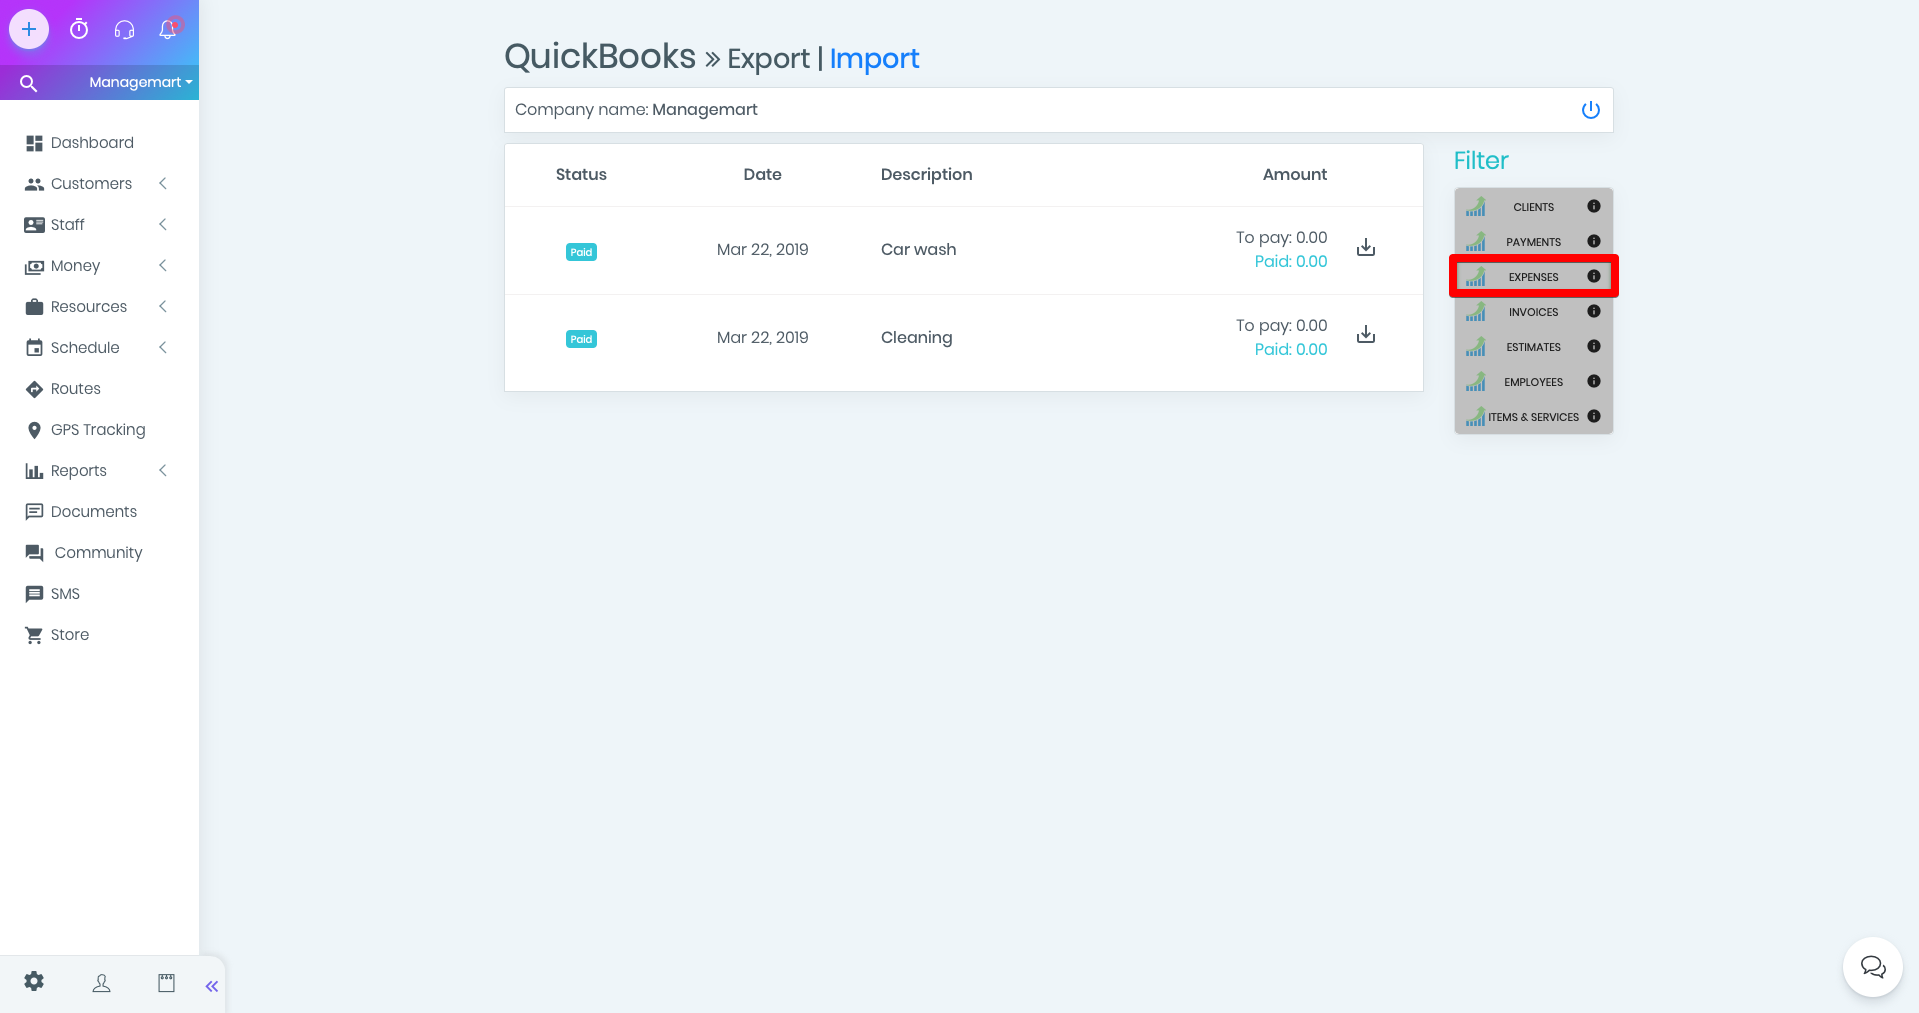
Expenses page
In this section in columns you can view the following information:
- Status
- Date
- Description
- Amount
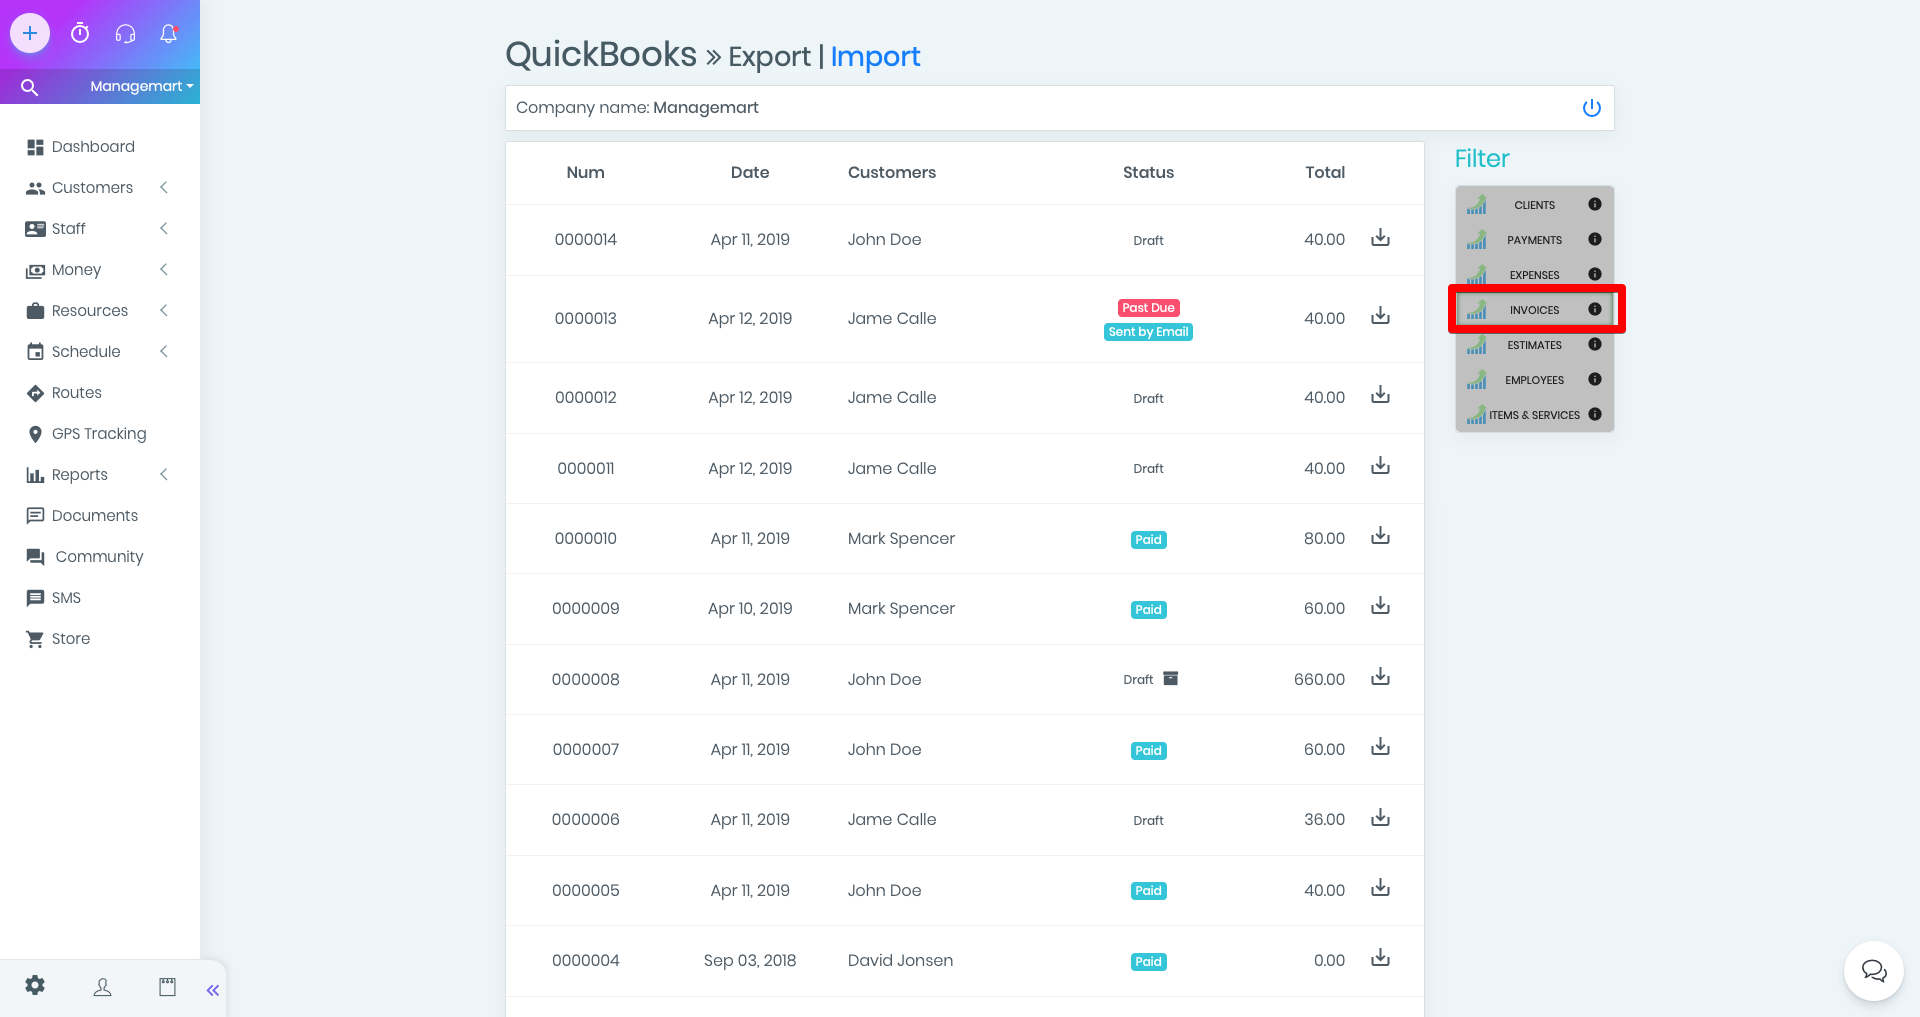
Invoices page
Data is indicated by parameters:
- Number
- Date
- Customers
- Status
- Total
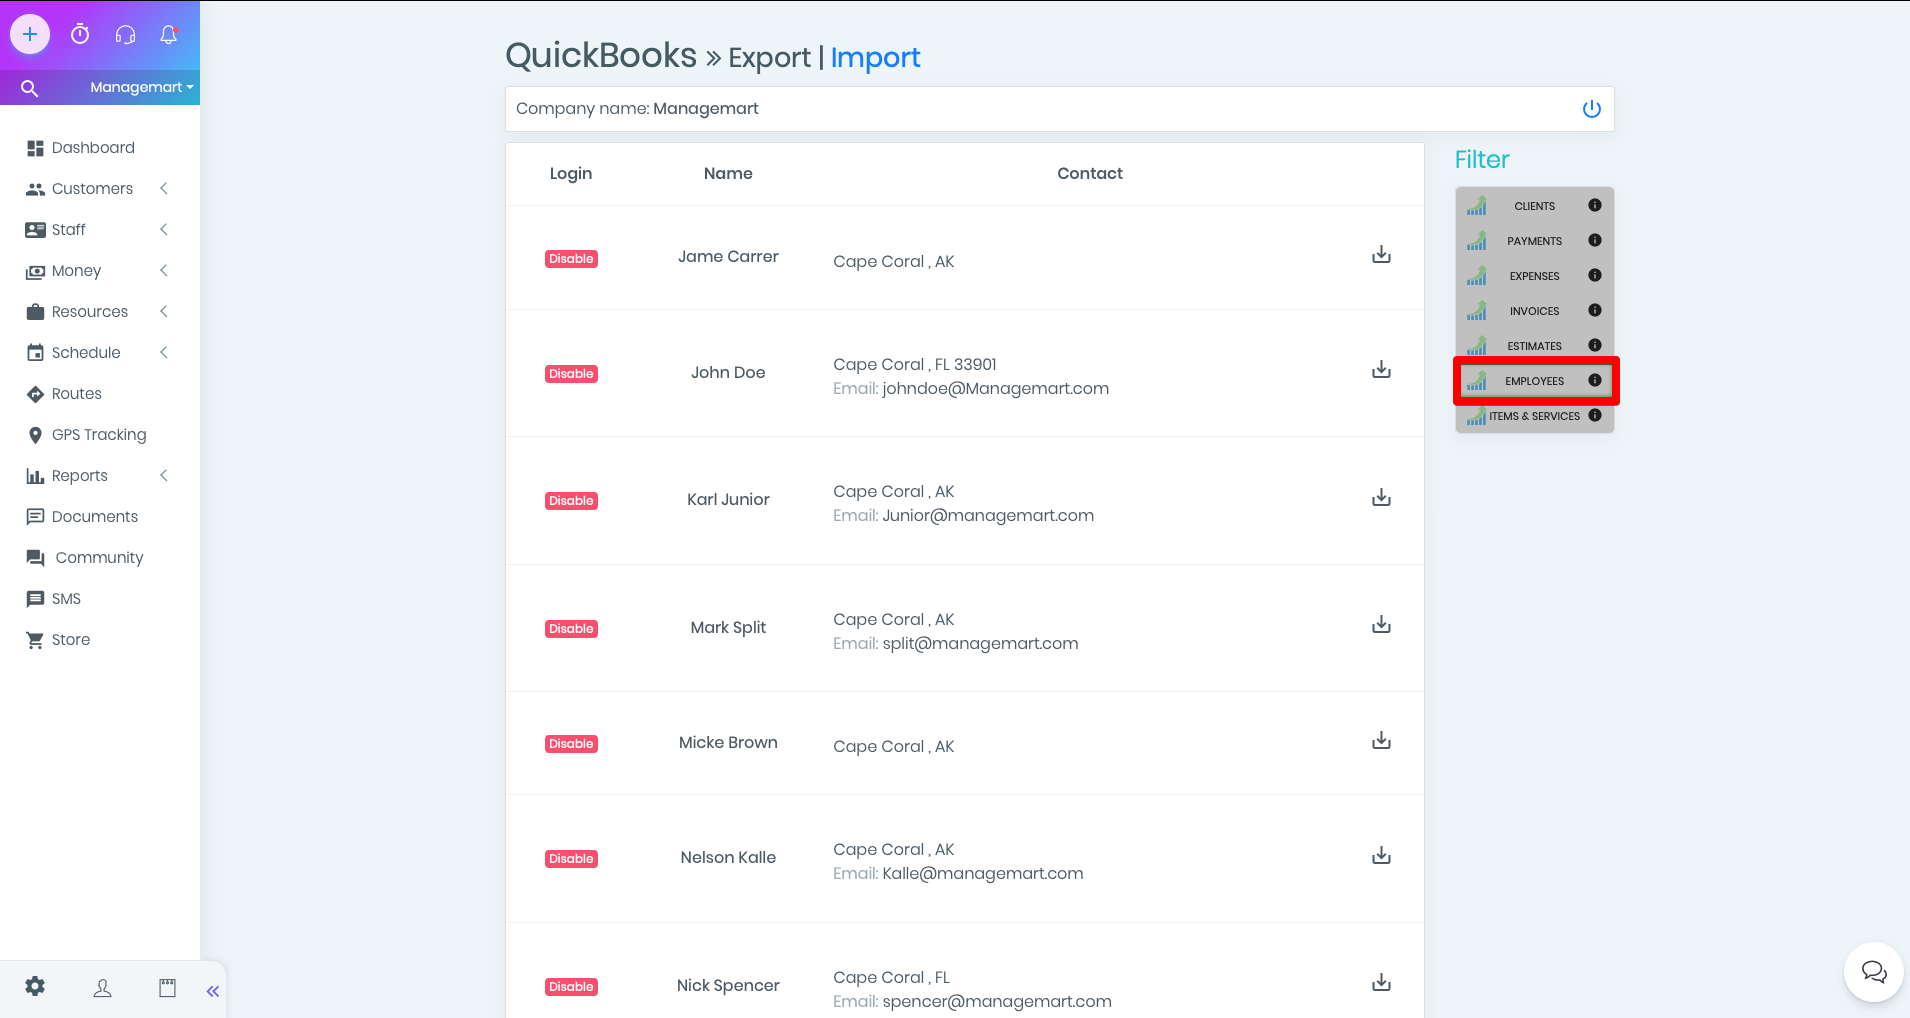
Employees page
In this section you will see such parameters:
- Login
- Name
- Contact
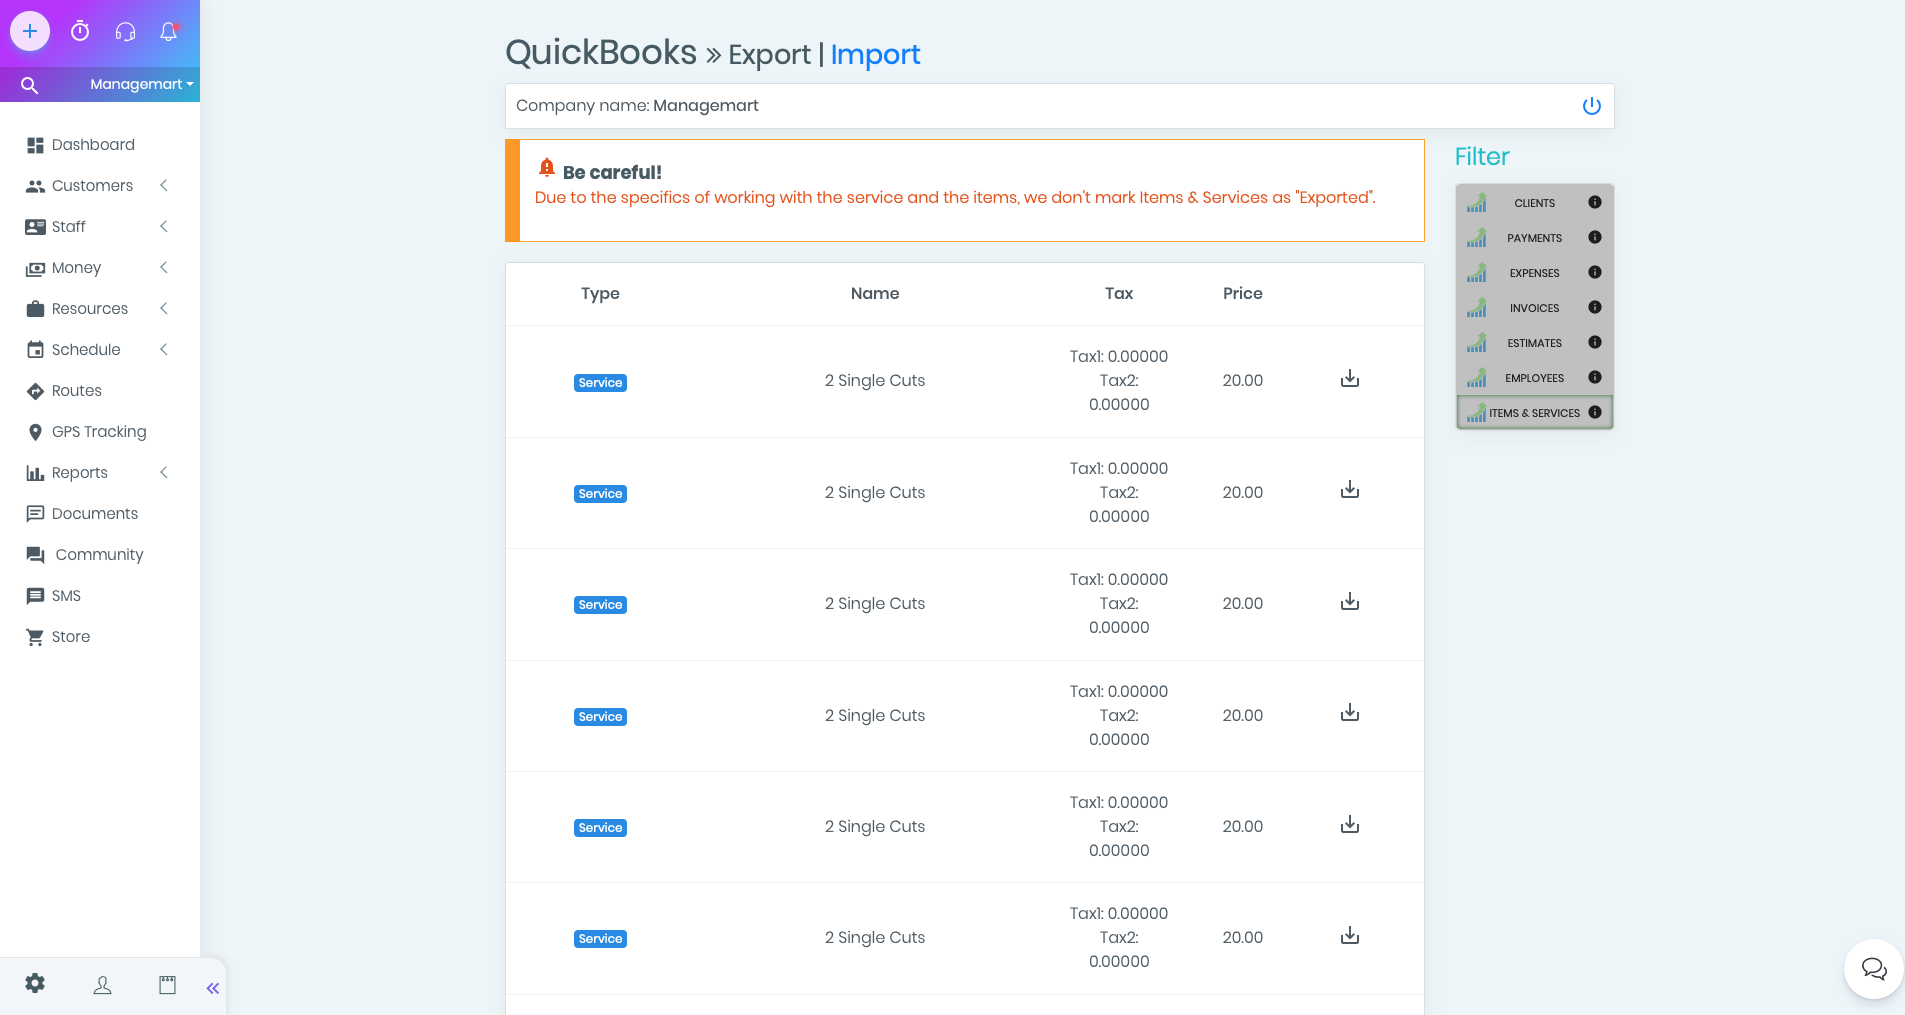
Items and Services page
Displayed parameters:
- Type
- Name
- Tax
- Price
Quick Books Import
By switching to the Import page, you will see lists of data from Quick Books.
If the data was imported into ManageMart, then in the line there will be the corresponding mark. If you want to update the previously imported data lines, then click on import again.
Please, be careful - the data from different Quick Books accounts will be displayed in the general list of the company on the ManageMart page. Therefore, data exported from previous (other) accounts will be marked in the current account as Exported.
In fact, they do not exist in the current account and the export procedure will need to be performed by clicking on the download icon next to Exported (if you need to have this data in the current Quick Books account).
By clicking on export, the procedure will be confirmed. After that, the data will be exported to the current Quick Books account (from another account).