GPS Tracking
Overview
In this video we’ll tell you about how the ManageMart GPS Tracking Management features works.
How to search GPS
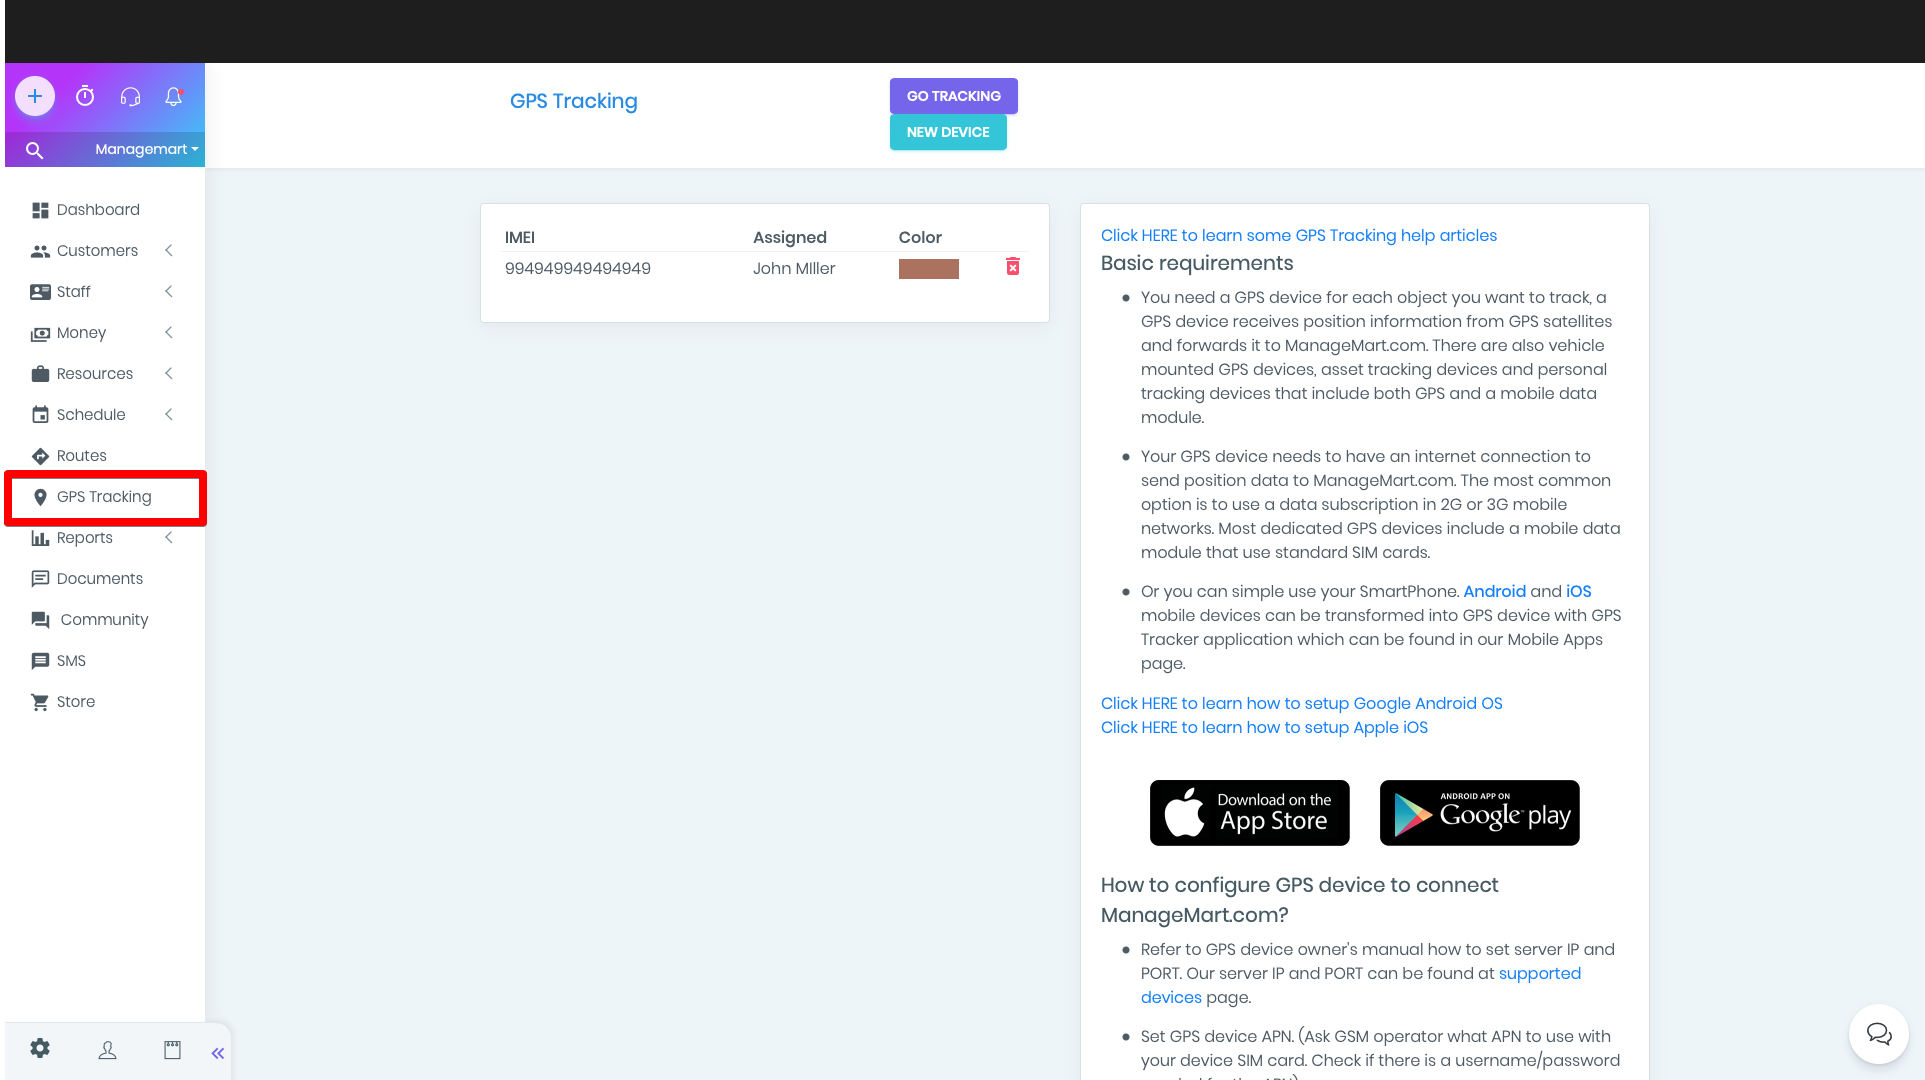
To get to the GPS Tracking page you need to click on the “GPS Tracking” menu item on left side navigation bar.
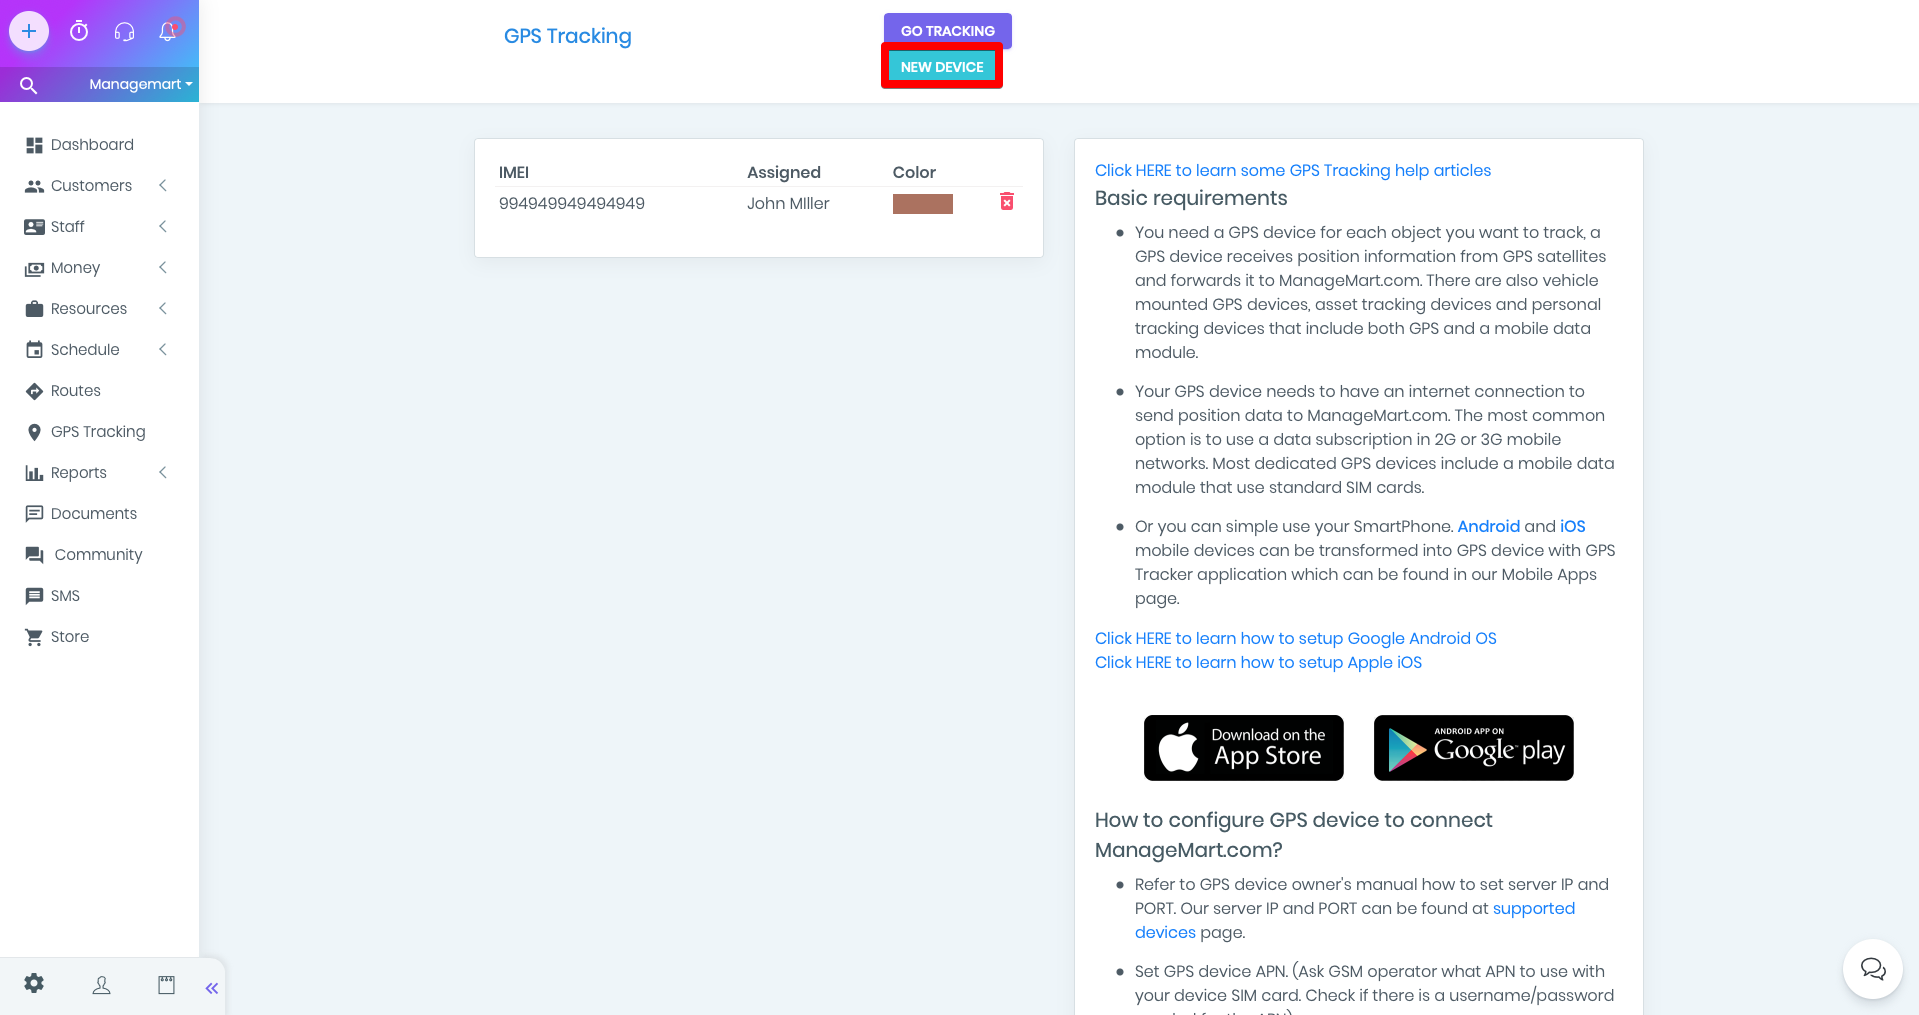
Add New Device
By clicking on the blue button in the upper right corner you will get to the page “NEW Device”, where you should to fill in the fields with the following information:
- The IMEI number of your GPS device. It could be also your phone.
- Assign - to whom is assigned. In the first field choose a team or employee, in the second - the name of the employee.
- Please note that you can only select an activated employee. If an employee is not listed, first give him access to the system by editing the data in his profile.
- Path Color - the color that will display the path on the gps device.
After saving, you will see a line with the information about the created and saved device. In case the saved data you have is wrong, you can delete it by clicking on the red “basket” icon and recreate it.
Tracking
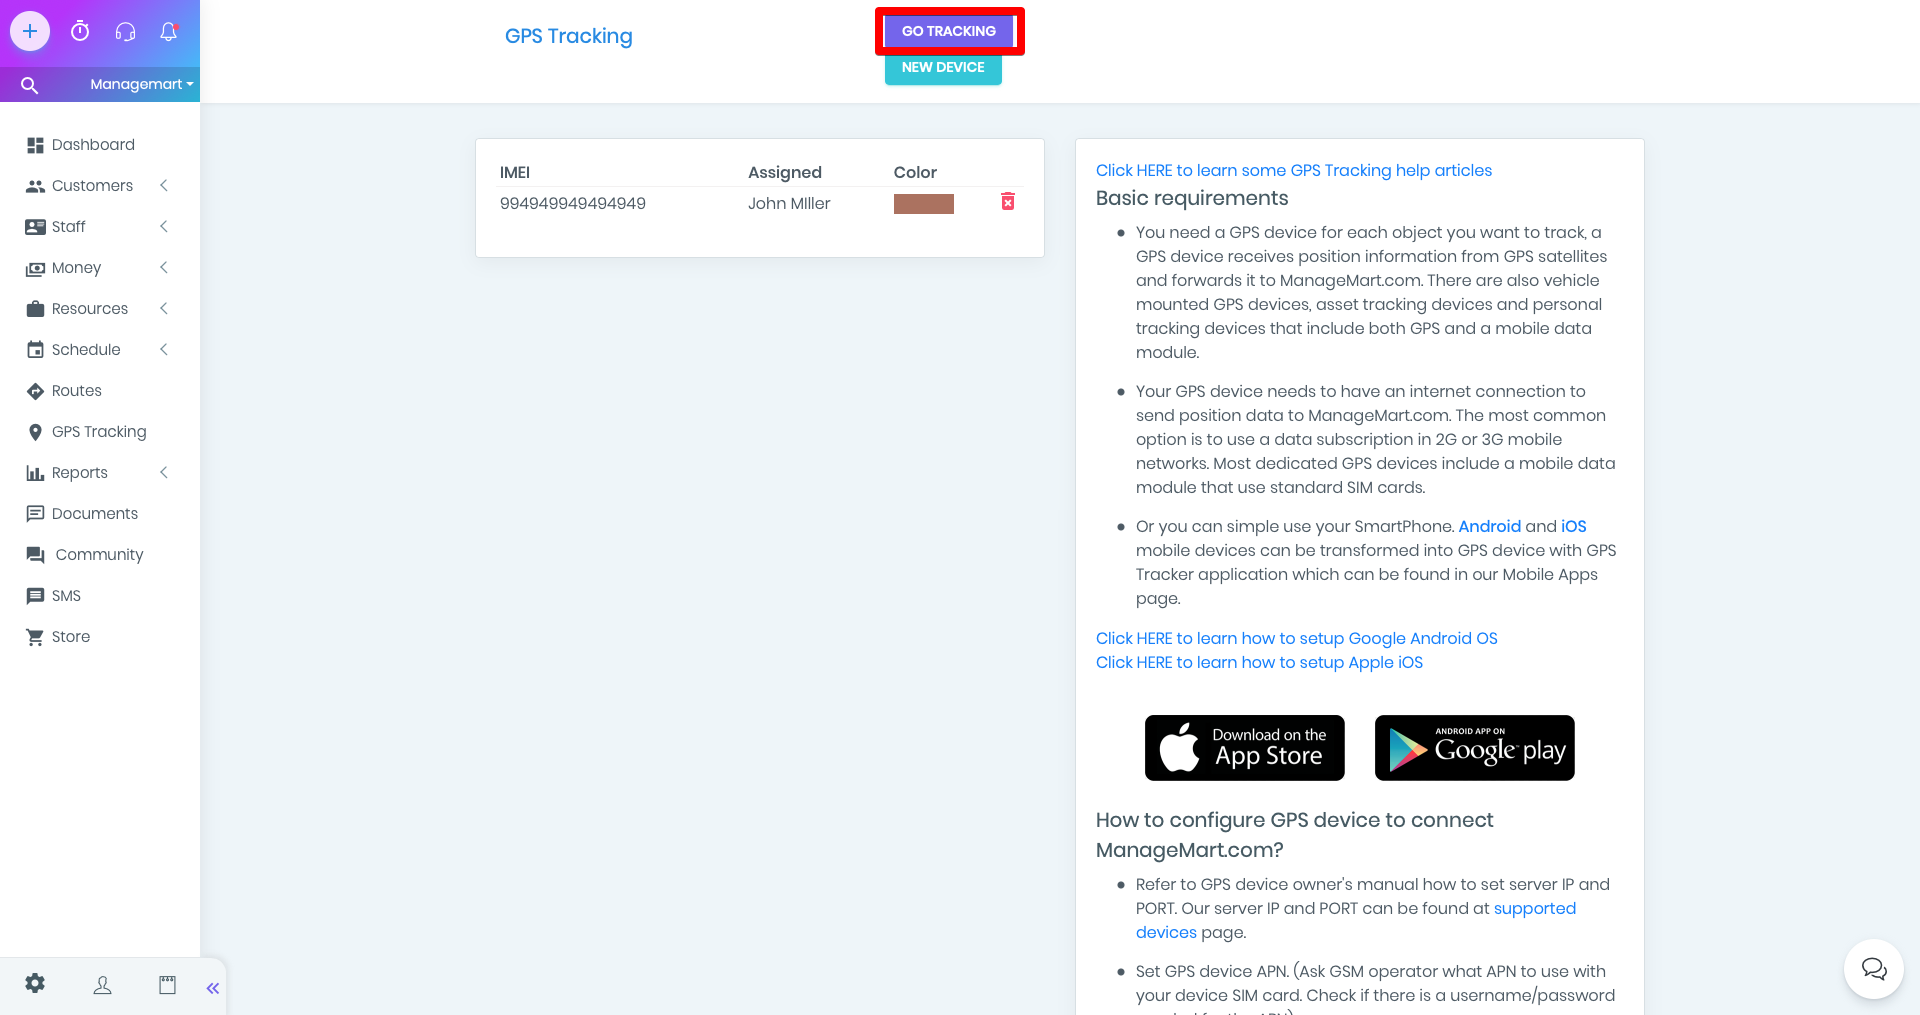
Once you add a device, you will see a button named “ Go Tracking “ next to the button “New Device”.
- To get to the tracker control page just click on the button “Go Tracking”
GPS Tracking Overview
Let's view the buttons on the top of the screen
- ManageMart Logo - developer information
- i - takes you to the Help section
- Next - show the point. You enter the longitude and latitude in the fields, and a map appears with the specified data on the map.
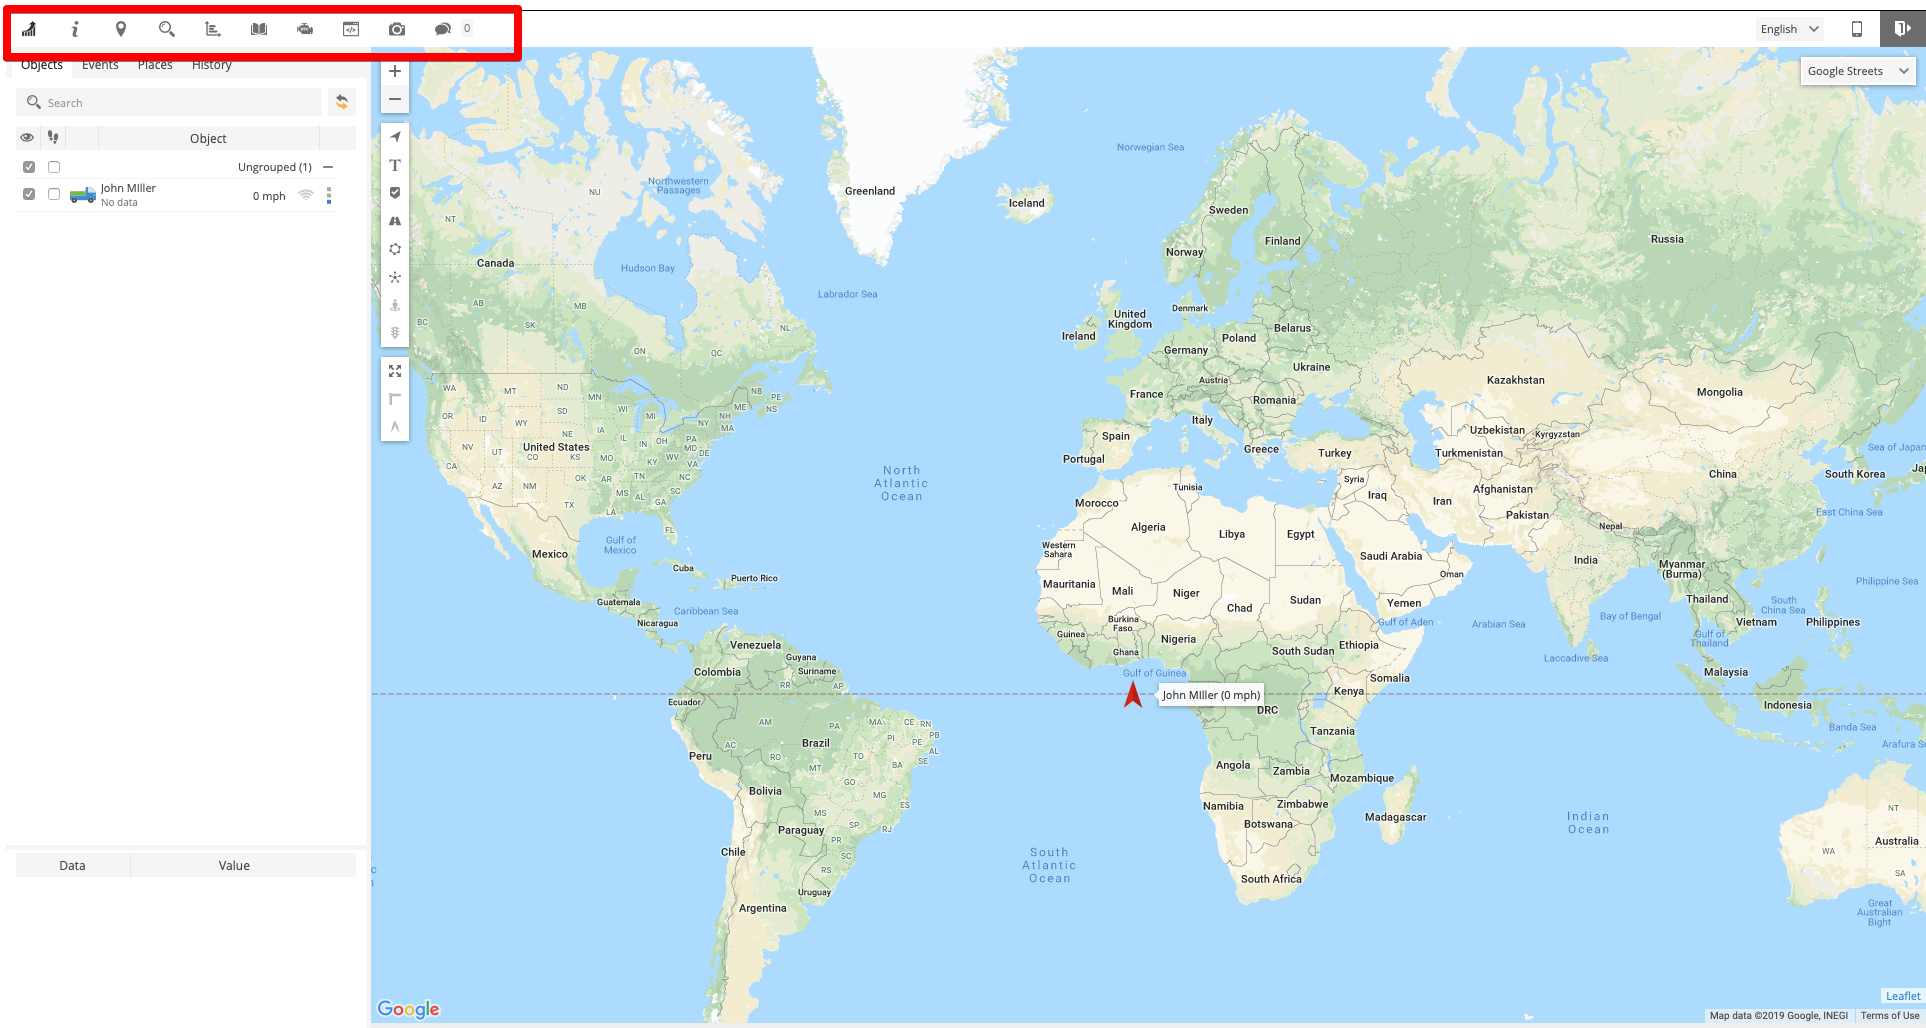
By clicking on the magnifying glass icon the address search field will appear. Submit the needed address of the object and a dot will appear on the map.
Reports section
In the Reports section, you can view a summary of your movements.
There are 2 tabs - Reports and Generated.
On the Reports tab, clicking on the Name column will sort the data in the reverse order. You can also check the lines and delete them by clicking on the gear at the bottom of the window and by selecting Delete.
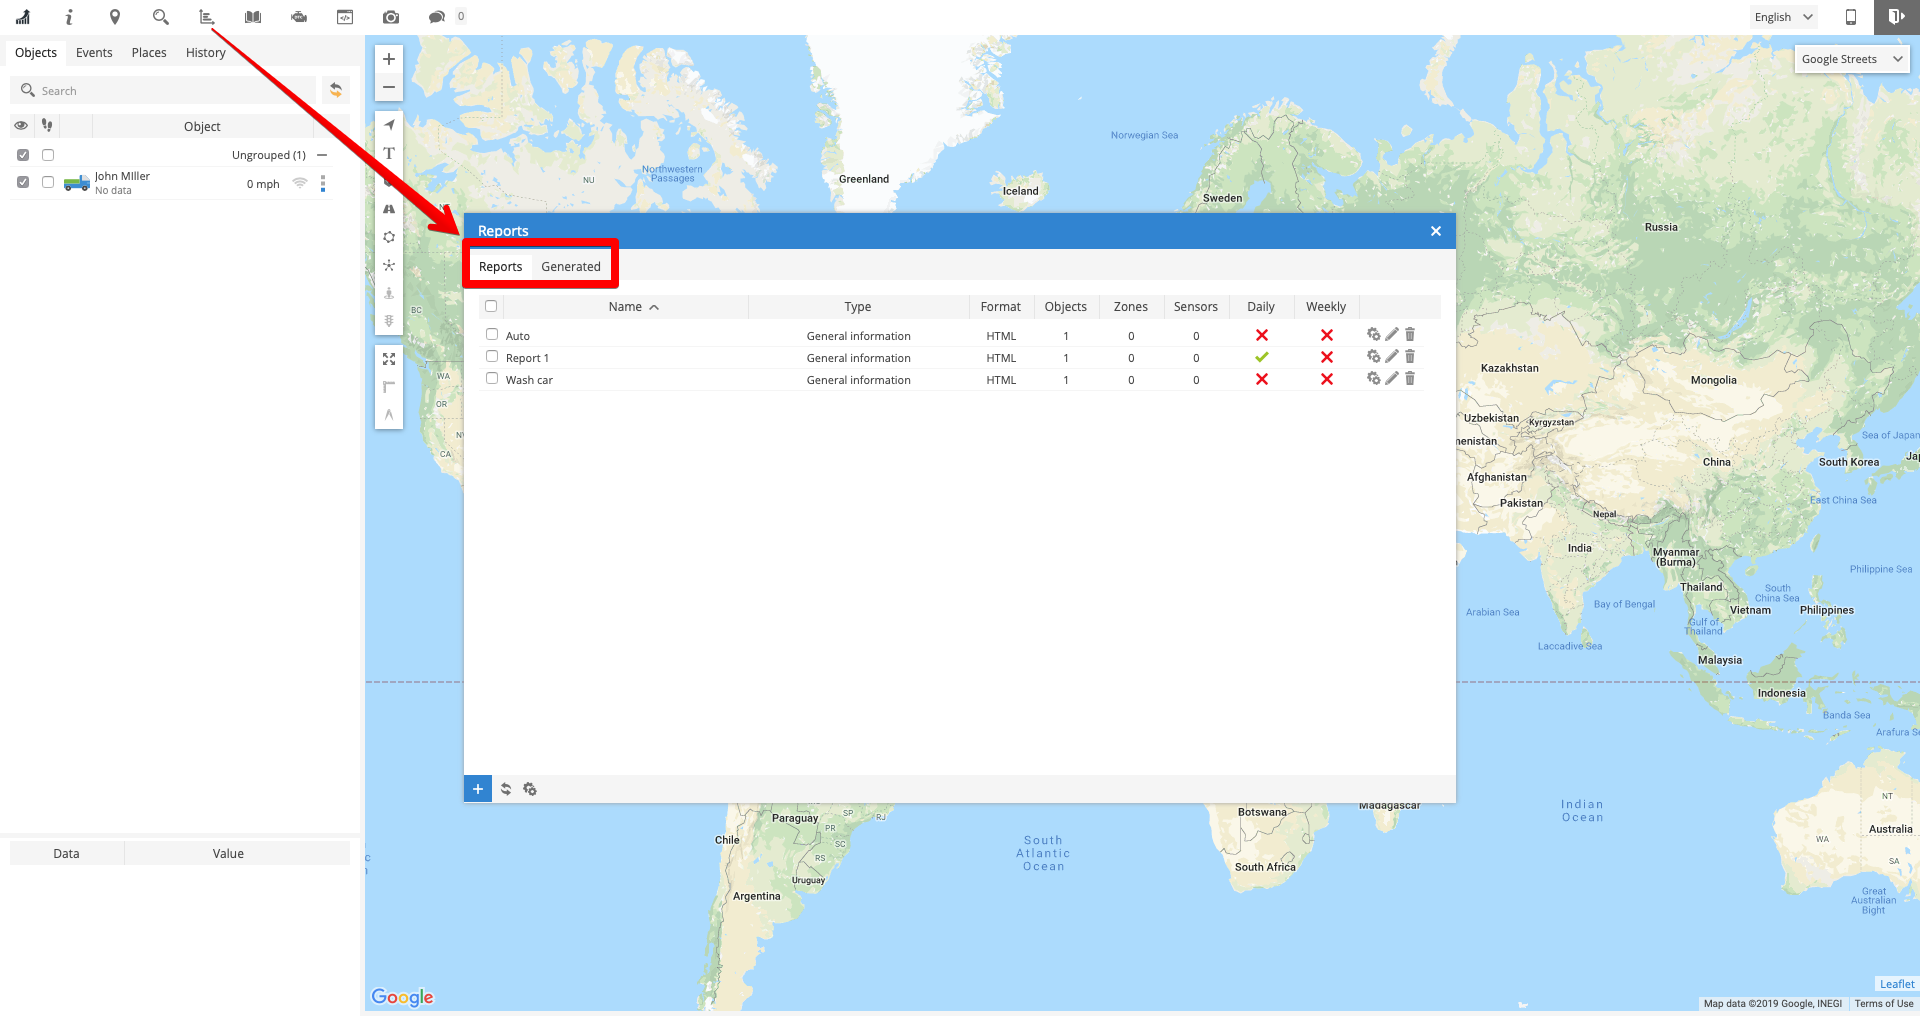
By clicking on the “plus” at the bottom of the window, you will get to the report properties window.
In the report section you can see such fields:
- Name - name of the report
- Type - type of the report. You can choose it from the list.
- Objects - reporting object
- Zones - visited zones
- Sensors - Installed sensors along the line
- Data items - the parameters by which you want to see the report
- Format - the format in which the report will be displayed (HTML / PDF / XLS)
- Show coordinates - Show physical coordinates - latitude and longitude of visiting points.
- Show addresses - Show geocoding address of visits
- Zones instead of addresses - show zones instead of addresses. For example, square a1, square b-2.
- Stops - duration of stops. You can choose from the list.
- Speed limit (kph) - specify the maximum speed
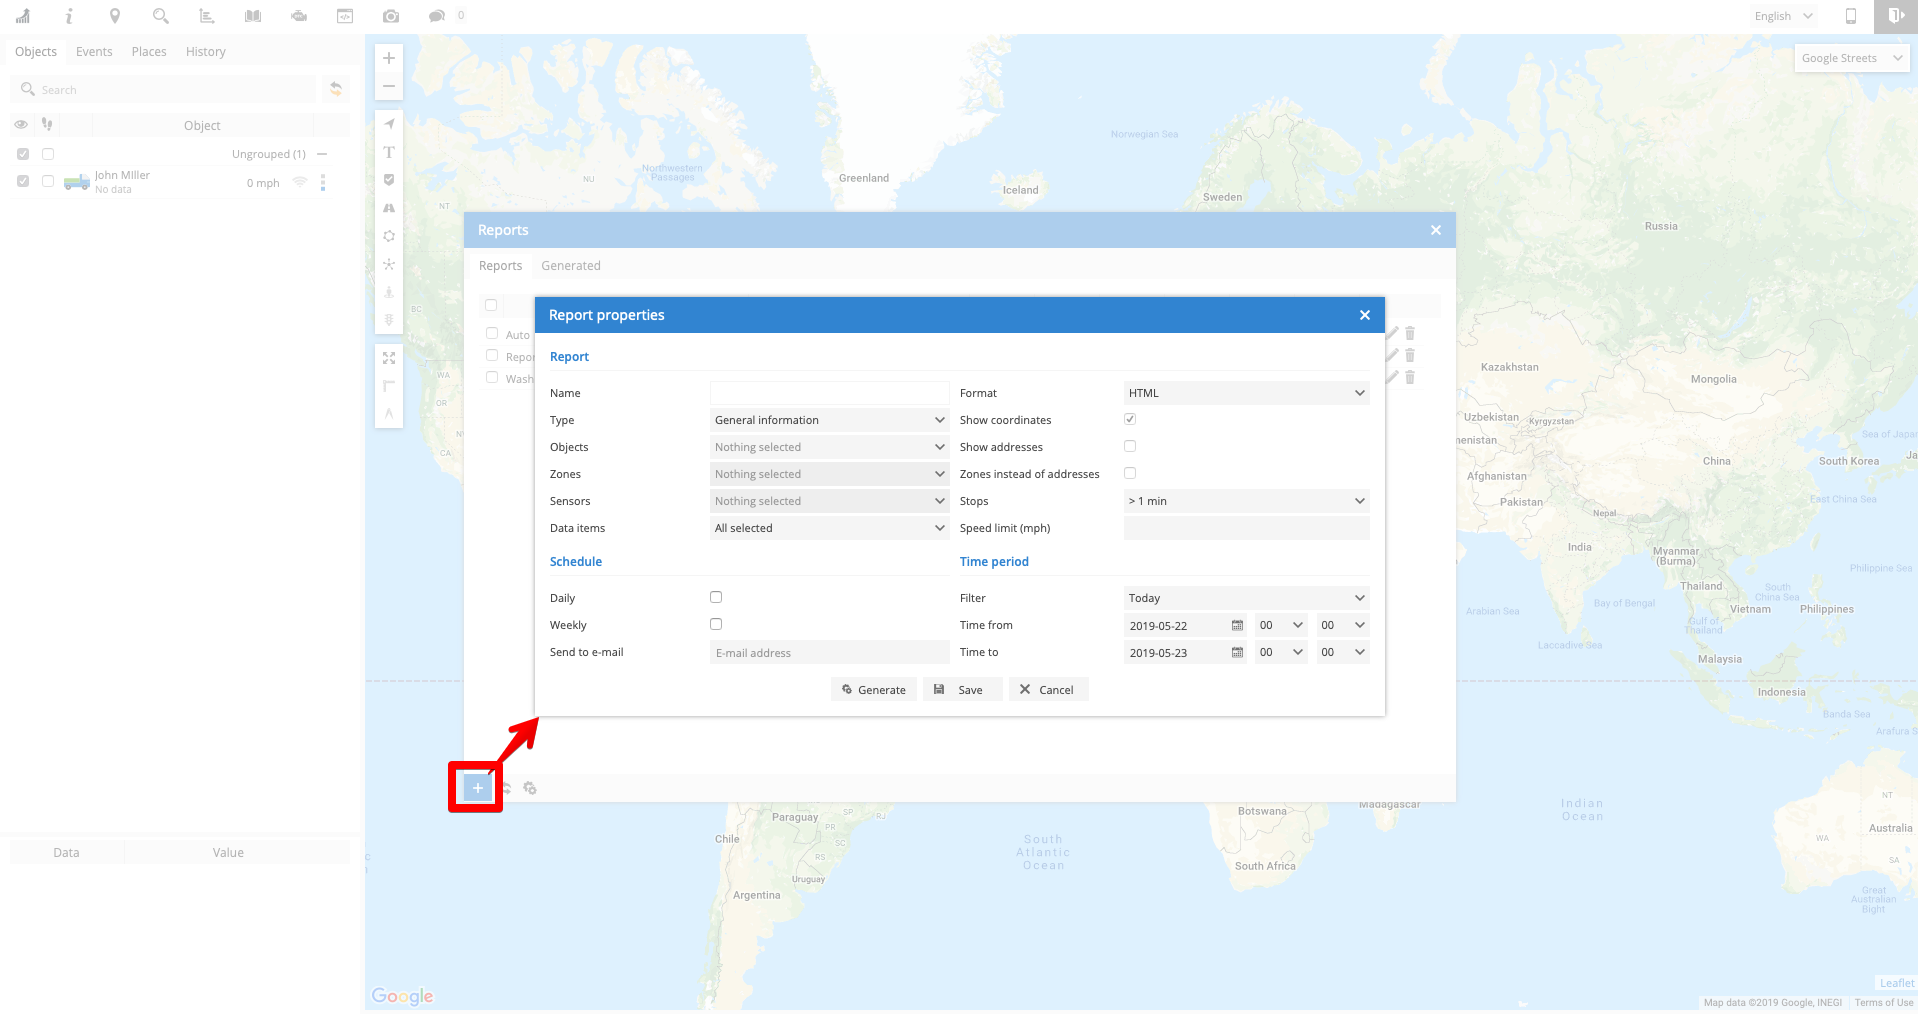
In the schedule section you can see such fields:
- Daily - the breakdown of the report by day
- Weekly - weekly report breakdown
- Send to e-mail - send a report to the specified e-mail
- Filter- choose from the list the desired time period
- Time from - you can specify the exact time of the beginning of the report.
- Time to - you can specify the exact time of the end of the report.
The generated reports are saved on the Generated tab. You can view them by pressing on basket sheet icon. You can download or open the report. It depends on the specified format.
You can delete, export data in CSV format. Settings are similar to the previous option. And with the help of filter fields you choose the necessary parameters.
- DTC (Diagnostic Trouble Code) is ...
- Settings filtering option, that allow you to display more accurate data.
- Object control - control of objects.
- Customizable fields and templates help you to perform different types of actions and simplify control over the object being.
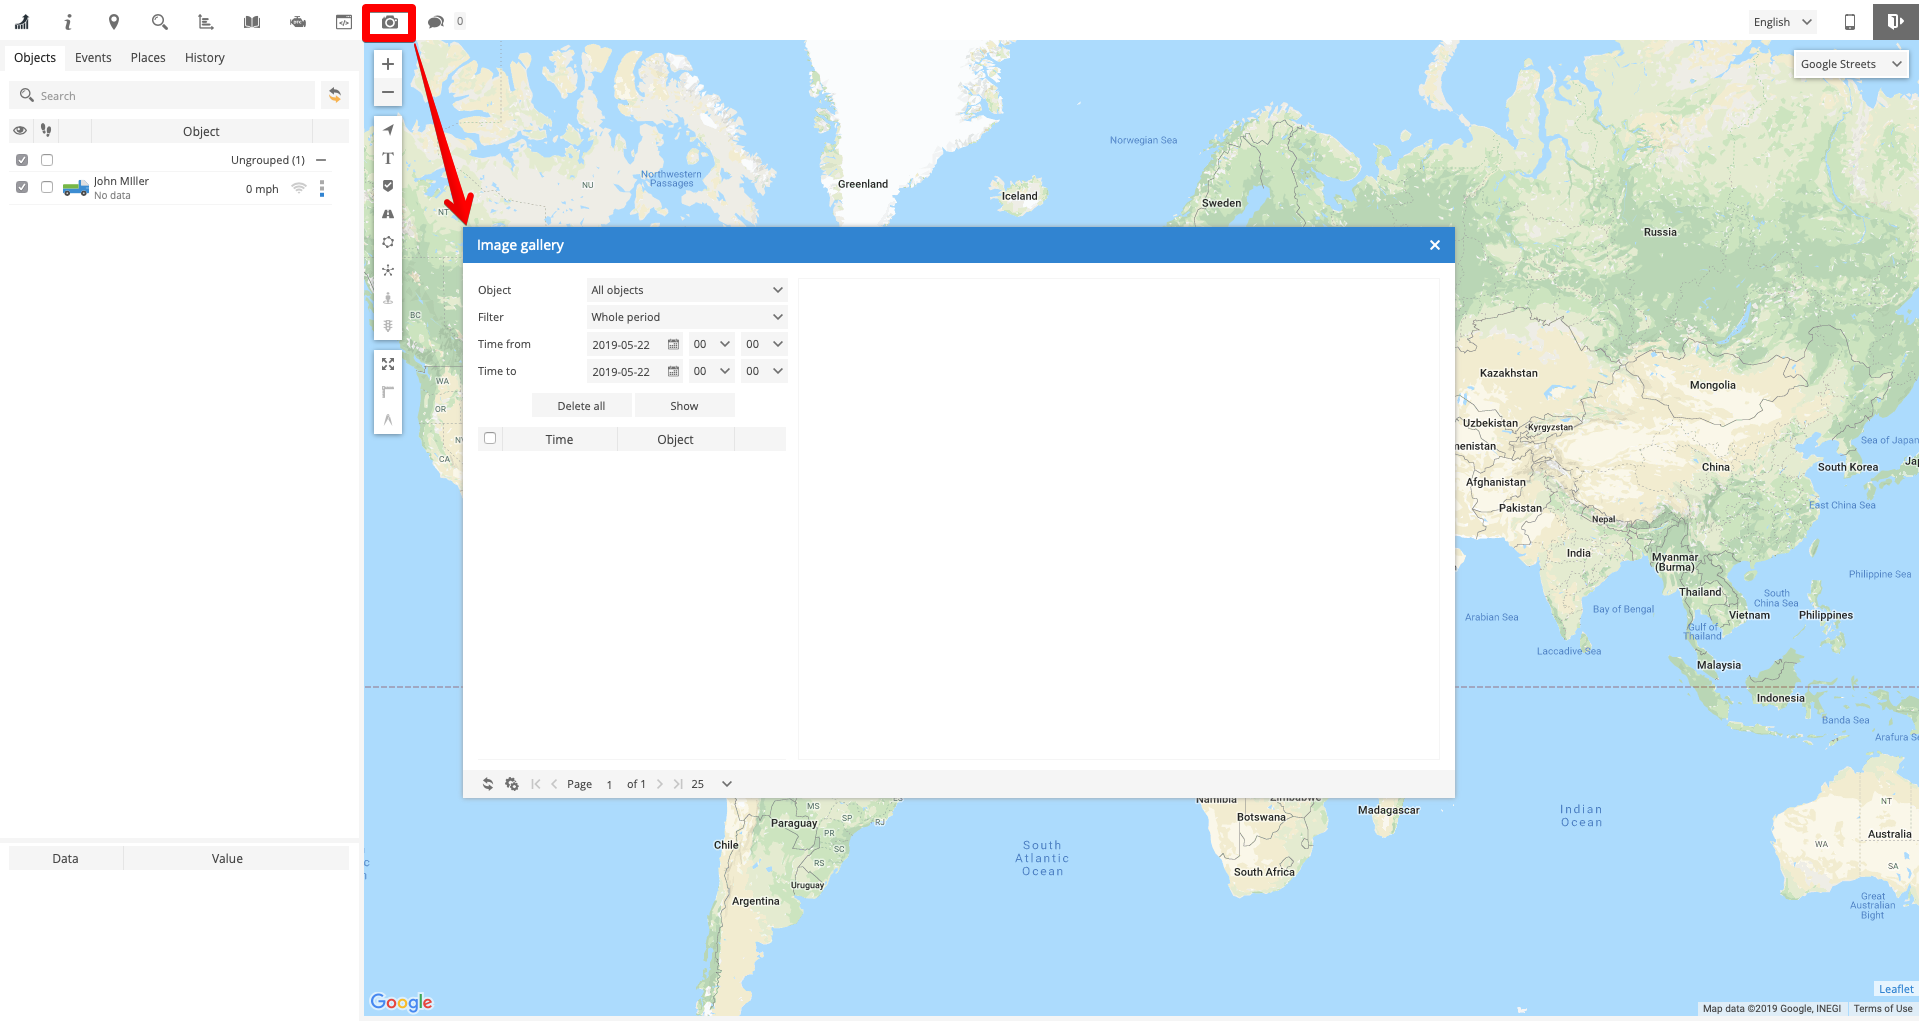
Chat section
By clicking on the button “CHAT” you will open the message section with all your messages.
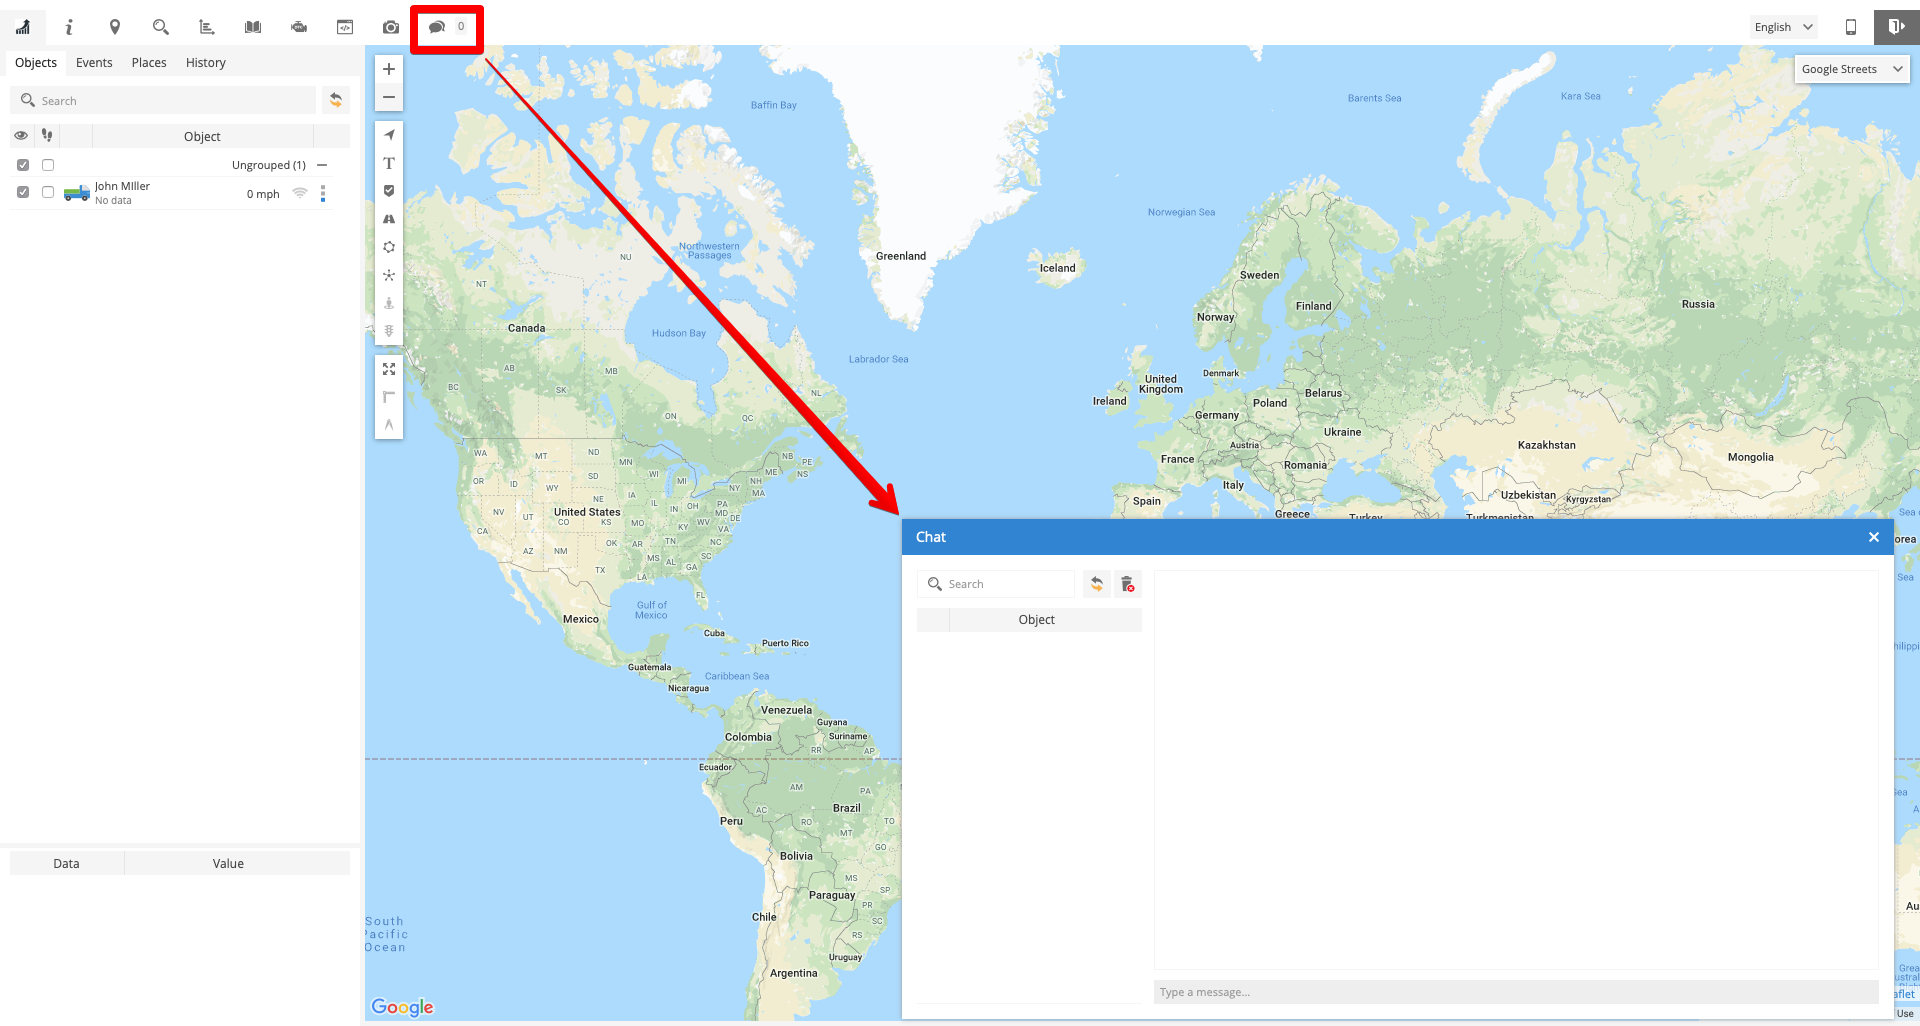
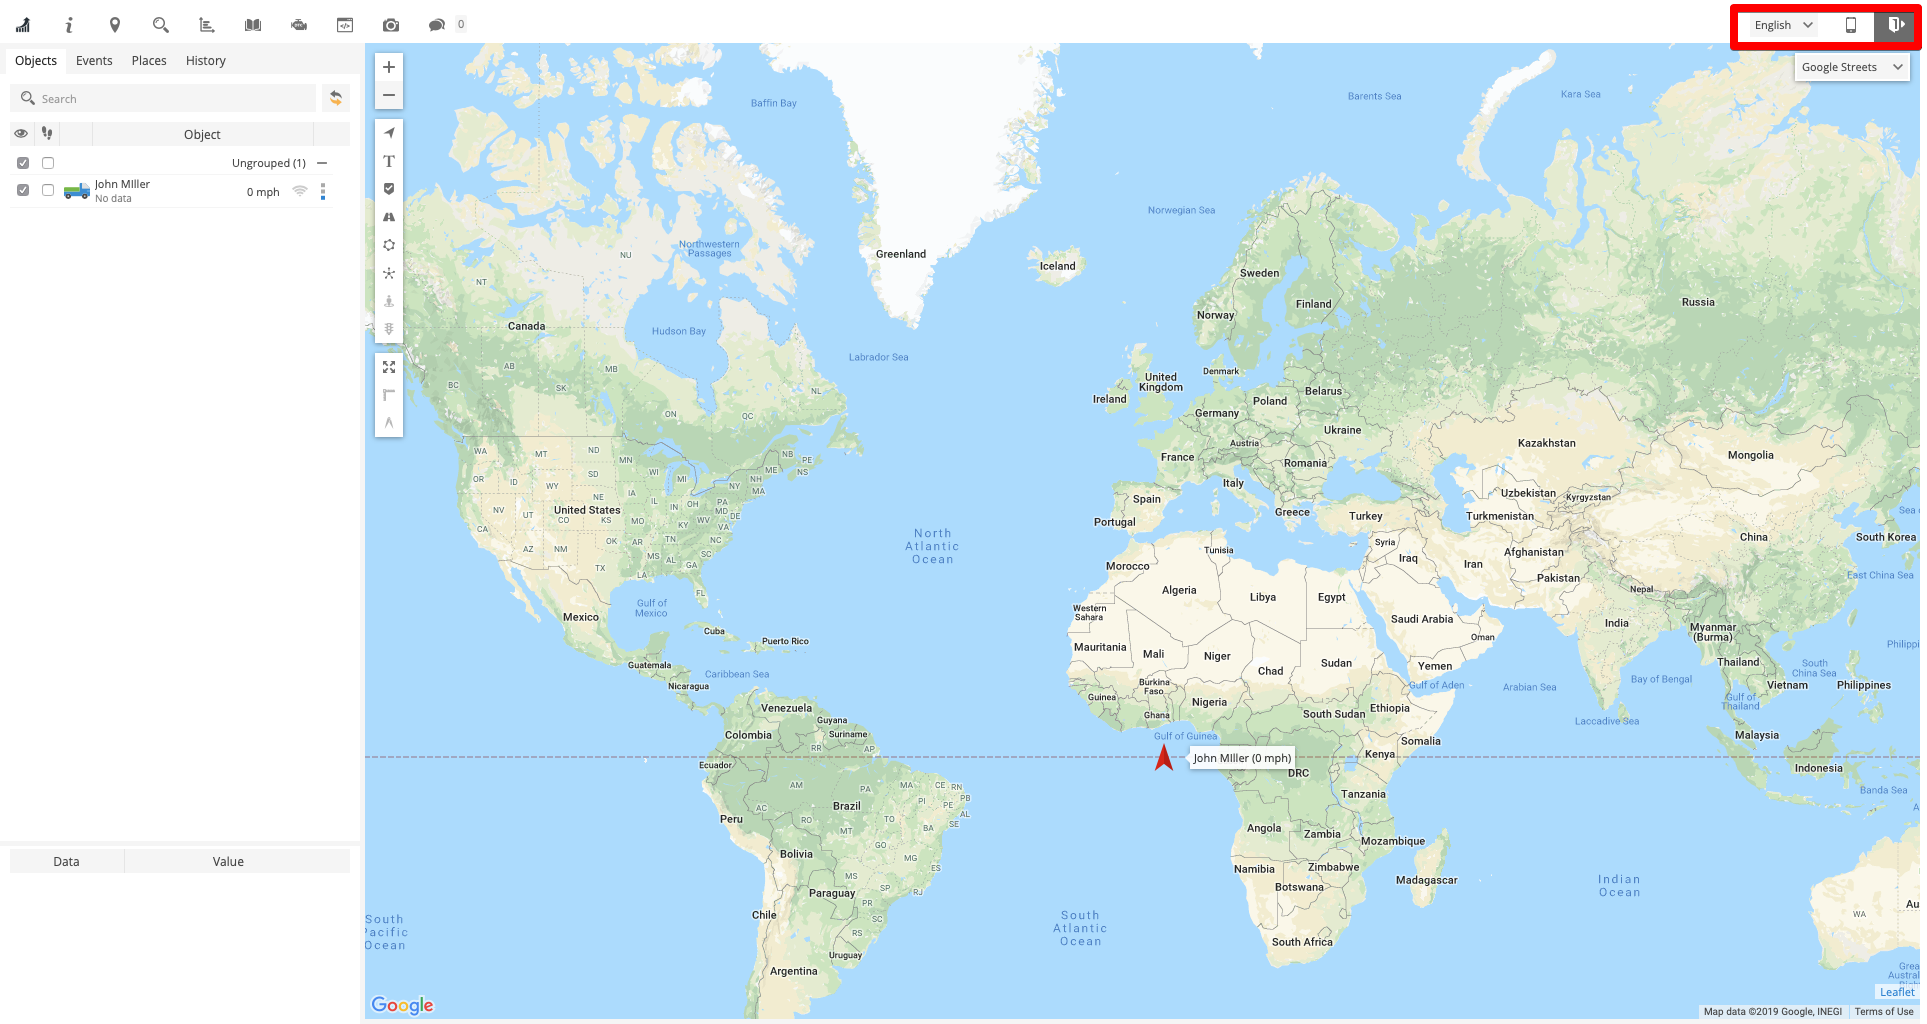
There are three options in the upper right of the page:
- Language selection. For now only English.
- To Switch to mobile version
- To Exit from the tracker
Under the buttons, there is a field where you can choose the move in which the map will be displayed.
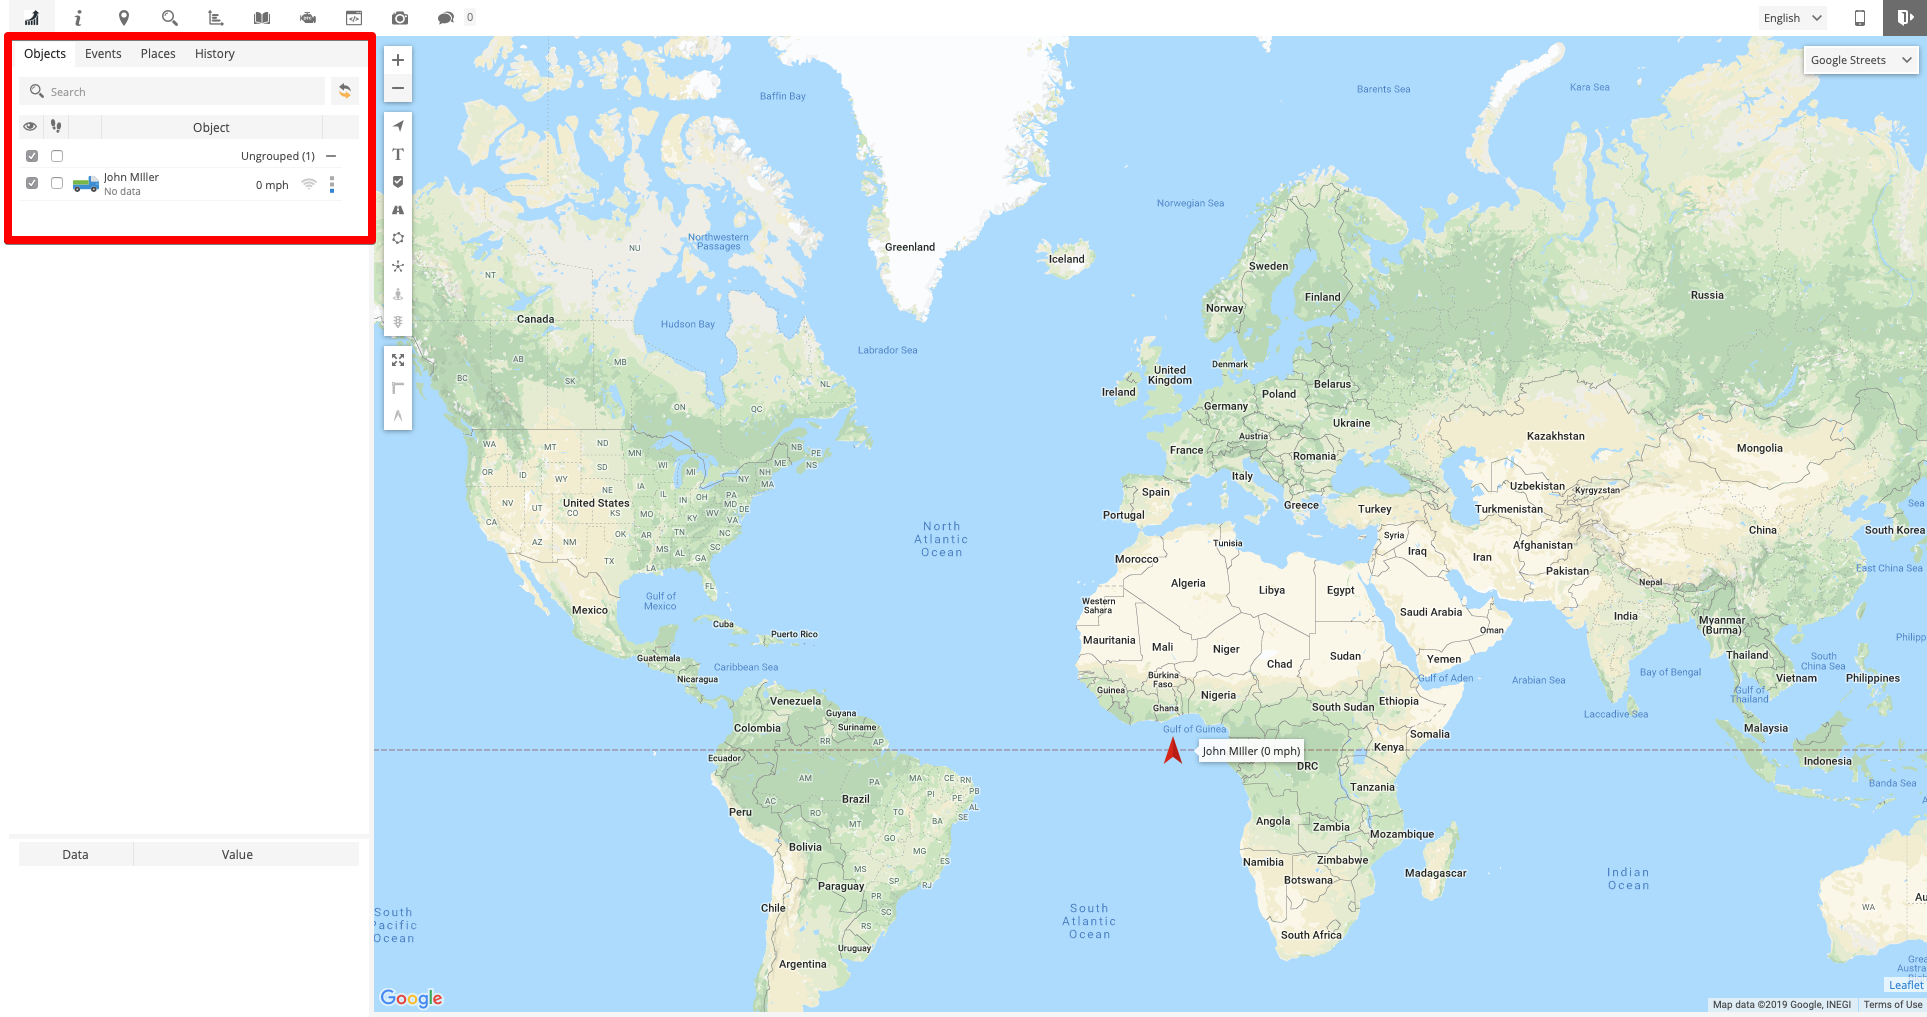
On the left side of the page you will see 4 tabs:
- Objects tab - your objects. You can make them visible, select together or separately - and minimize
- The ellipsis will allow a series of actions that you can choose from the drop down list
- The wi-fi icon will let you know if the device is active.
- And also you can see the speed of movement of transport.
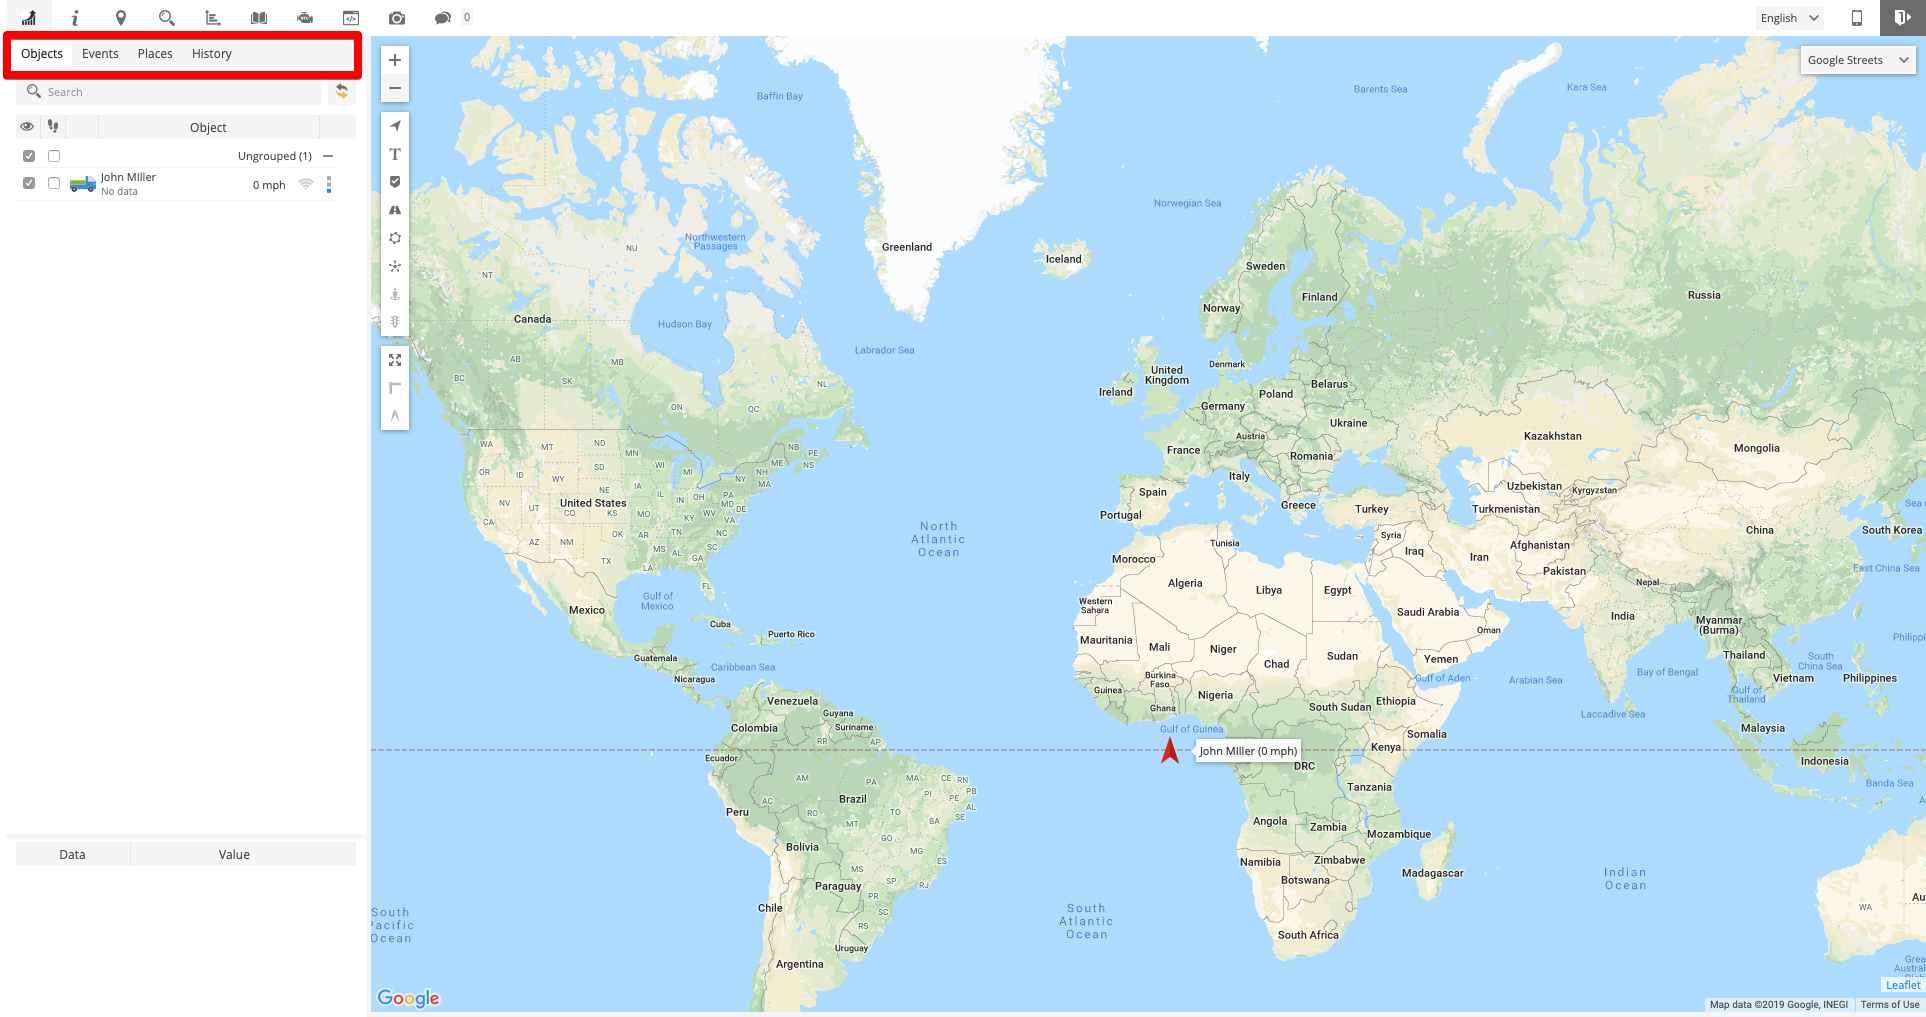
4 tabs
- Tab Events - shows all the events
- Tab Places - locations. This information can also be filtered, edited, exported, imported, deleted by pressing the appropriate buttons. Just hover over the icon - and find out what action it is responsible for.
- Tab History - a mini version of the report about the movement of vehicles with custom filters,similar to Reports.
At the bottom on the left side of the screen you can see information about the the parameters.
Let's examine the vertical panel of buttons which are responsible for displaying particular objects/labels on maps.
Most of the buttons will be evident to you, as we are sure that you have already used online maps. But, if you are not confident of the accuracy of choice, move the cursor over the button and see the description of its function. Or click on it and see the changes on the map.
Basic requirements
- You need a GPS device for each object you want to track, a GPS device receives position information from GPS satellites and forwards it to ManageMart.com. There are also vehicle mounted GPS devices, asset tracking devices and personal tracking devices that include both GPS and a mobile data module.
- Your GPS device needs to have an internet connection to send position data to ManageMart.com. The most common option is to use a data subscription in 2G or 3G mobile networks. Most dedicated GPS devices include a mobile data module that use standard SIM cards.
- Or you can simple use your SmartPhone. Android and iOS mobile devices can be transformed into GPS device with GPS Tracker application which can be found in our Mobile Apps page .
How to configure GPS device to connect ManageMart.com?
- Refer to GPS device owner's manual how to set server IP and PORT. Our server IP and PORT can be found at supported devices page.
- Set GPS device APN. (Ask GSM operator what APN to use with your device SIM card. Check if there is a username/password needed for the APN).
- Make sure that your GPS device time zone is set to 0 UTC. If not it will show incorrect time or event won't work.
- If you still have problems, please check troubleshooting or contact our support team, we will be glad to help you.