Expenses
In this video will tell you how the ManageMart Expenses feature works.
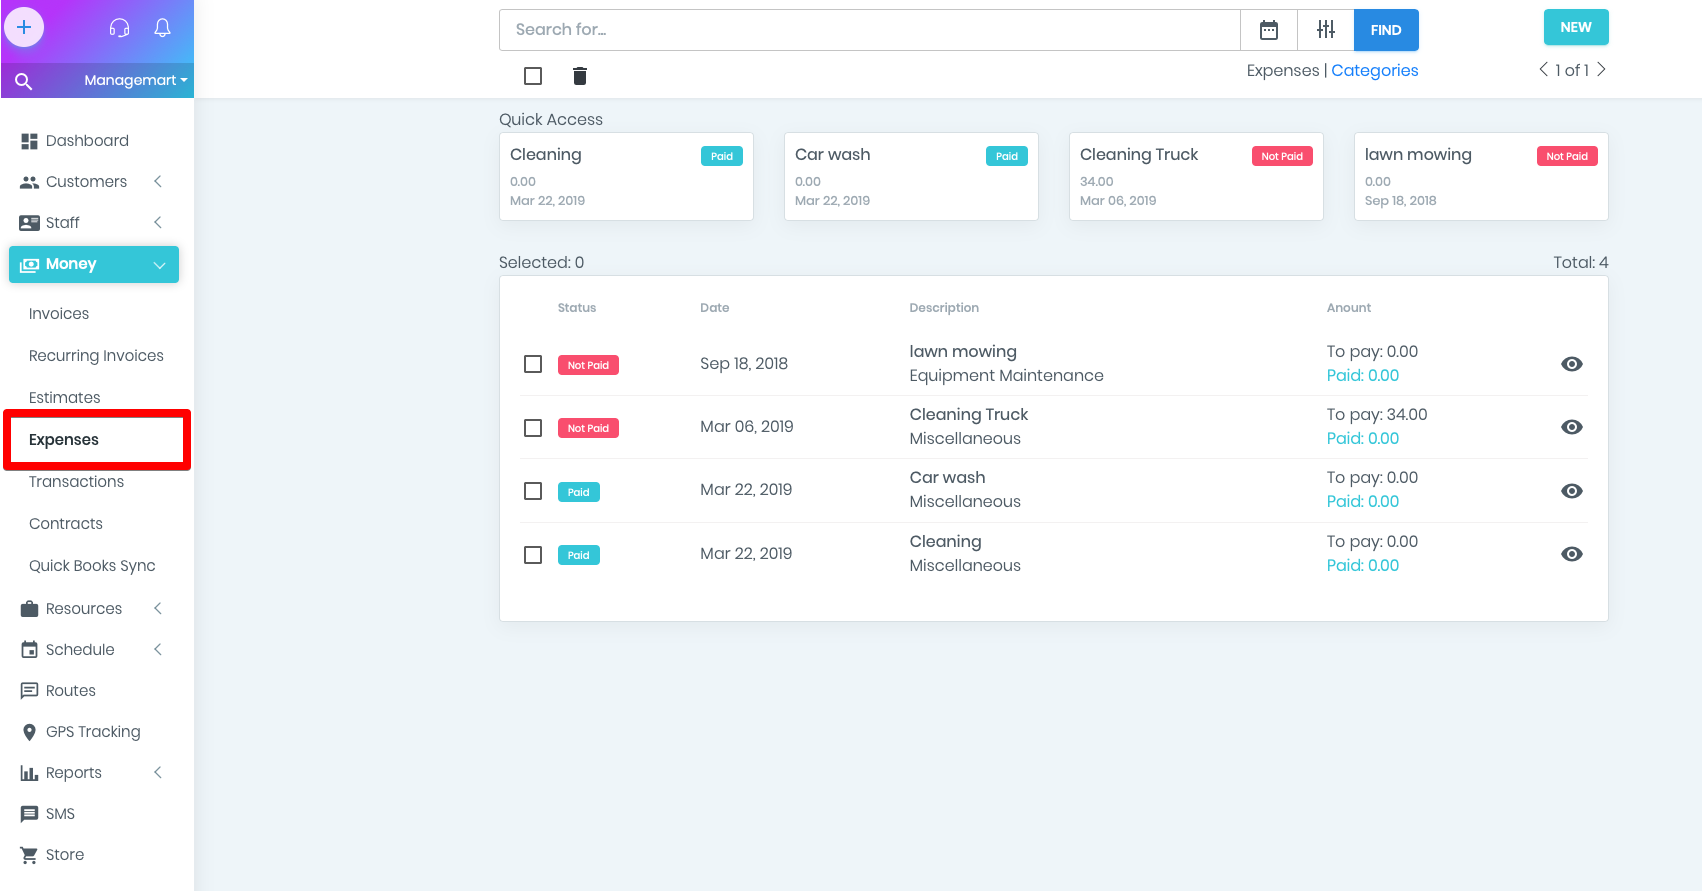
- To get to the page to customize fields you need to click on “Money” menu item on the Left side navigation bar, then click on “Expenses” submenu item.
- Expense tracking is one of the most important modules for controlling and managing enterprise financial expenses.
Categories
Our expenses belong to one of the categories, for example, Food, Entertainment, Auto Services, etc. For the convenience of cost accounting and further detailed receipt of expense reports, we added a price category module.
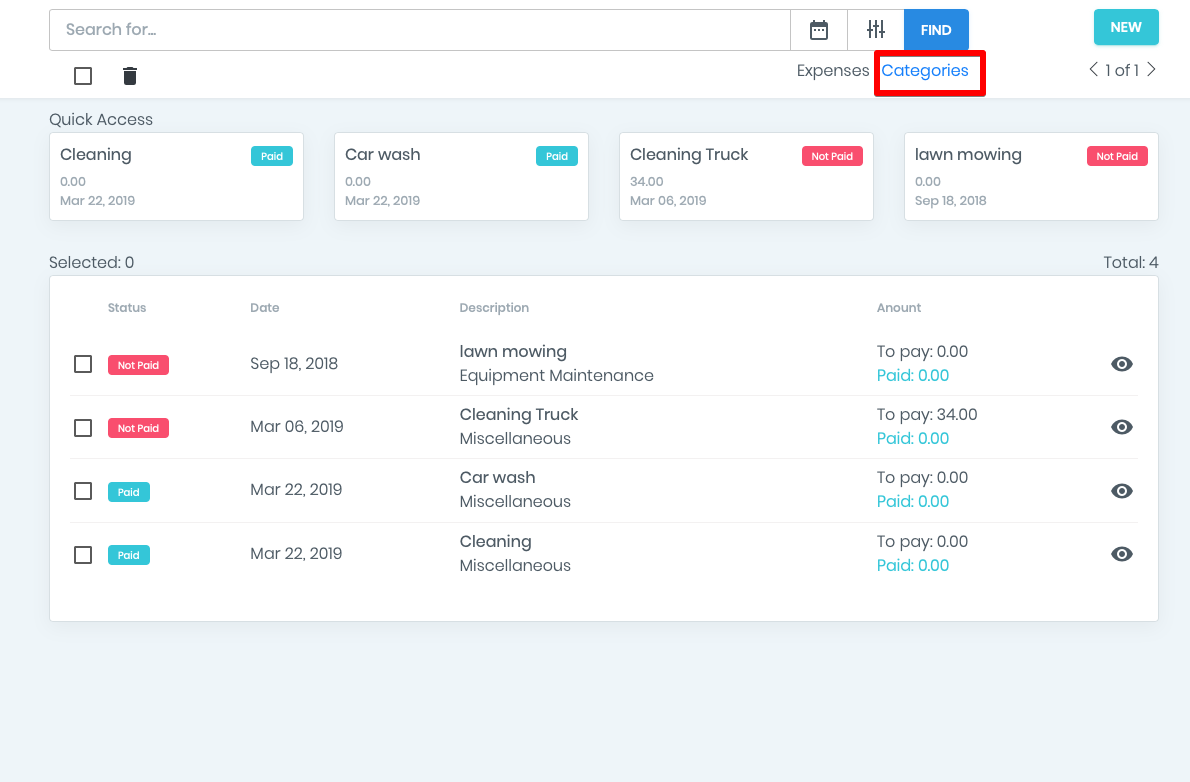
- In order to access and manage categories, click on the category link on the right corner under the search bar on the Expenses page.
How to add new category.
- On the expenses page, you can add/delete and edit categories of your expenses.
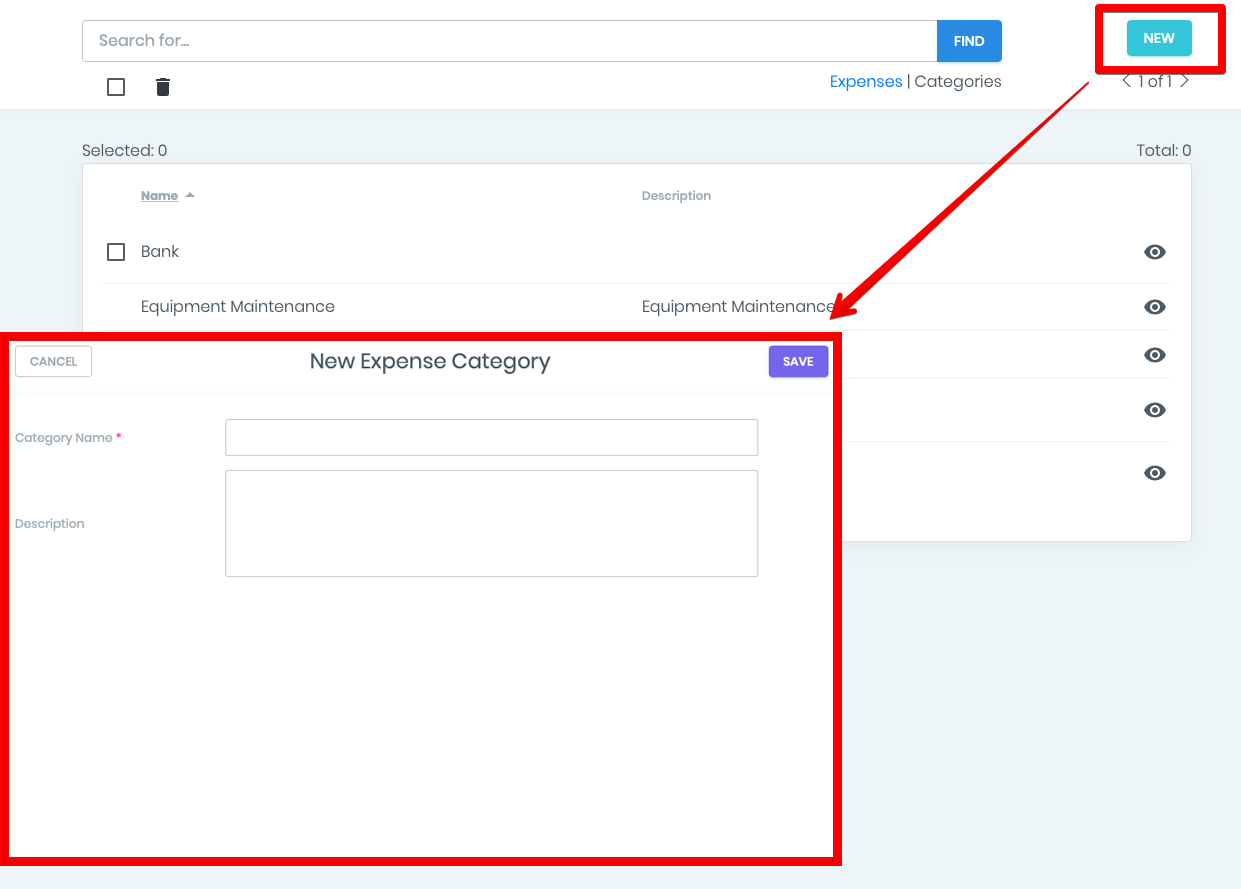
- To add the costs, just press the green NEW button and in the appeared window enter the Name and description of the expense category.
- After saving expenses, the newly created category of expenses will appear in the general list of the category of costs.
How to edit expenses category
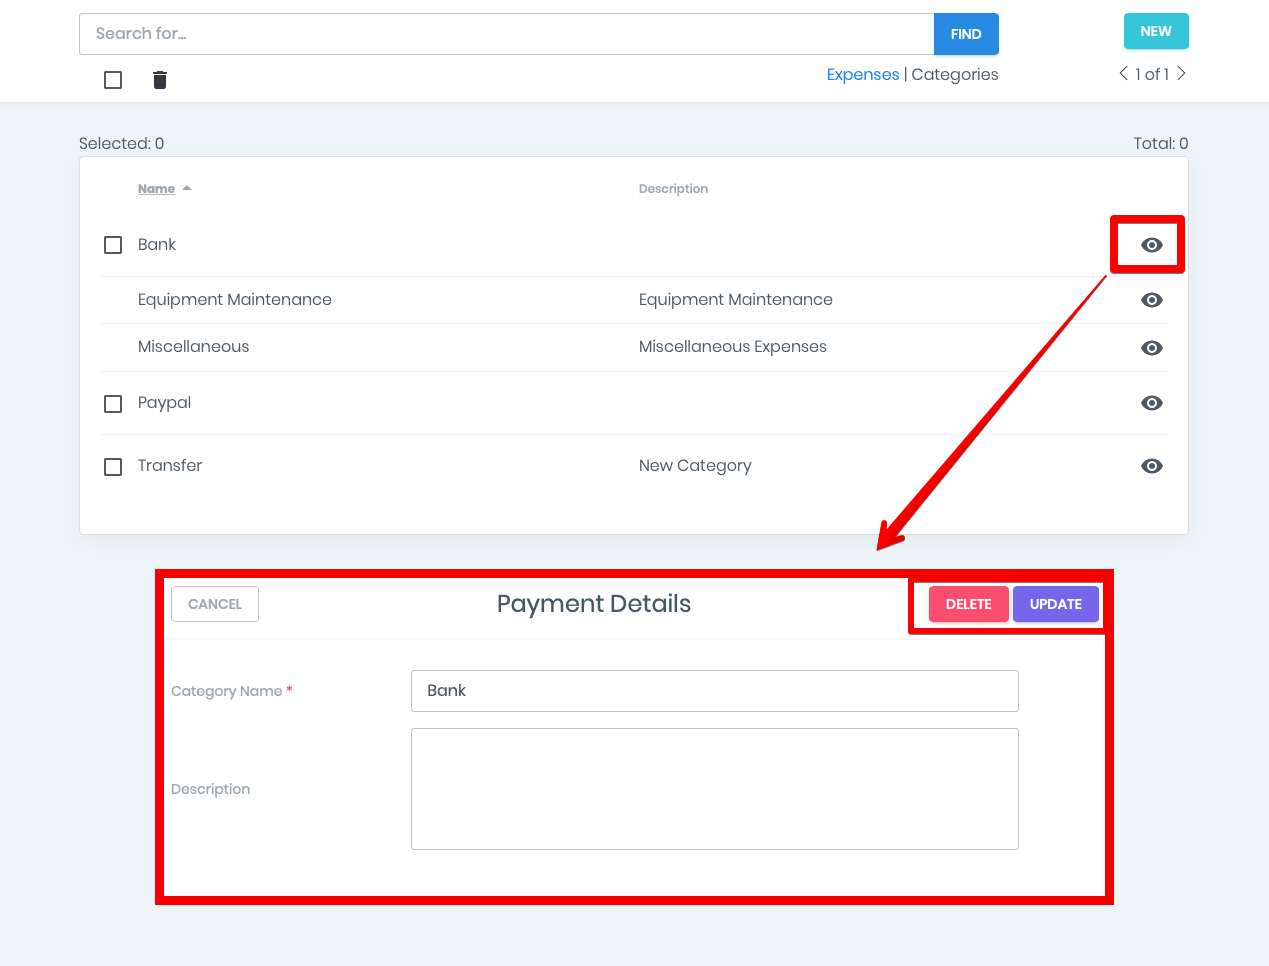
- To edit a category, simply click on the EYE icon and in the appeared form make all the necessary changes.
- To save the changes, please press the UPDATE button.
- You can also delete this expense by pressing the DELETE button.
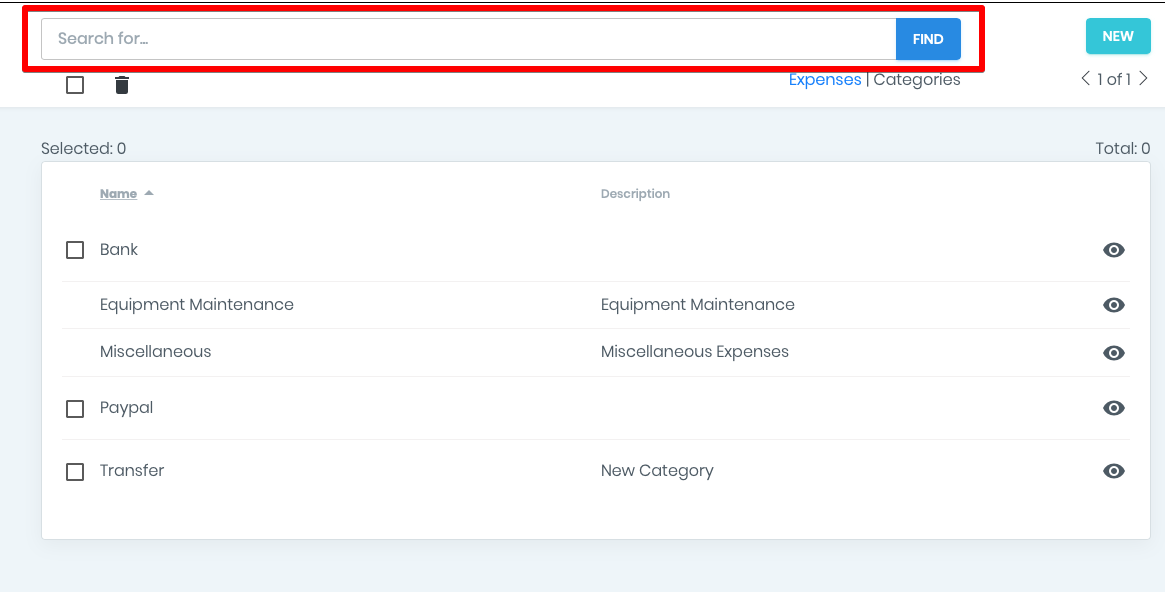
How to search by a category.
- On the category list page, you can search the needed expenses by category name or sort the list alphabetically and vice versa by clicking on the title of the Name or Description field.
NOTE: When registering an account, we create two categories for submission that cannot be deleted - this is done so that any expense would be associated with one of the categories.
In case you don't have created categories then all costs will be associated with the category Miscellaneous.
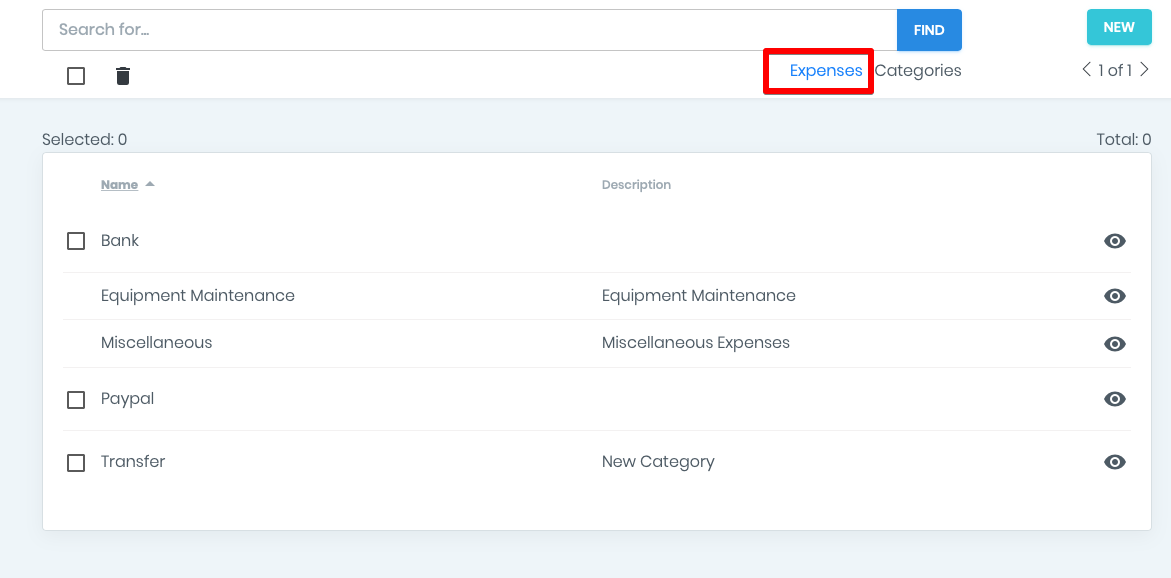
To move back to the main expenses page, click on the Expenses link on the right corner under the search bar on the expenses category page.
How to create a new expense
To add a new expense, please press the green NEW button in the upper right corner of the Expenses screen.
- Select the expense category to which this category belongs.
- Set the date of consumption
- In the Cost section, enter financial expense information.
- In the field taxes, you can enter taxes in percentages or a fixed amount.
- MamangeMart recounts the full cost for you
- Select an expense payment method (cash, card, bank, etc.)
- In the Assign section, you can associate this expense with the User, Equipment or Employee.
- In additional information field, you can enter data that is not included in the standard set of fields. You can either enter individual fields or select a custom field template from the created area. (Watch the video about custom fields).
- You can add notes if needed
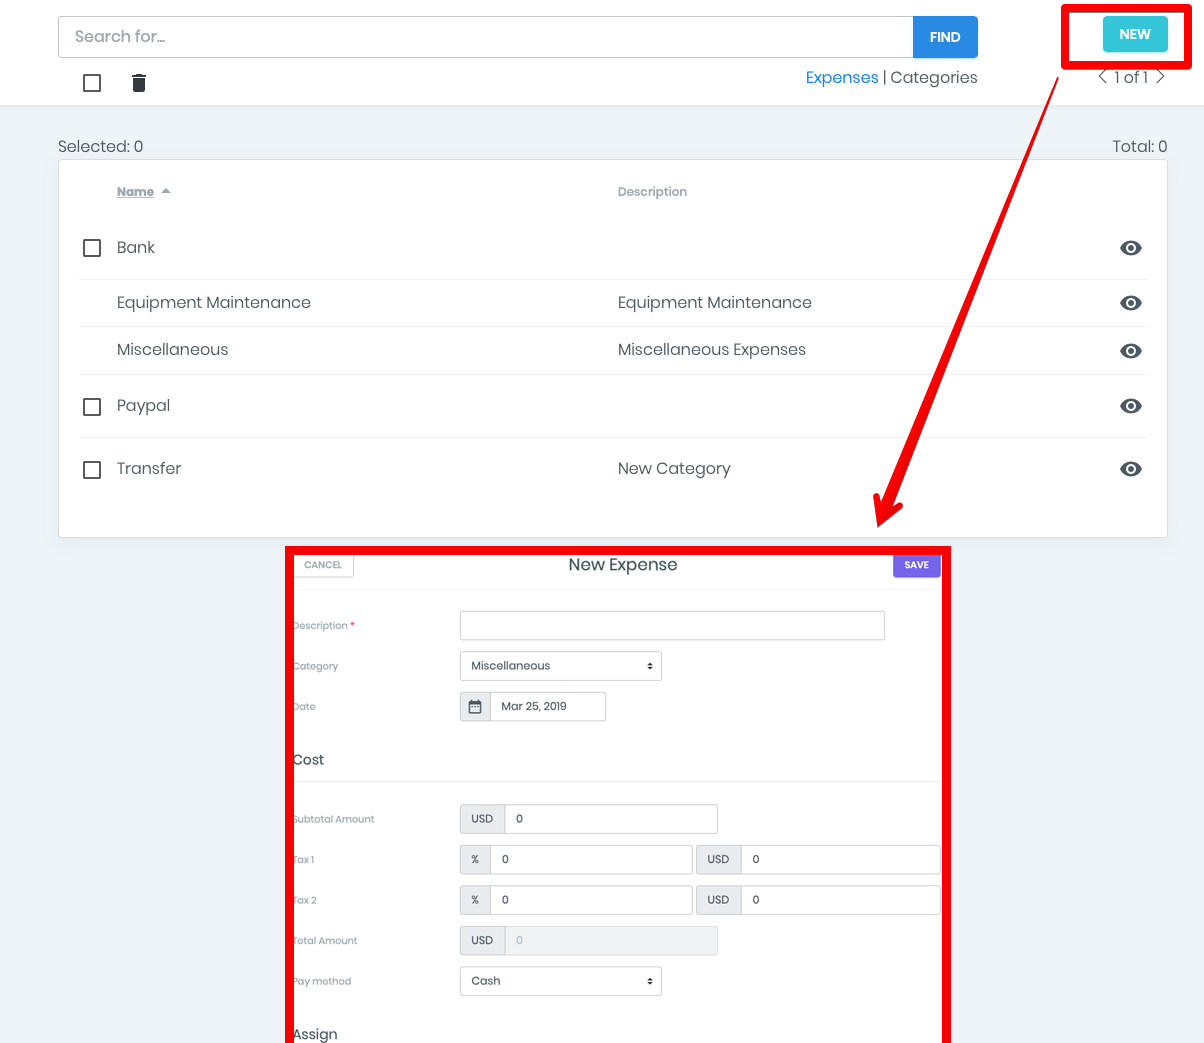
- To save the new expense please press SAVE button in the top right corner.
- Now you can view the new expense in the QUICK Access block and the general list of expenses.
How to View and Edit Expenses.
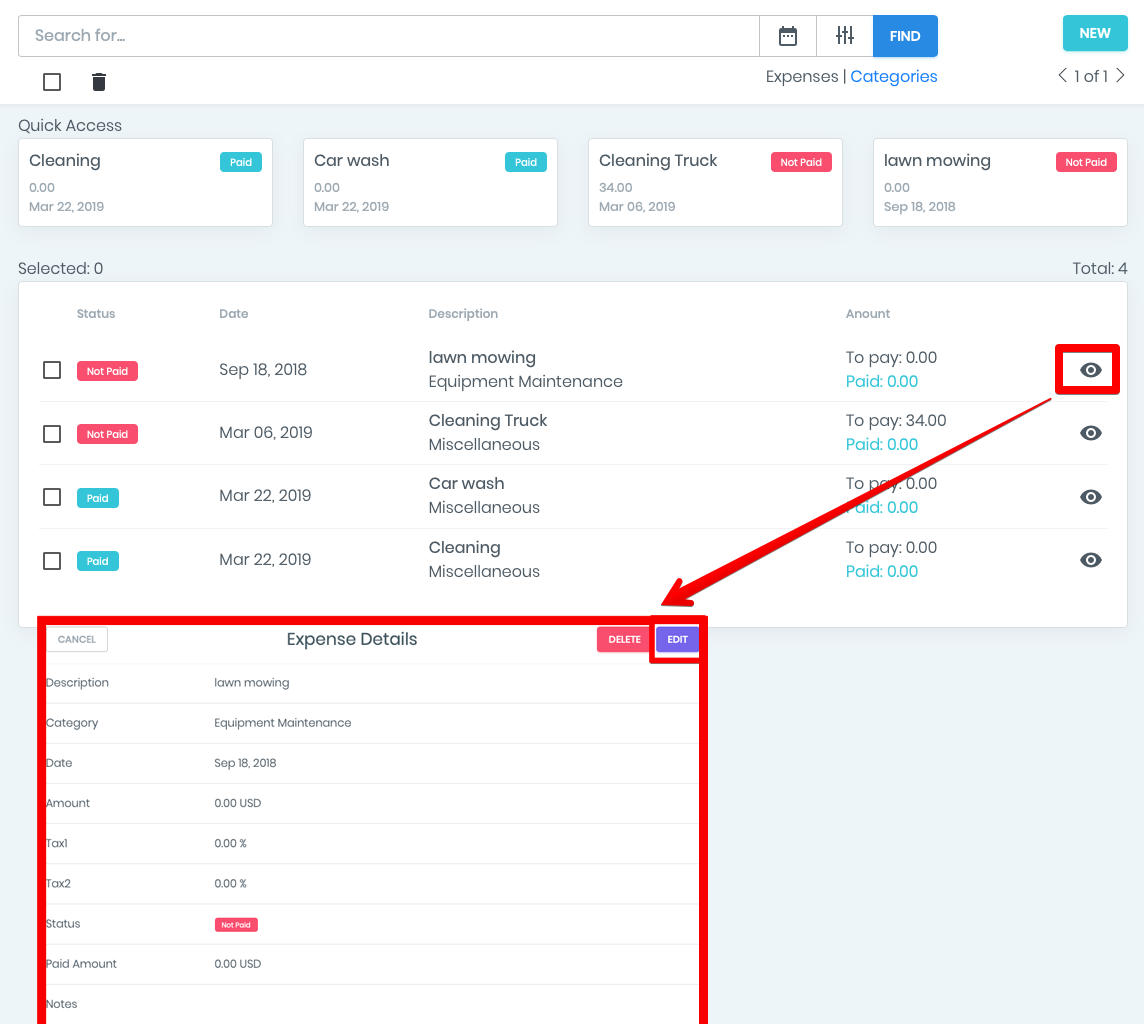
- To view the details and change the expense rate, click on the EYE icon - in the window that appears, you will see detailed information about the expense.
- To move to the expense editing window, please click on the Edit button.
- By clicking on the EDIT button, you will be forwarded the expense editing window, where you can change any information about this expense.
- To save the changes, please press the UPDATE button in the upper right corner.
- By pressing the DELETE button in this window, the expense will be deleted.
How the expenses filters works.
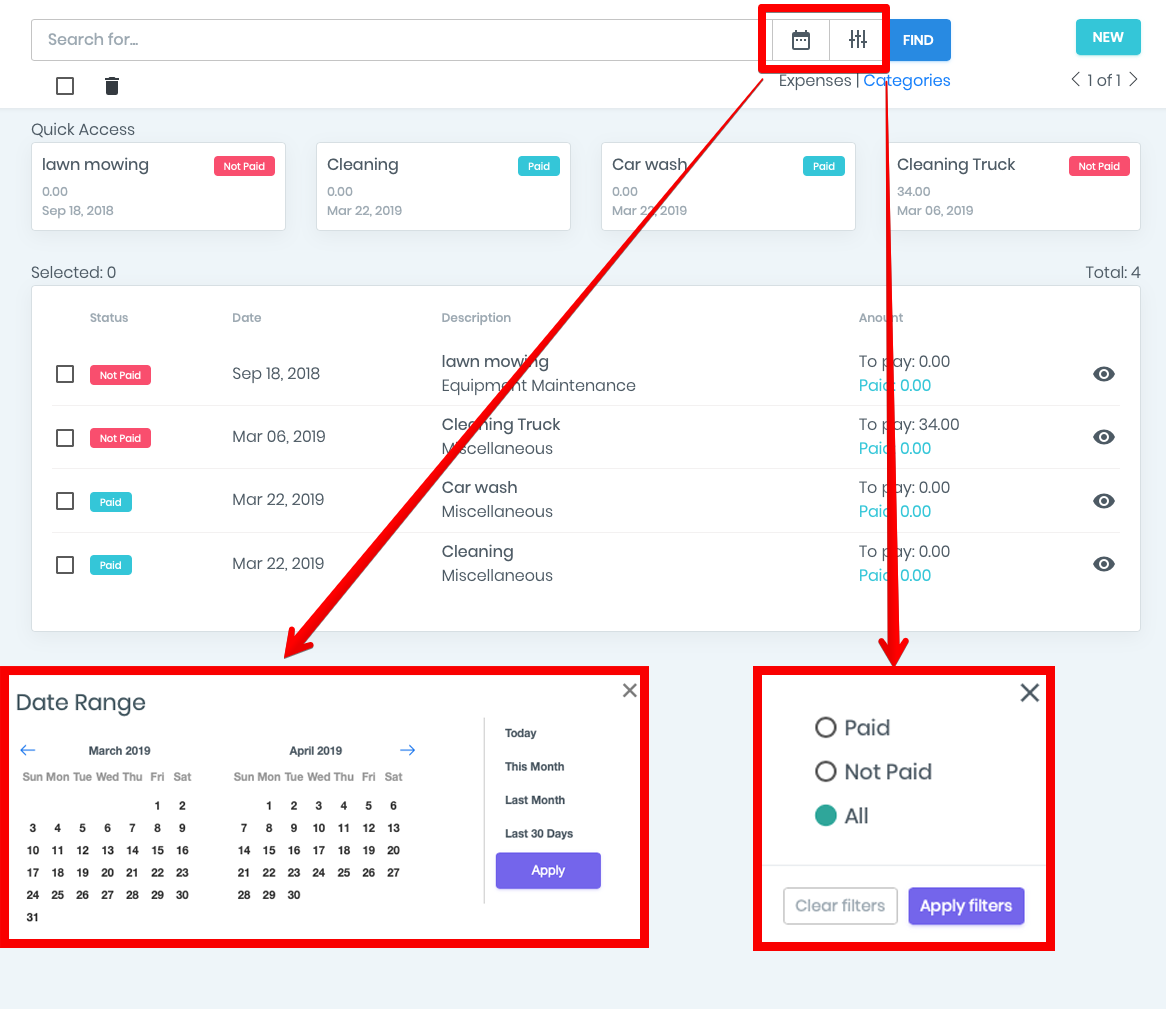
On the expenses list page, you can see all your expenses that you have added earlier or that were automatically added from your bank (automatic import of expenses prepared a separate video).
- For user convenience, you can filter the list of expenses.
- You can sort expenses by status: paid, not paid or all.
- You can also set a range of dates on which you want to watch expenses.
- You can search for expenses by their name. You can sort the list of expenses by date, status, name and amount, to do this, click on the table header with the appropriate name.
