Custom fields
How the ManageMart Custom Fields feature works.
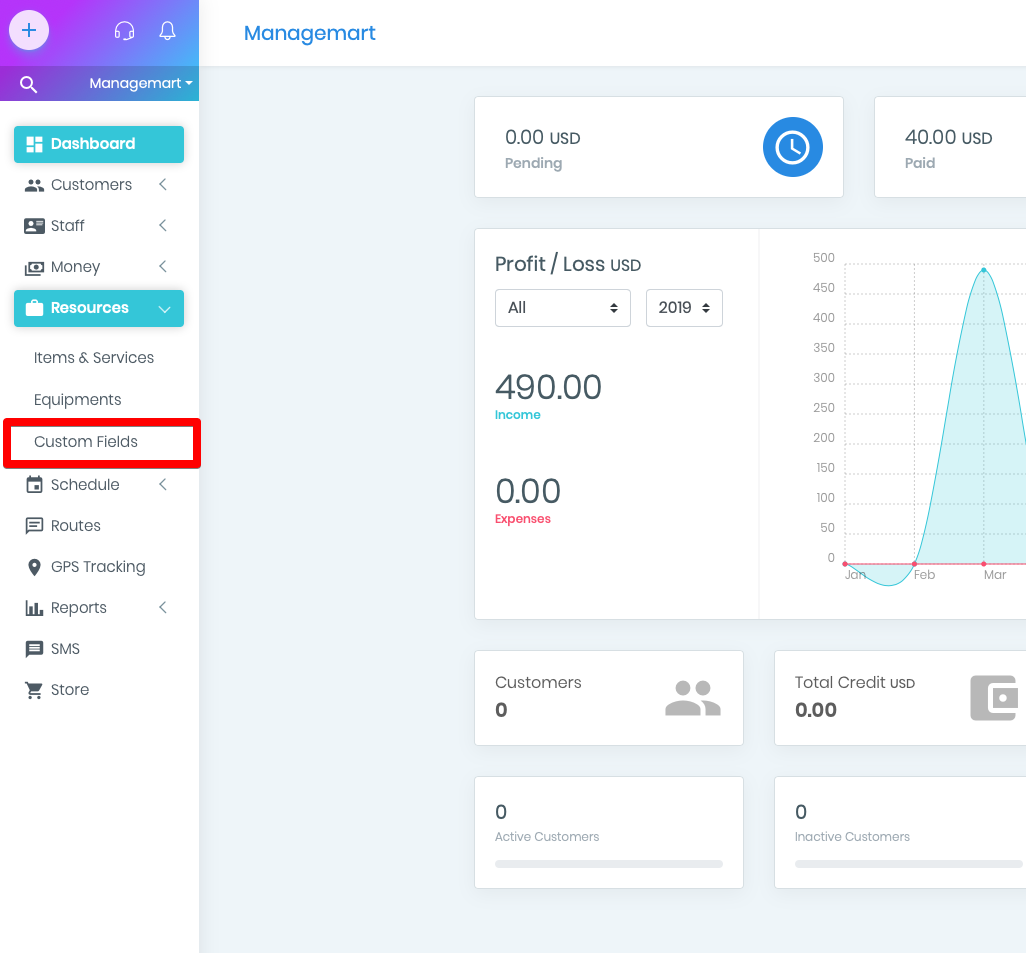
- To get to the page to customize fields you need to click on “Resources” menu item on the Left side navigation bar, then click on “Custom Fields” submenu item.
Custom fields - it's a convenient method to store a variety of information which is not included for some reasons into the regular set of applications on ManageMart pages.
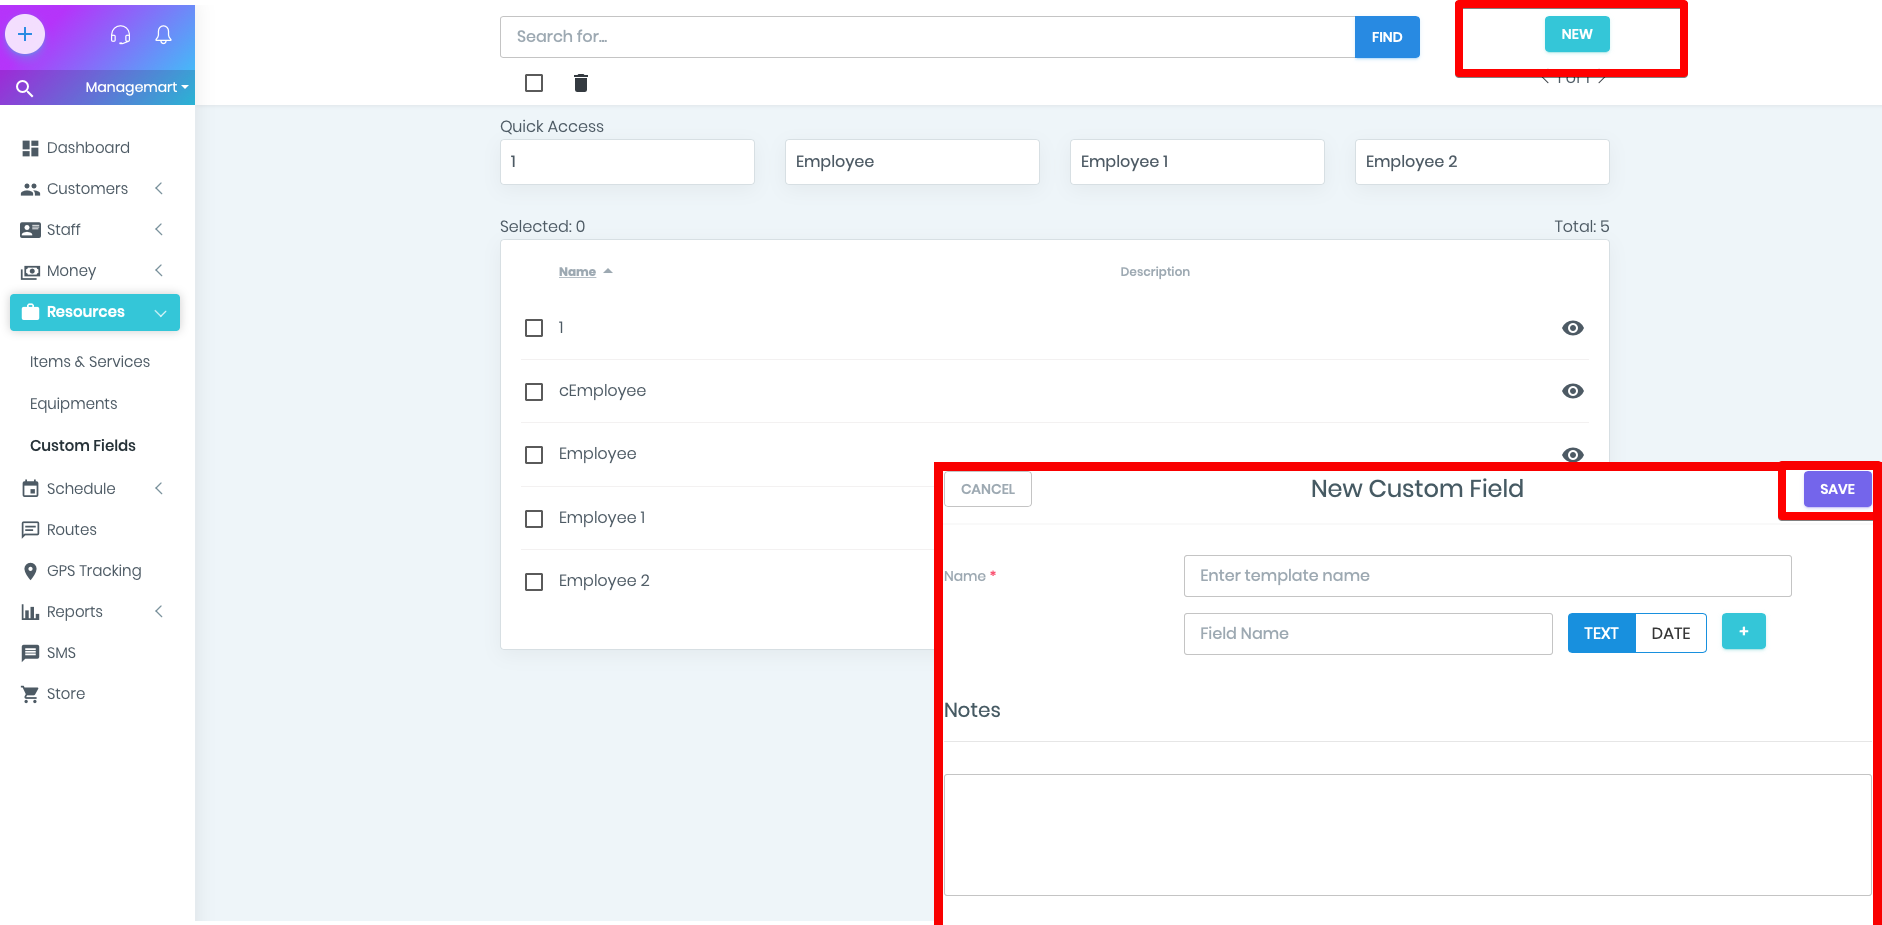
- To create new custom field, please click on the green button "new" in the right top corner.
- Fill in all the required fields with information and click “Save” button in the top right corner.
To find the list of Customizable Fields you need
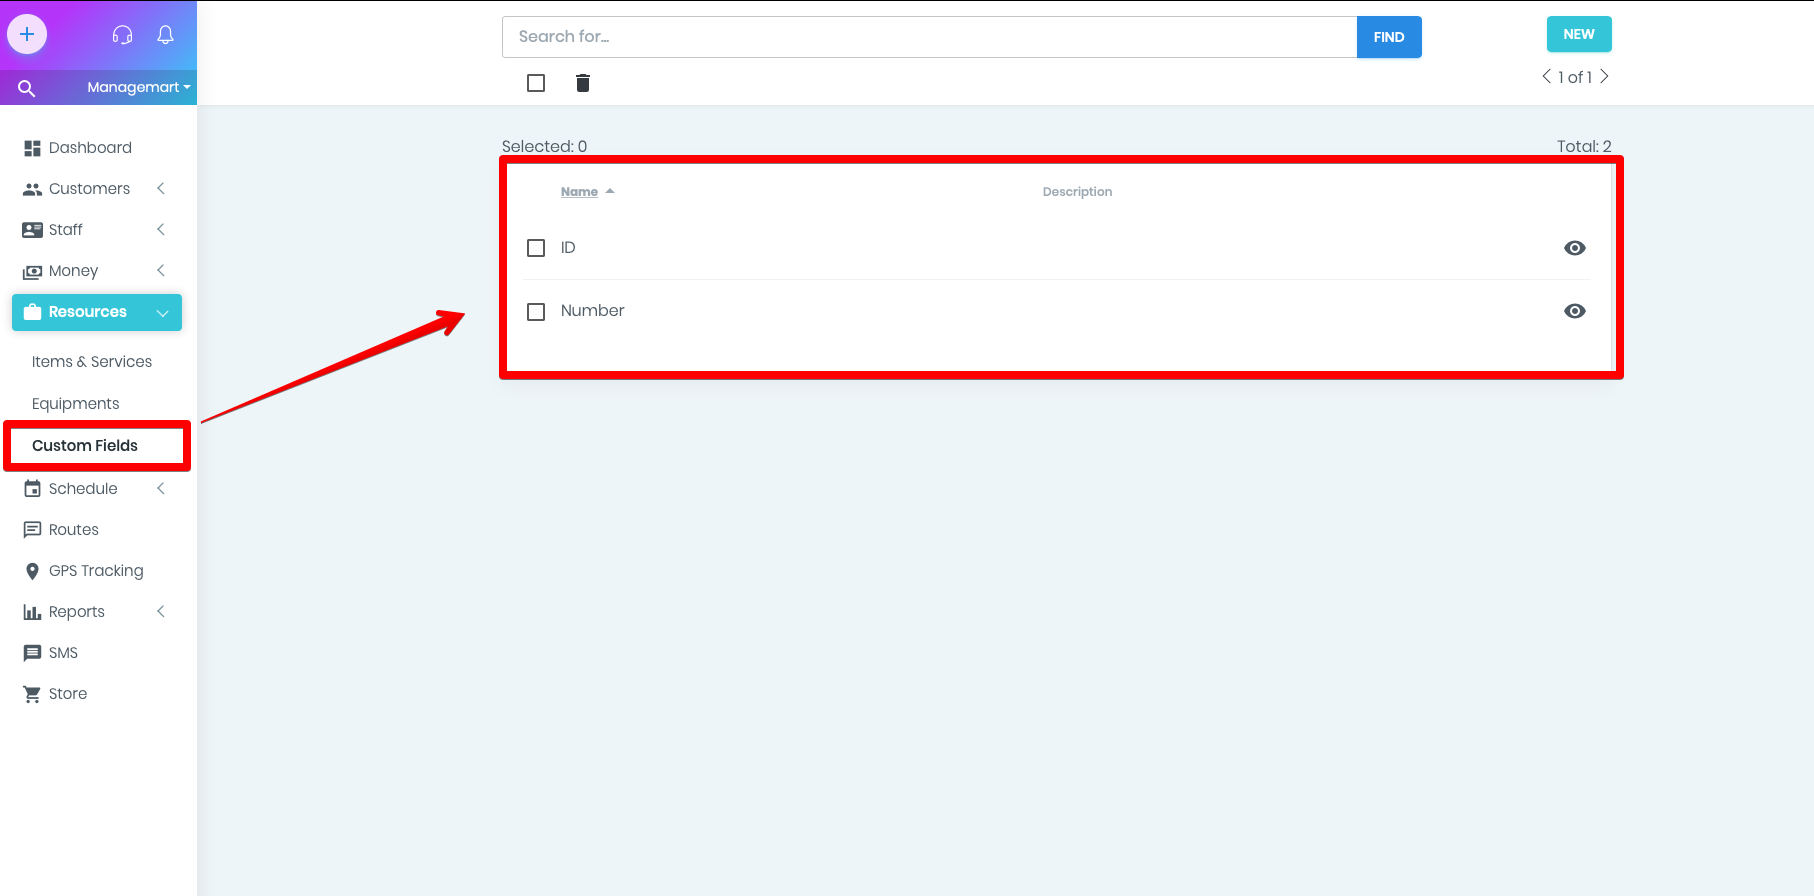
- To click on “Resources” menu item on the Left side navigation bar, then click on “Custom Fields” submenu item.
- Now you can view all the exciting custom fields in your ManageMart account.
How the search and quick access option works
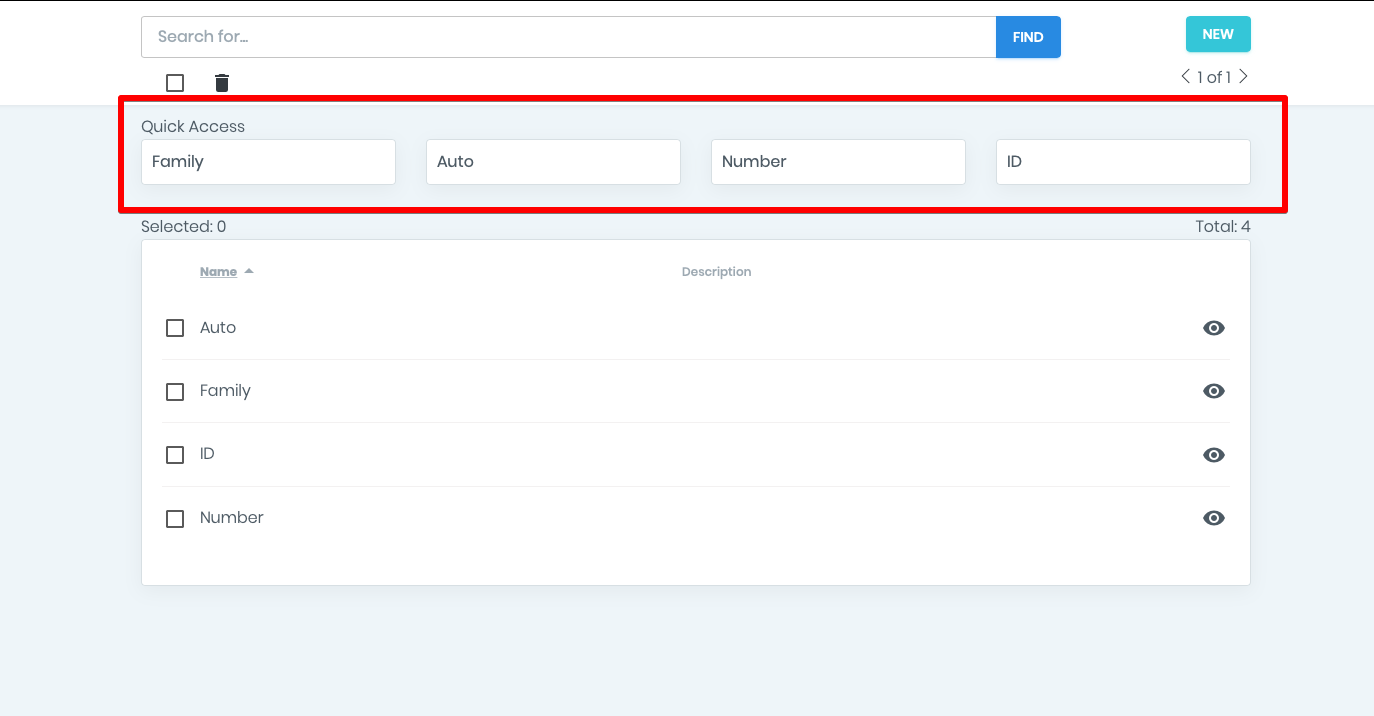
- Under the search bar, you can see the quick access block, which contains the last four custom fields you have viewed or edited recently.
- By pressing on one of them you can edit the custom field.
- Also, you find any template by entering its name or description in the search bar.
How to delete a template
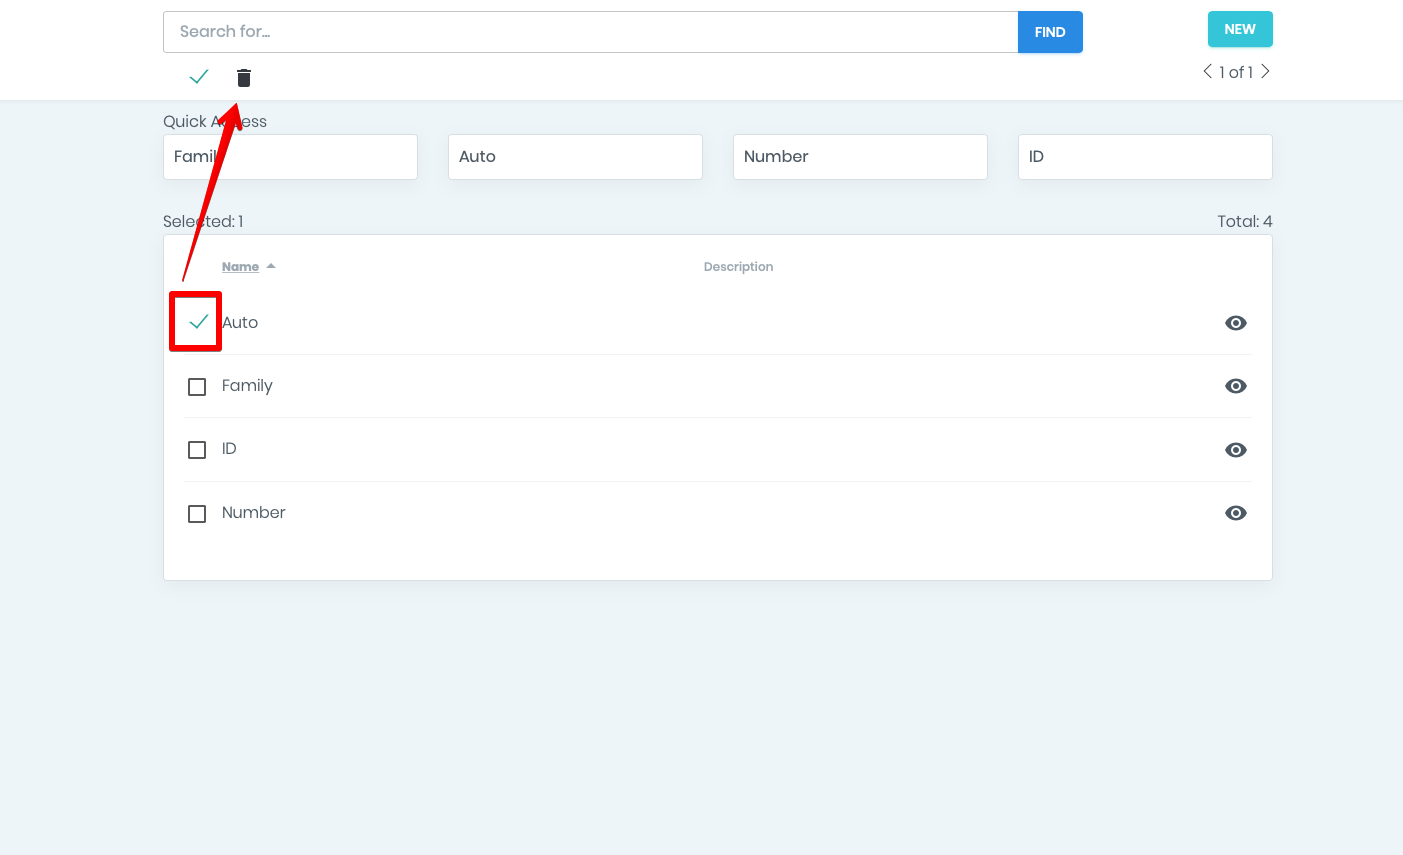
- Enter the name of the field you want to delete in the search bar
- Mark the tick on the selected equipment and then press icon "trash" under the search section. You can even do it in bulk.
- Confirm your decision by pressing the button " Delete"
Example of using a custom field
- To get to the page “Customers” click on “Customers” menu item on left side navigation bar.
- To begin with, please press the button "New" in the right top corner of the form with the lists of all the customers.
- Fill in all the required fields with information about your equipment. Such as name, select the category,pick the type of the customer, date, discount ( if any) and status.
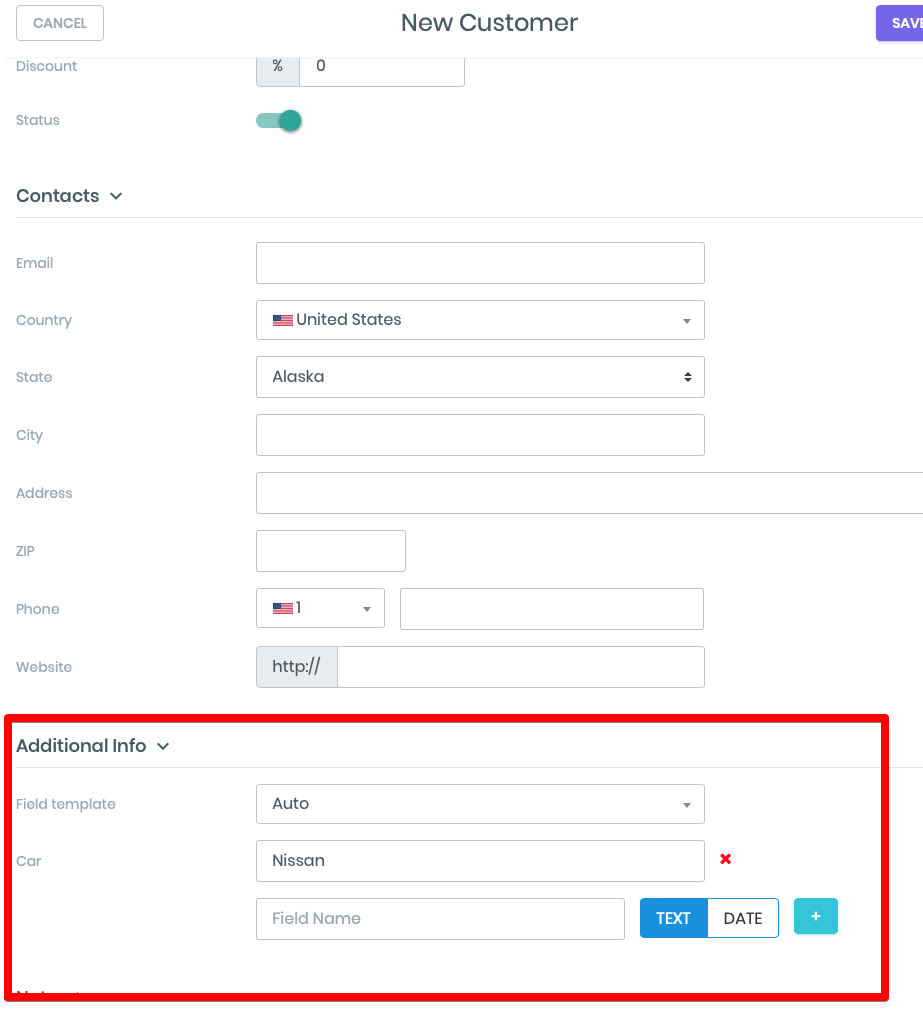
- In the Additional information field choose the needed template.
- Click "Save" in the right top corner of the form
- Now, you can see it in the list with the rest of the customers.
- To view the profile and additional information, please click on the icon "eye"
