Settings
Overview
In this video we’ll tell you about how the ManageMart Settings Management features works.
How to search Setting section
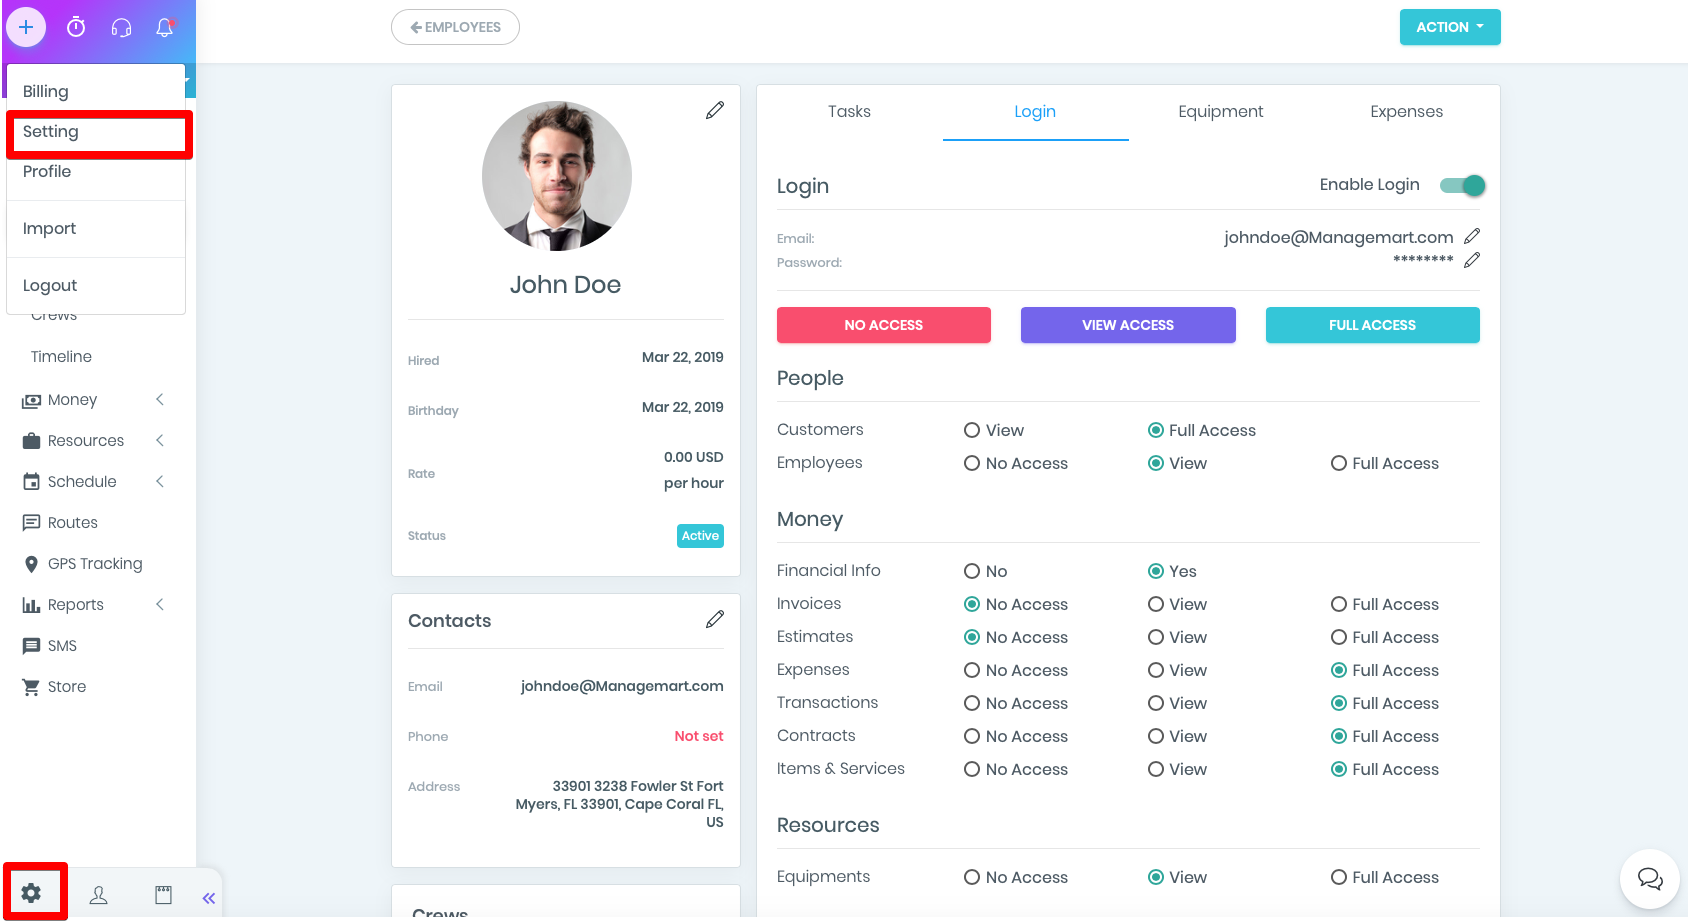
To get to the Settings section, click on the gear in the lower left corner of the screen. You can also get to this page by clicking on the companies name on the top of the page and then select - Settings from the drop-down list.
Overview Settings
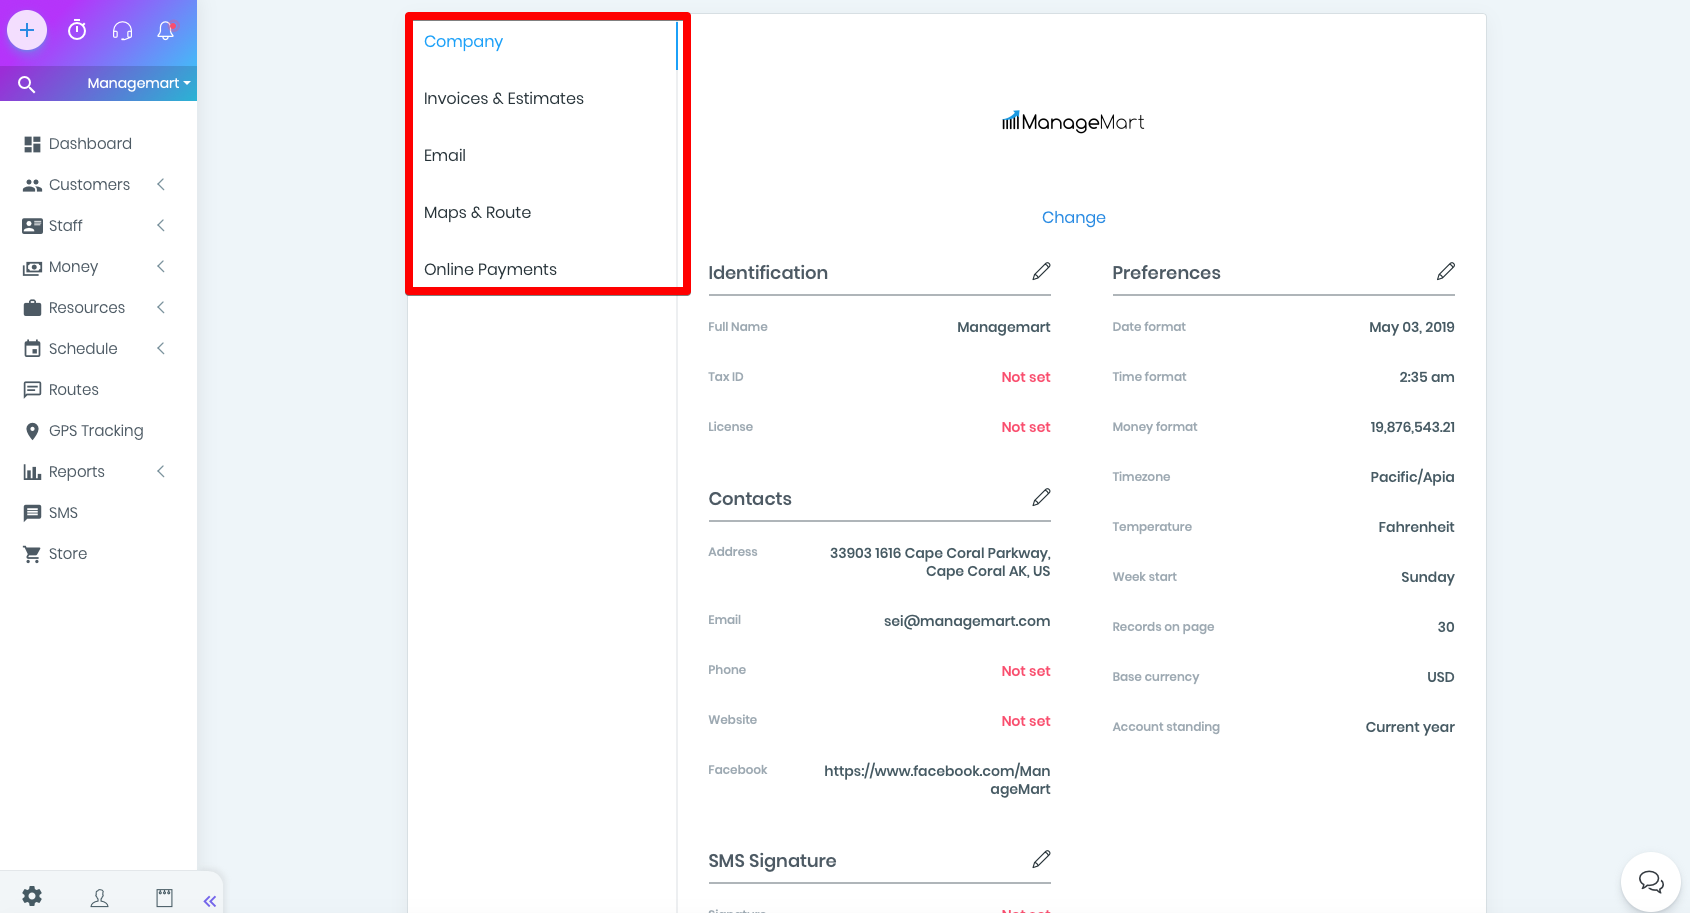
On the page - Settings on the left side you will see the list of settings with the following subdivisions:
- Company
- Invoices & Estimates
- Maps & Route
- Online Payments
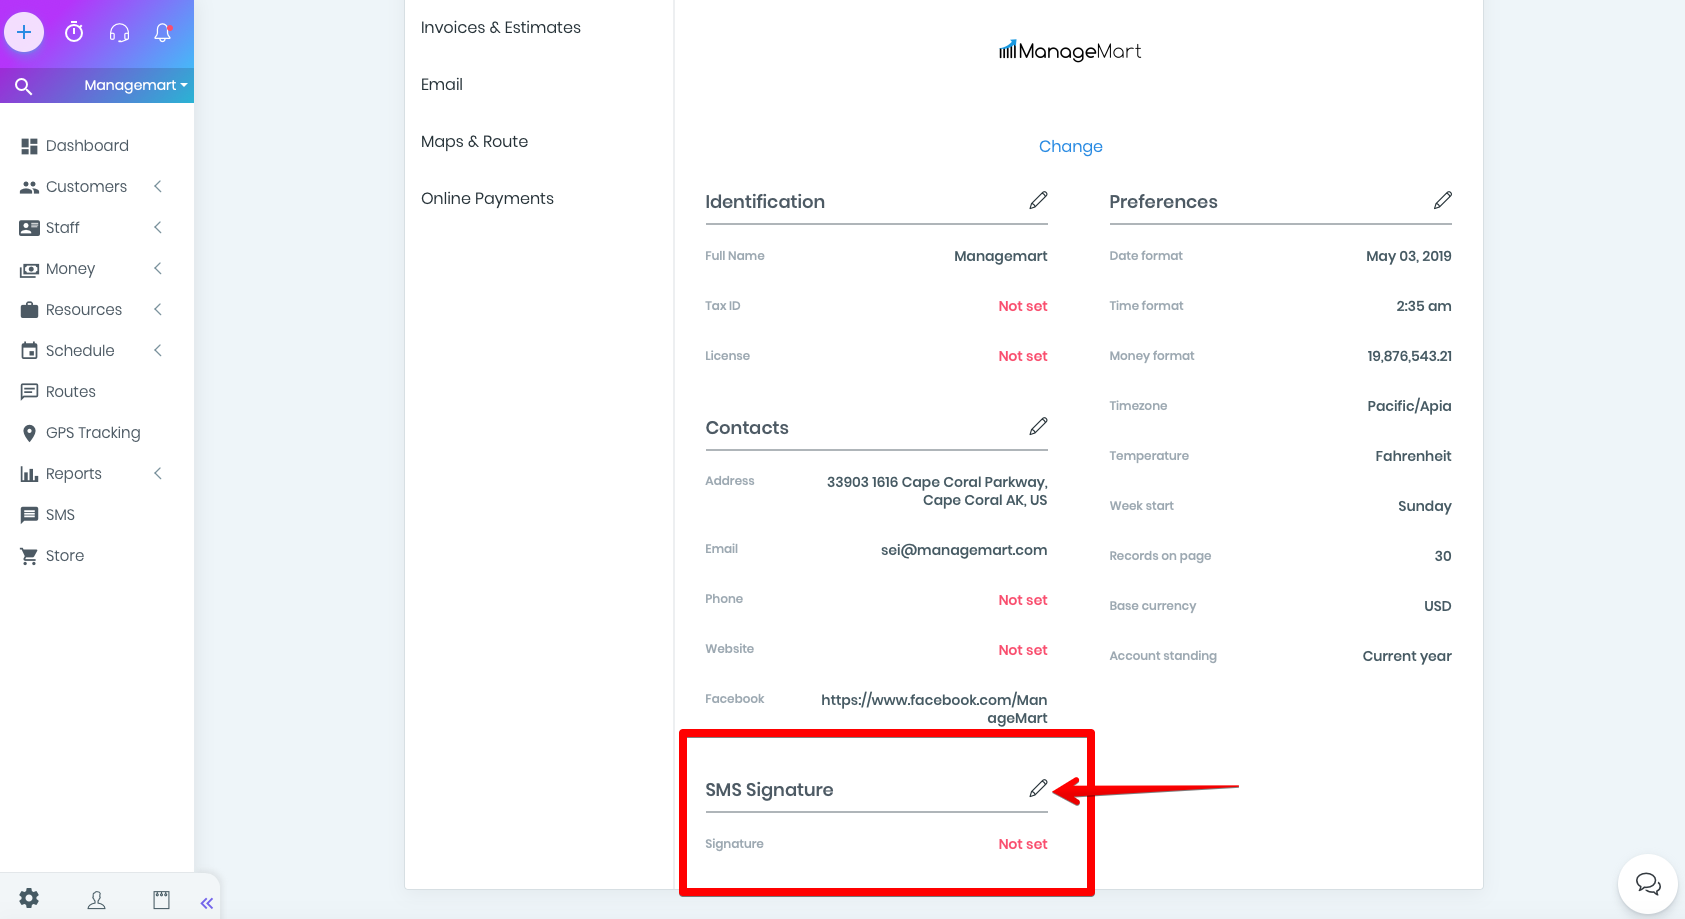
In the Identification section by clicking on the “pencil” you open a window with the following fields:
- Full name - your company name (required to fill)
- Tax ID - tax registration number of the company (optional to fill out)
- License - company license number (optional)
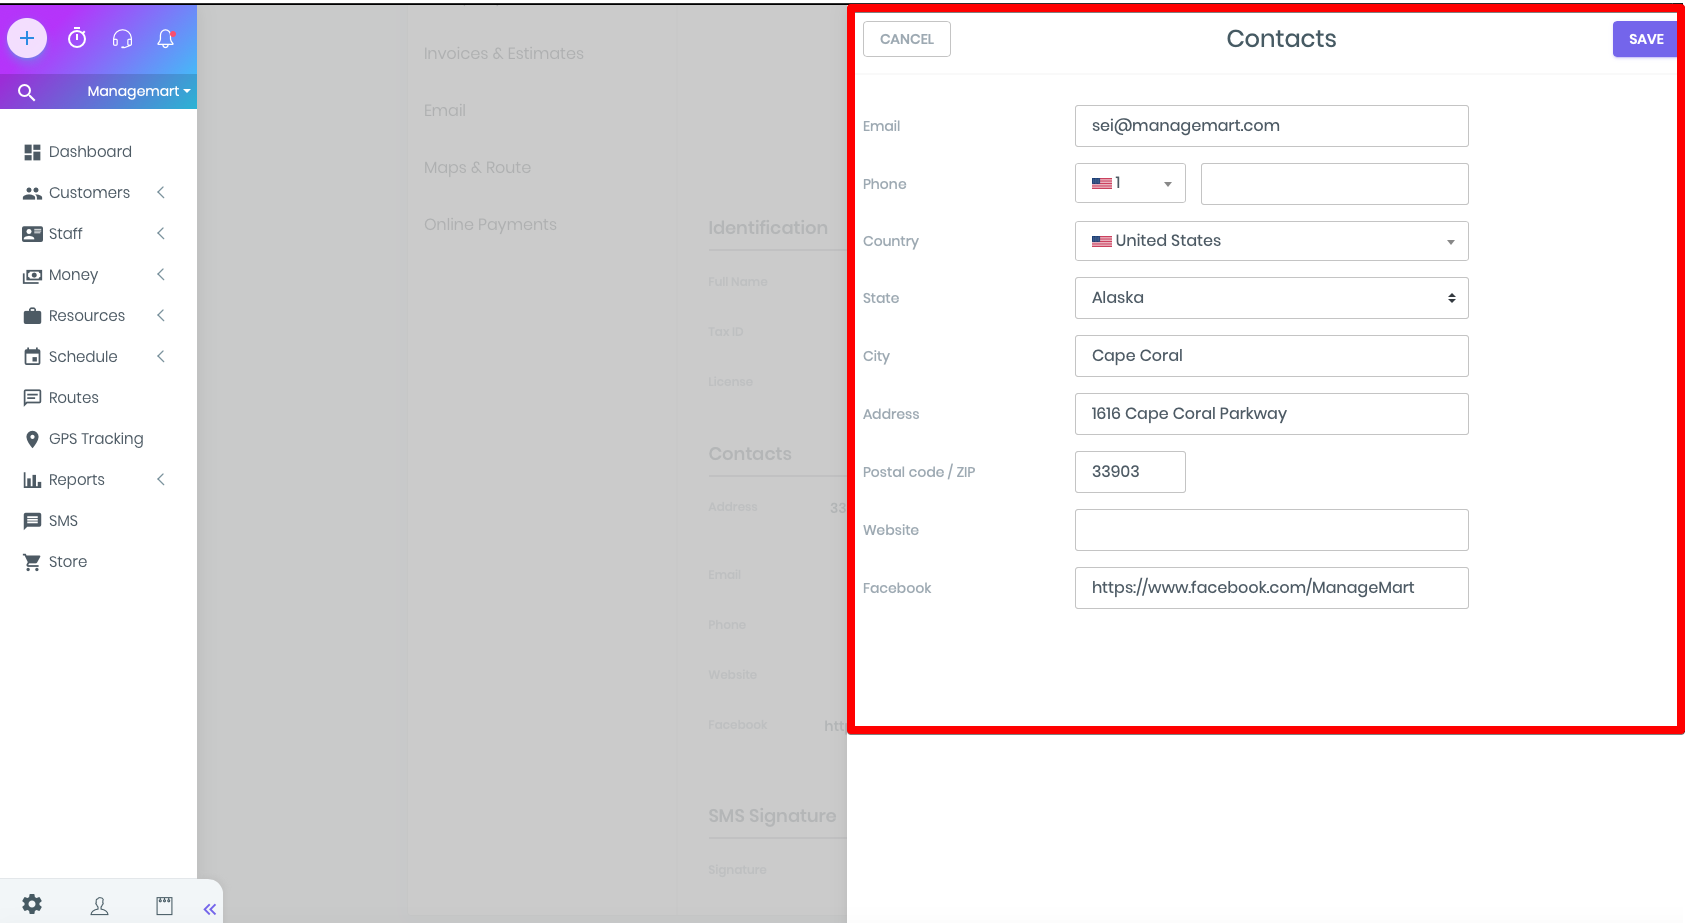
Contacts section
In the Contacts section, if you wish, you can add contacts about your company. This fields are not required to fill, but entering this information will help your customers to quickly find your contacts for communication - after all, they will be also displayed on your documents, invoices, estimates.
Here you will find:
- Email - email address of your company
- Phone - companies phone number
- Country - where the company is registered
- State - where the company is registered
- City - where the company is registered
- Address - companies address
- Postal Code/ZIP
- Website - link to your website
- Facebook - link to your facebook account
To save all the changed settings, please press “Save”
SMS Signature
SMS Signature - a window containing only one field (optional). Here you can enter a signature that will be displayed at the end of SMS messages from your company.
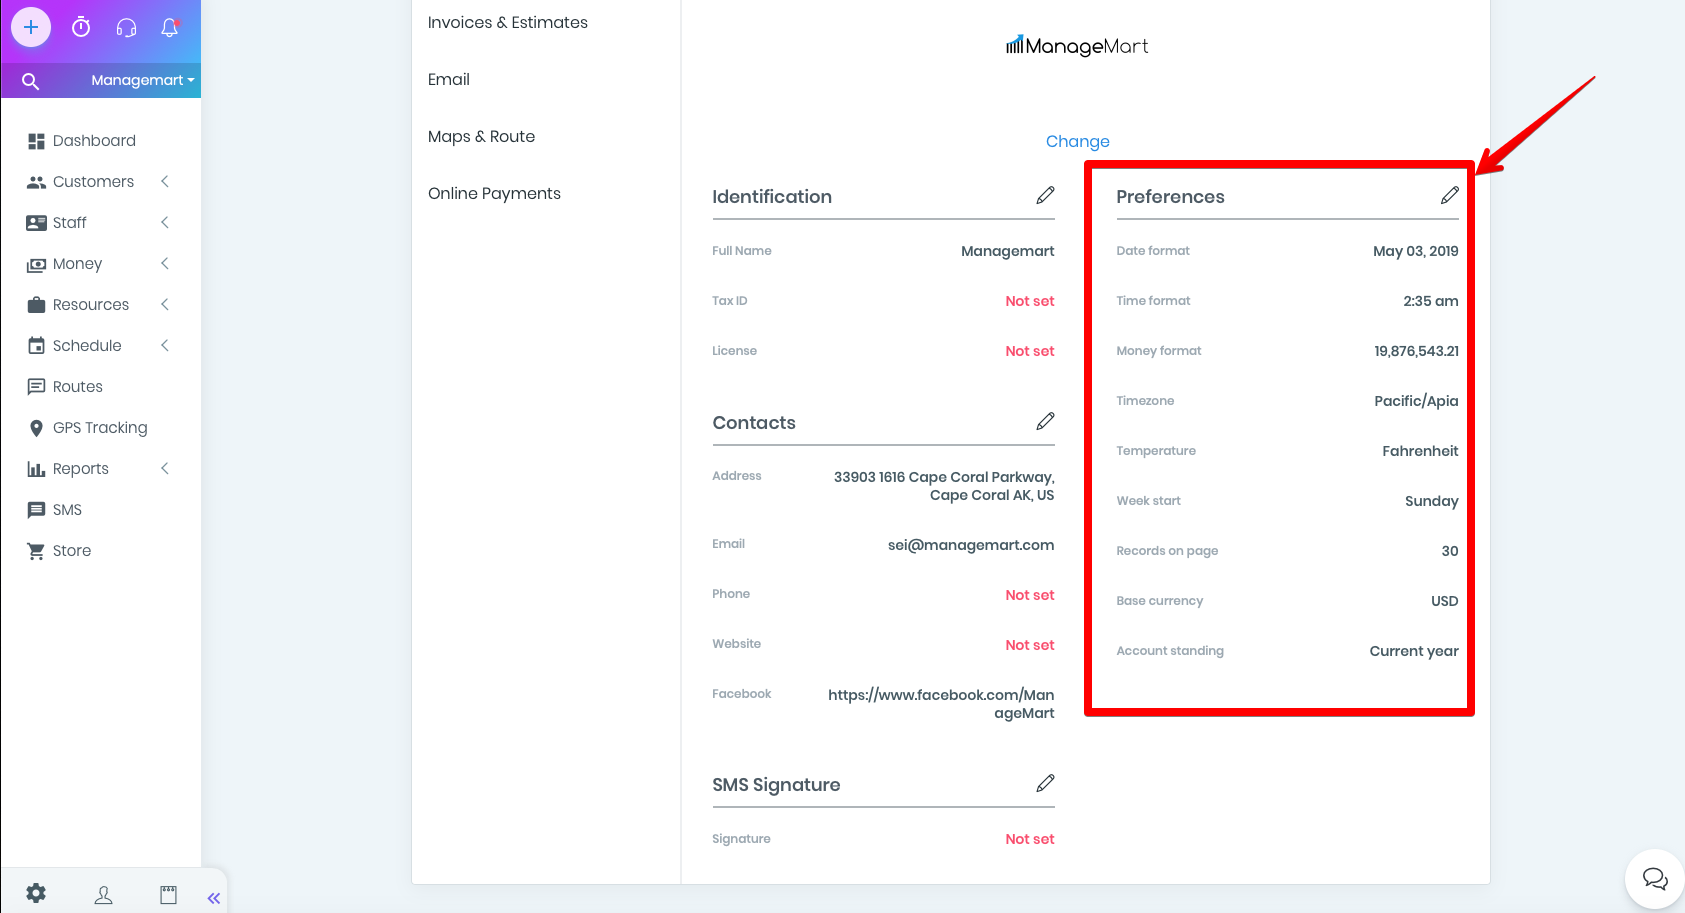
Preferences section
In the Preferences section, you set the display settings for the basic units:
- Date format
- Time format
- Money format
- Timezone
- Temperature - select all items from the drop-down list when you click on the appropriate field.
- Week start - choose the beginning of your work week
- Records on Page - setting, which is limited to the number of records on one page (for example, the number of accounts)
- Base currency - select the base currency of your company
- Account standing - also choose from the list
Subsection Invoices & Estimates
In the subsection Invoices & Estimates, the first part is called - Estimate to invoice.
There are 2 items in this window:
Transfer terms
- By setting the slider to the active position, your terms will display the terms field with the text that you submit in the “Estimate default messages” section.
- If the slider is in the inactive position, then will be applied the Default Invoice Terms.
Transfer notes
- By activating the slider here, in your estimates the notes field will be displayed with the text that you submit in the “Estimate default messages” section.
- If the slider is in the inactive position, Default Invoice Notes will be applied.
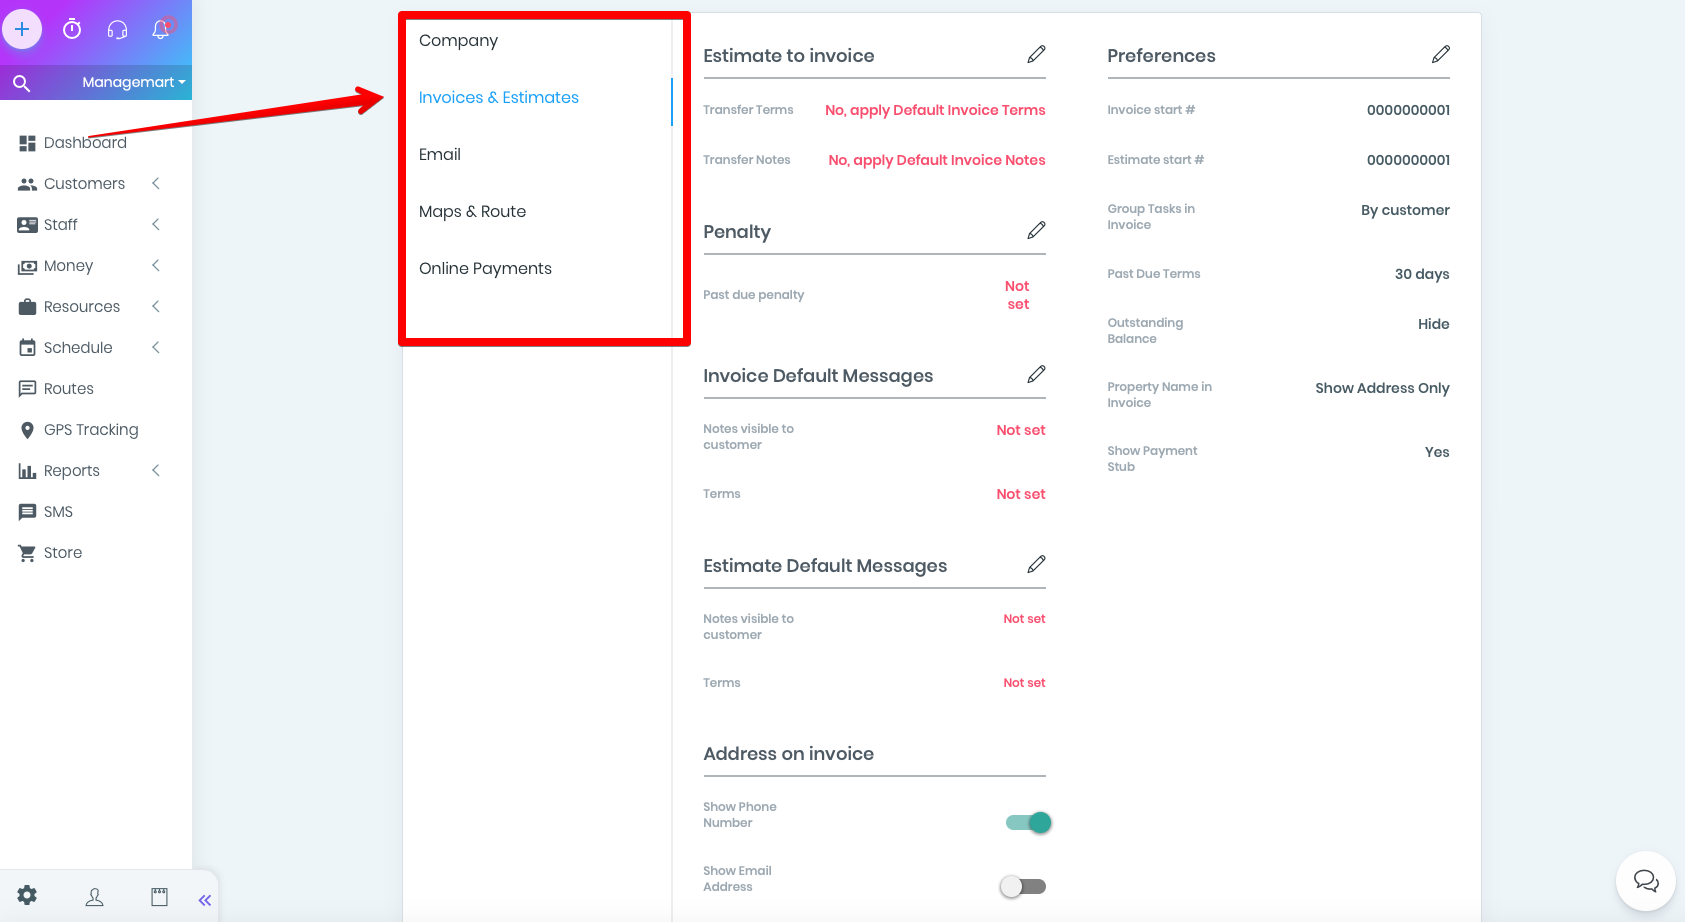
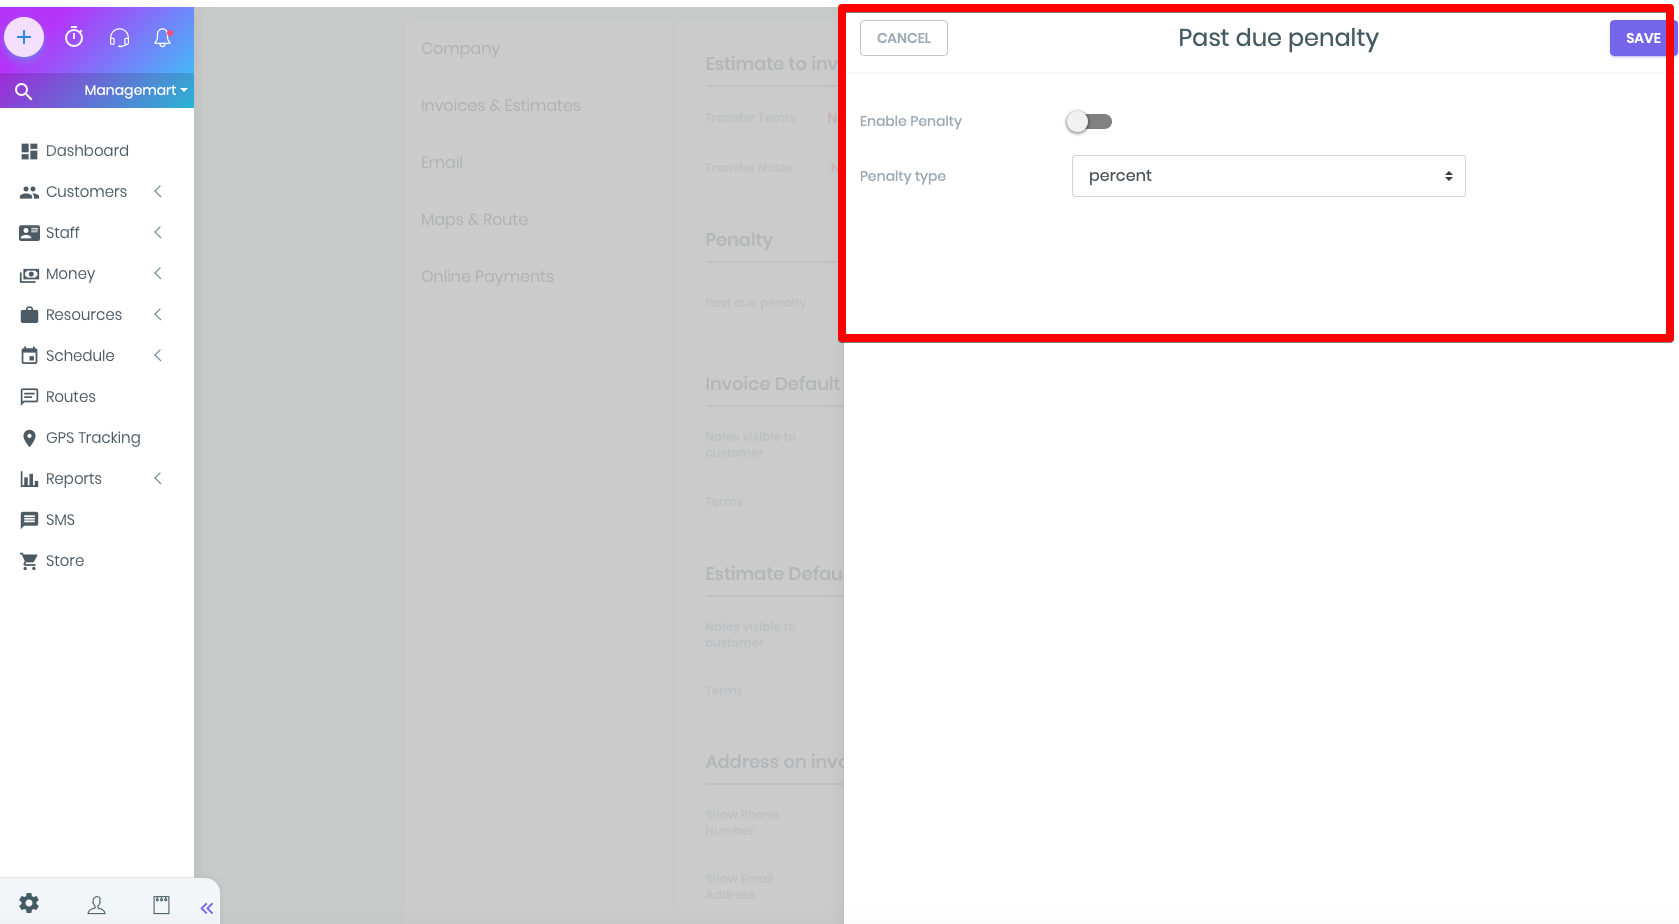
Penalty part
In the Penalty part you can set a penalty for late payment. To do that, click on the slider, in penalty type select from the list - a percentage or a fixed amount, and in How much? - interest rate or add the amount manually.
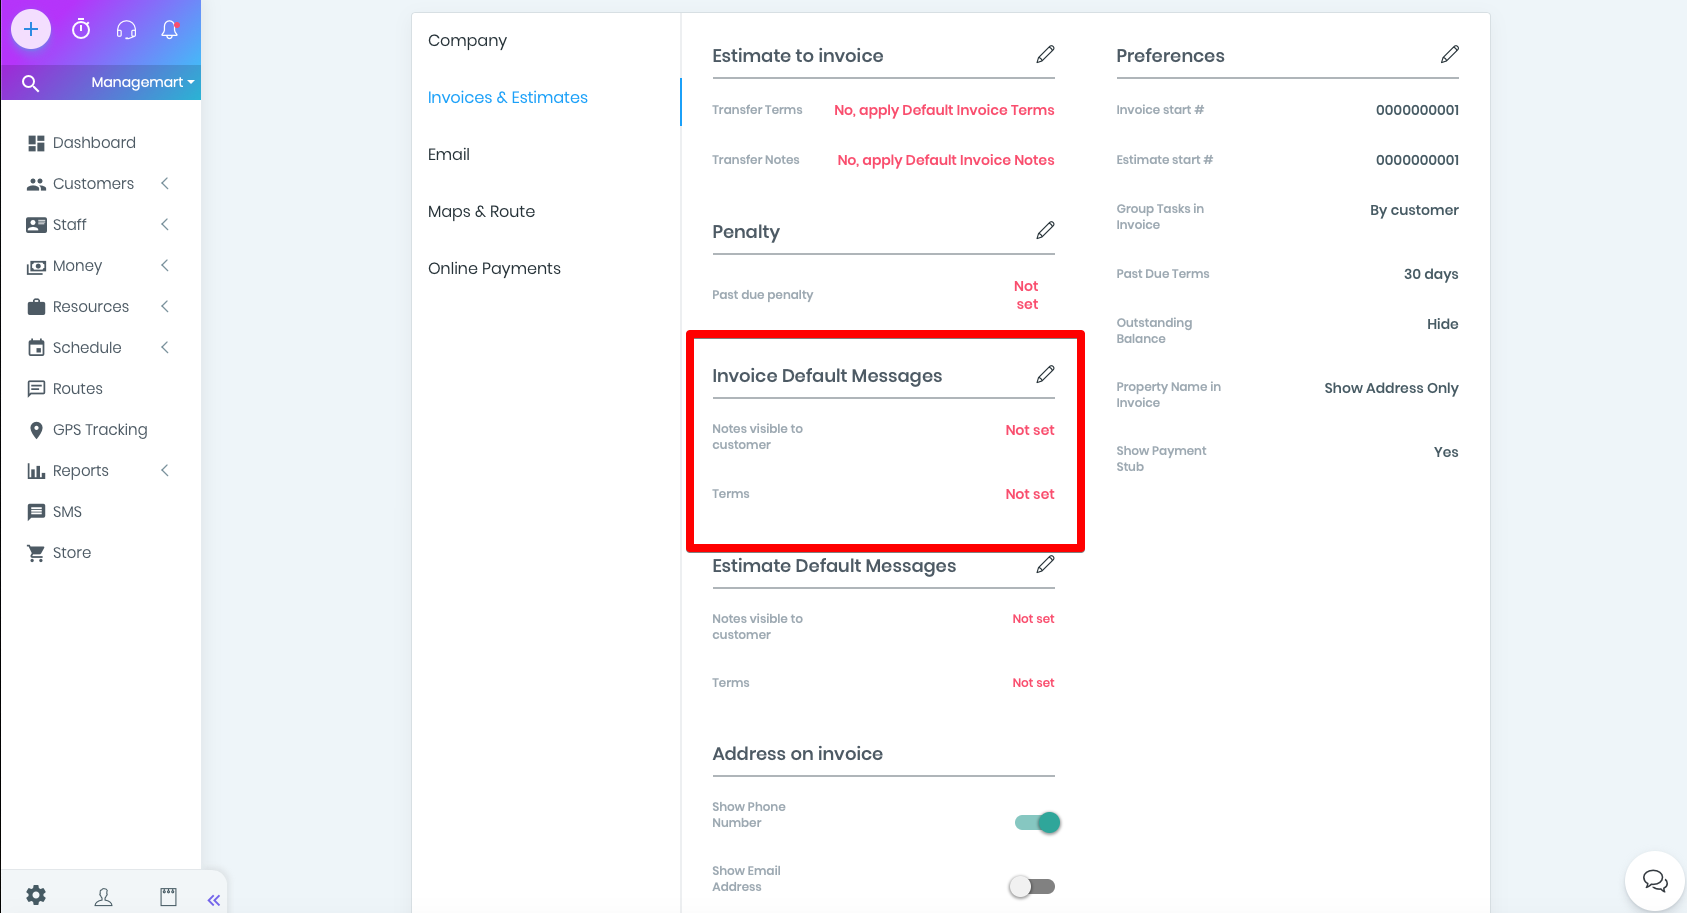
Invoice Default Messages part
In the Invoice Default Messages part you can fill in the fields with notes (Notes visible to customer) and terms (terms) that the client will see in invoices if you activate the sliders in the “Estimate to invoice” part.
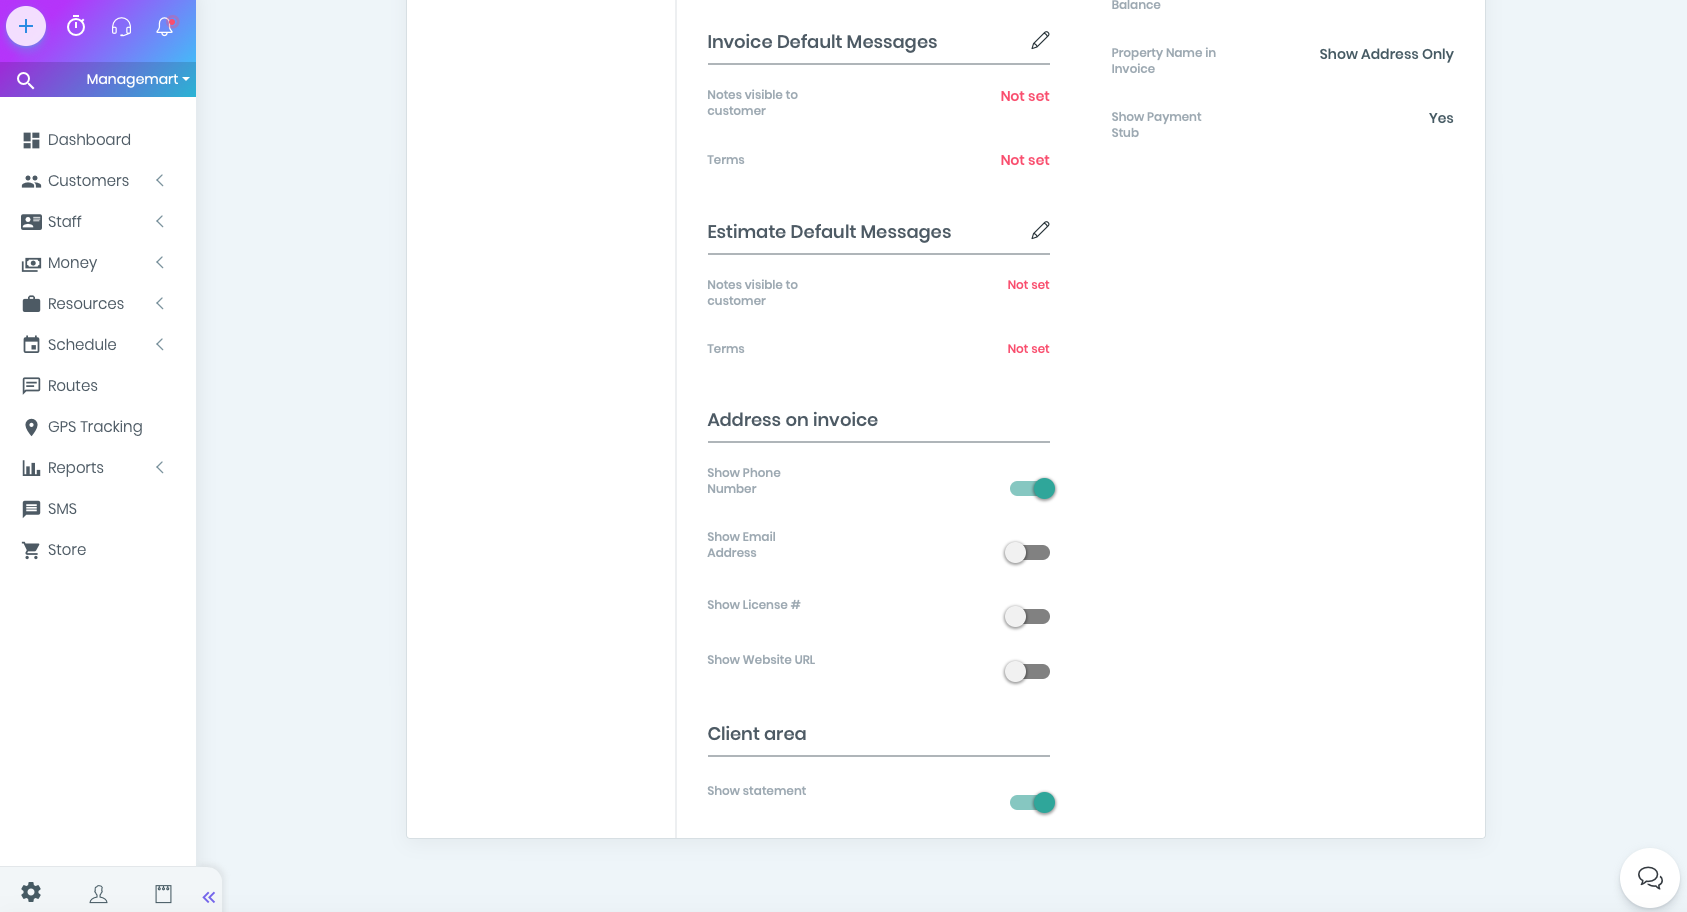
Address on invoice part
By clicking on the sliders in the Address on invoice settings, you can activates and shows such data in your invoices:
- Show Phone Number
- Show Email Address
- Show License #
- Show Website URL
Similarly, in the Client area part - the Show statement slider activates and shows a client statement.
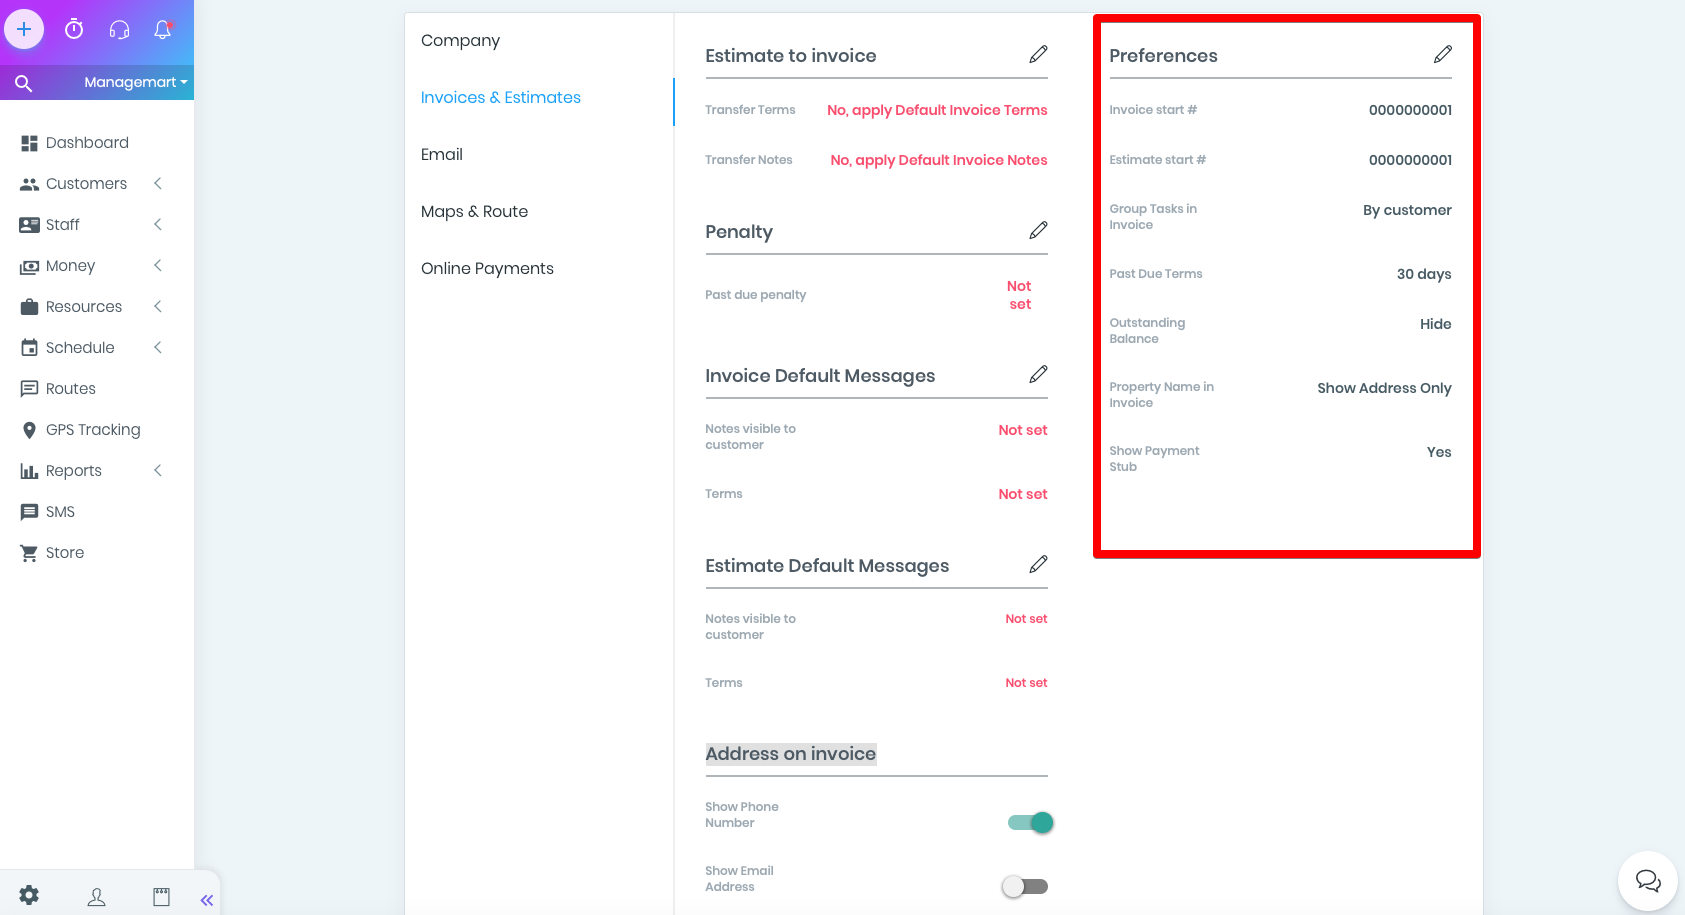
Part of the Preferences
Part of the Preferences is responsible for default settings in the Invoices and Estimates section.
- Invoice start # - type of numbering of invoices
- Estimate start # - type of numbering of estimates
- Group Tasks in Invoice - grouping tasks in invoices by the selected parameter (from the list - by client name, task or asset)
- Past due term - the period during which the invoice must be paid
- Outstanding Balance - you can show or hide the outstanding balance
- Property Name in Invoice - the name of the property in the invoice (if not - it will show only the address)
- Show Payment Stub - show payment receipt
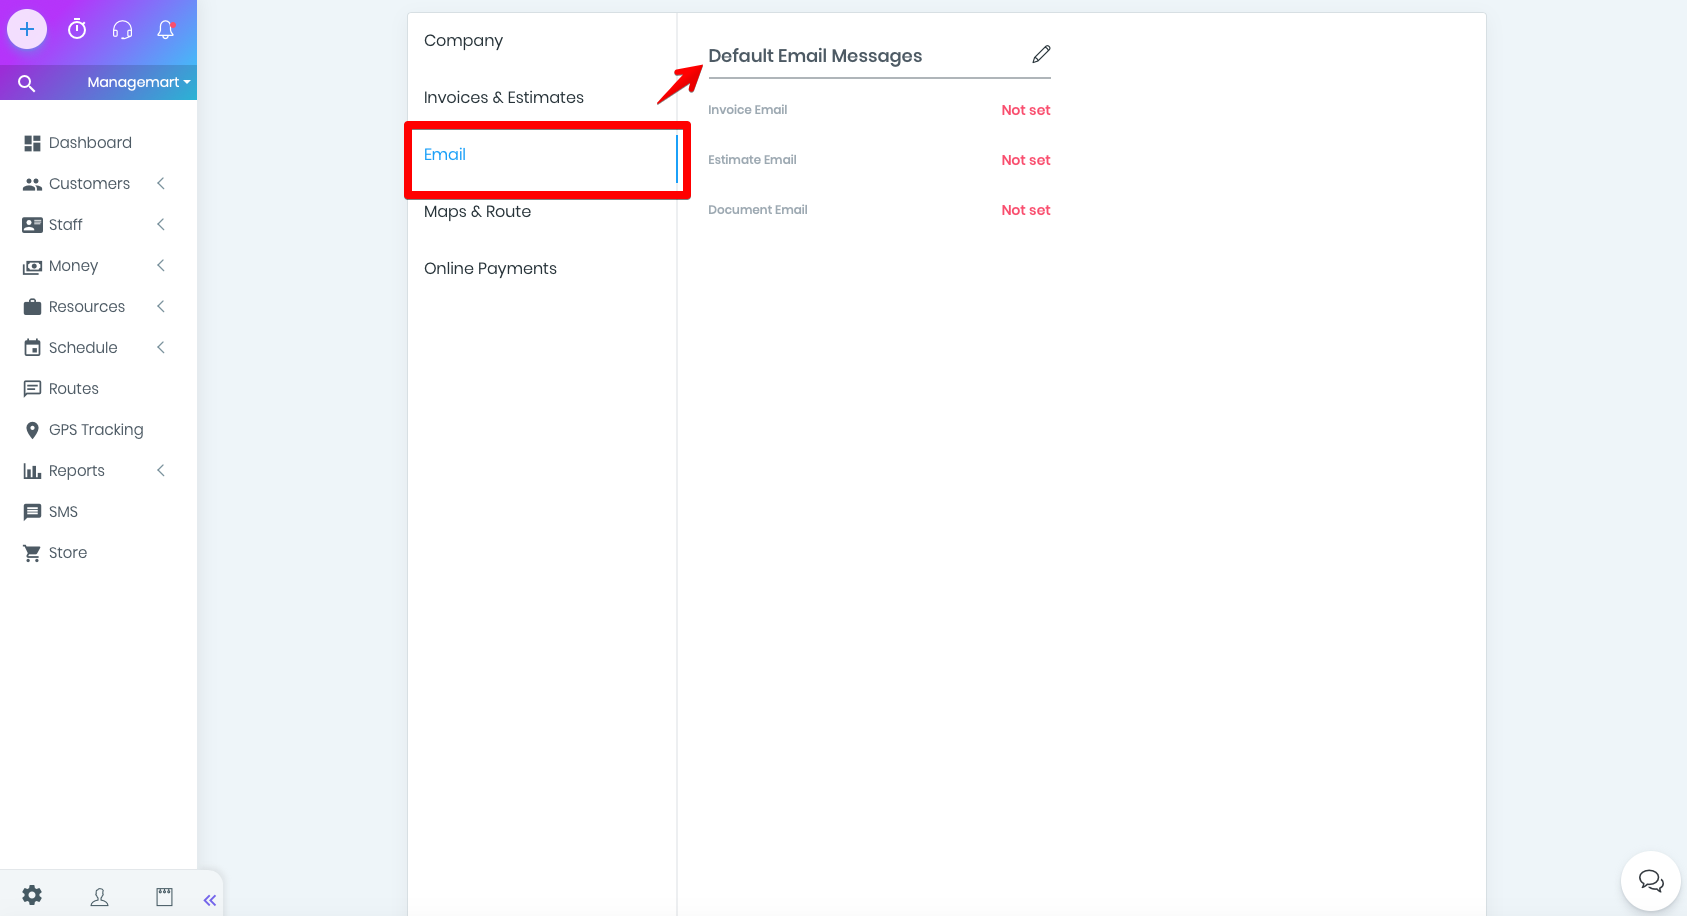
Email subsection
In the Email section by clicking on Default Email Messages you will open a window, where you can enter the message. This text will be shown in case you send:
- Invoice
- Estimate
- Document
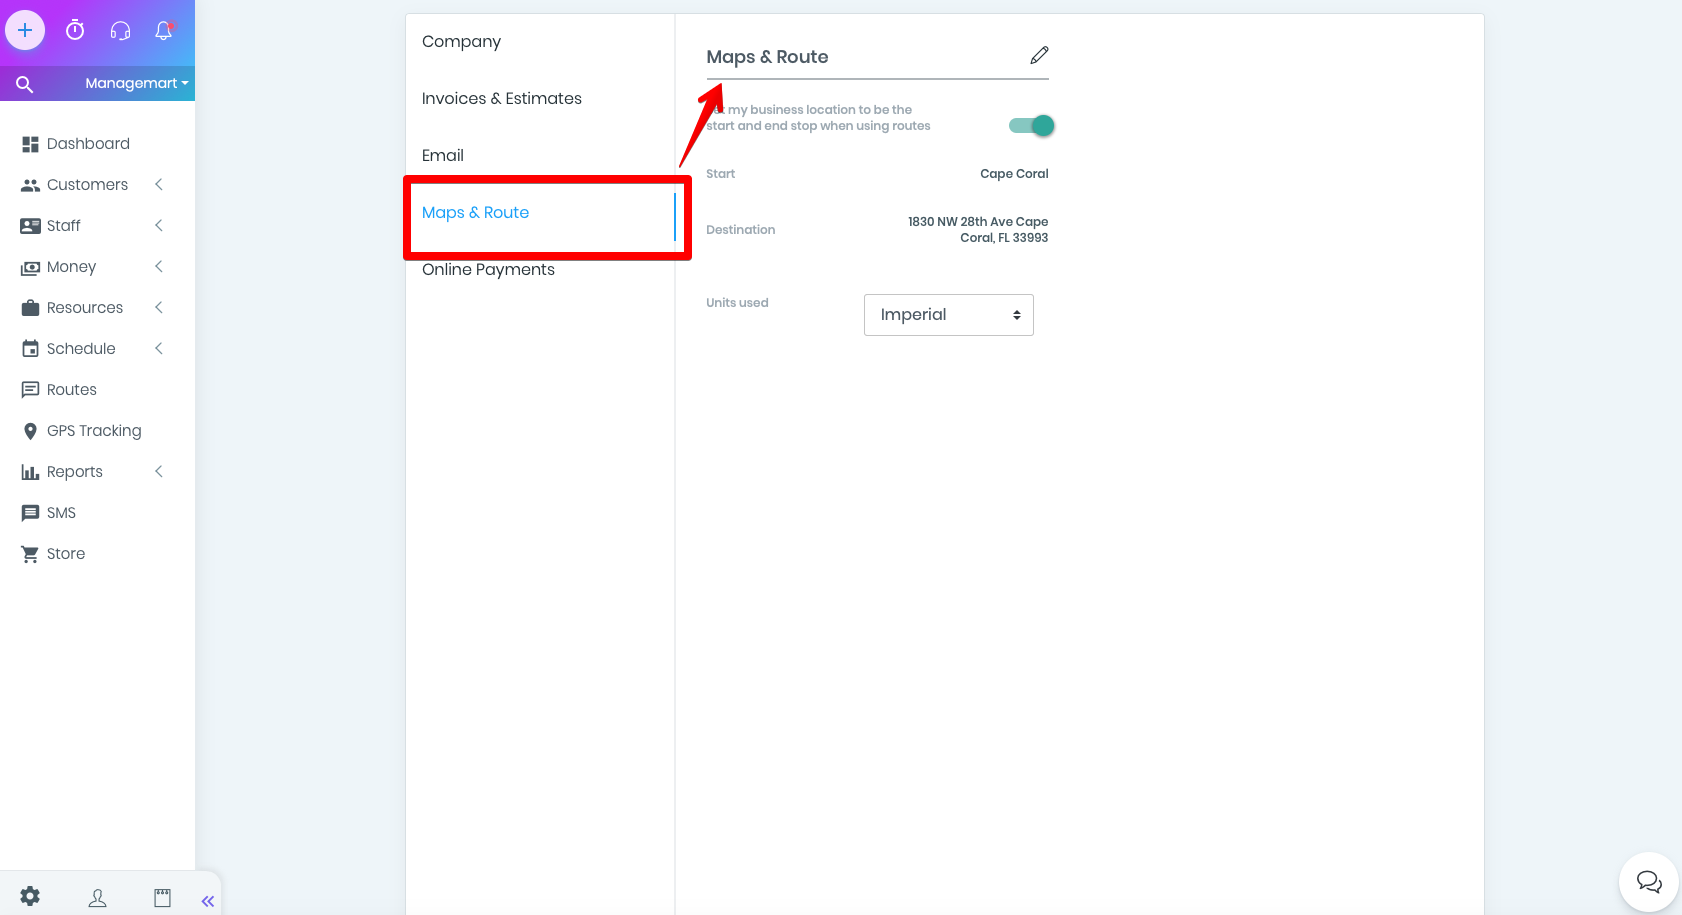
Maps & Route subsection
In the Maps & Route subsection, by activating the slider, you agree that your business address will be the starting and finishing point on maps and routes.
In the Units Used field you can choose the units in which the distance will be calculated on maps and routes:
- Imperial - English units (imperial system)
- Metric - metric system
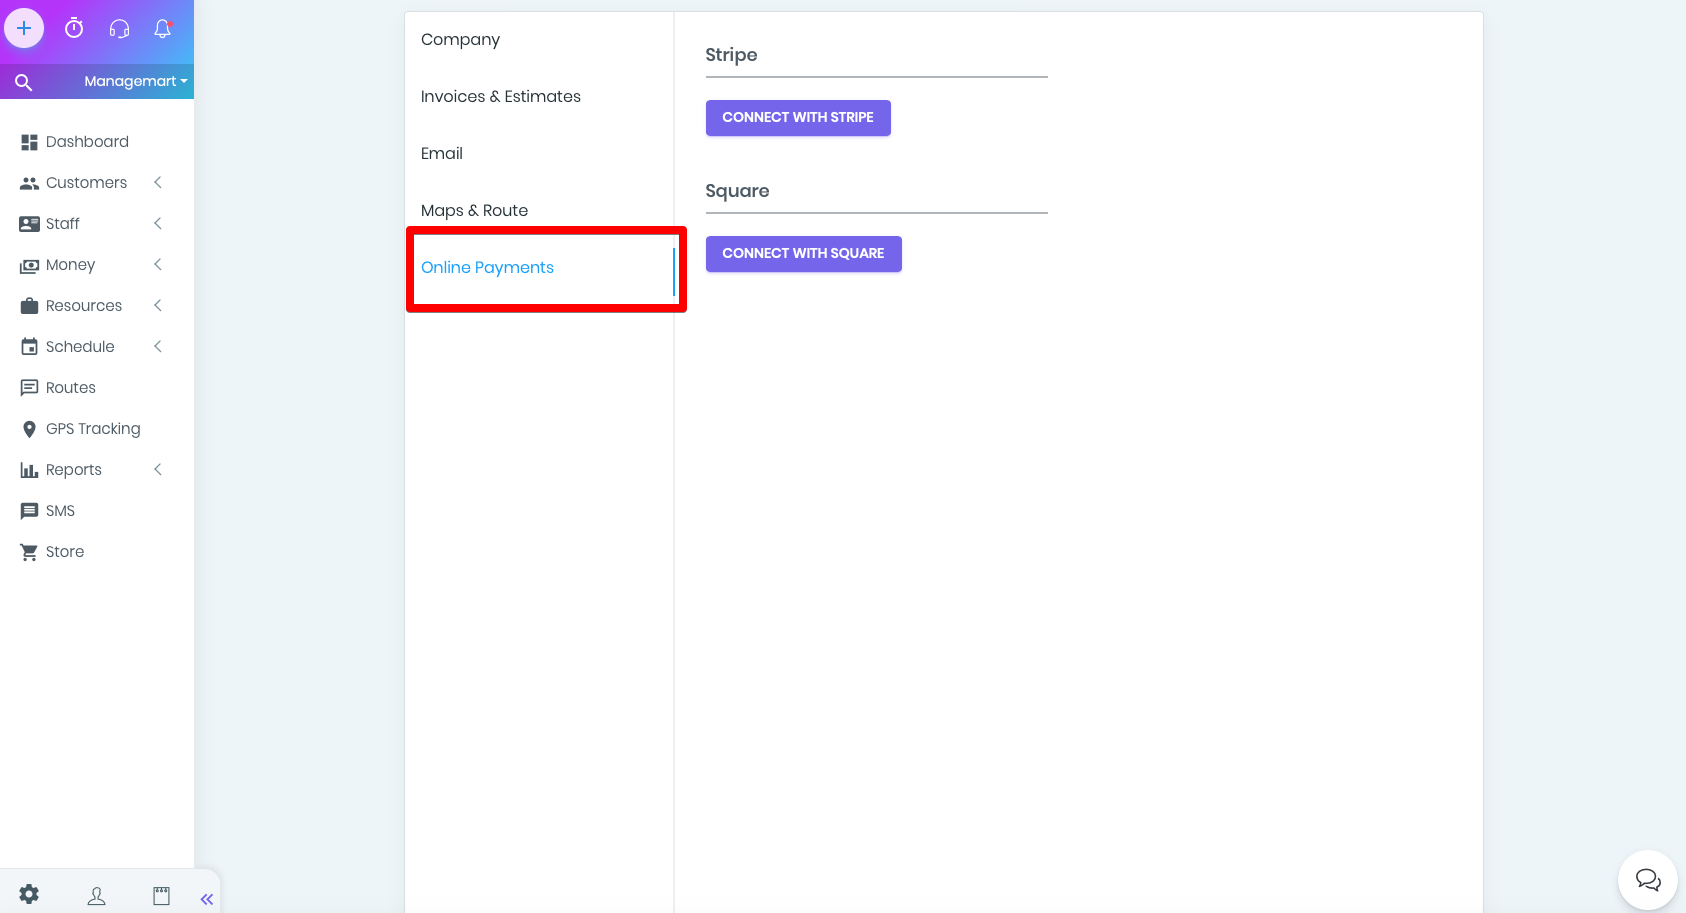
Online Payments subsection
In the last subsection named - Online Payments, you can connect / set up your Stripe account for the convenient online payments. To do this, simply click on the Connect With Stripe button and follow the instructions.