Dispatch
Overview
In this video will tell you about how the ManageMart DISPATCH Management features works.
How to search Dispatch
With this feature, you can create a template for the required services, which can be added to the calendar within a few clicks. This is a useful feature for quickly assigning tasks to one or multiple customers. In dispatch, you can add the needed client, assign specific employees and equipment. In the already existing dispatch, you can add/remove tasks for clients for a particular date and time.
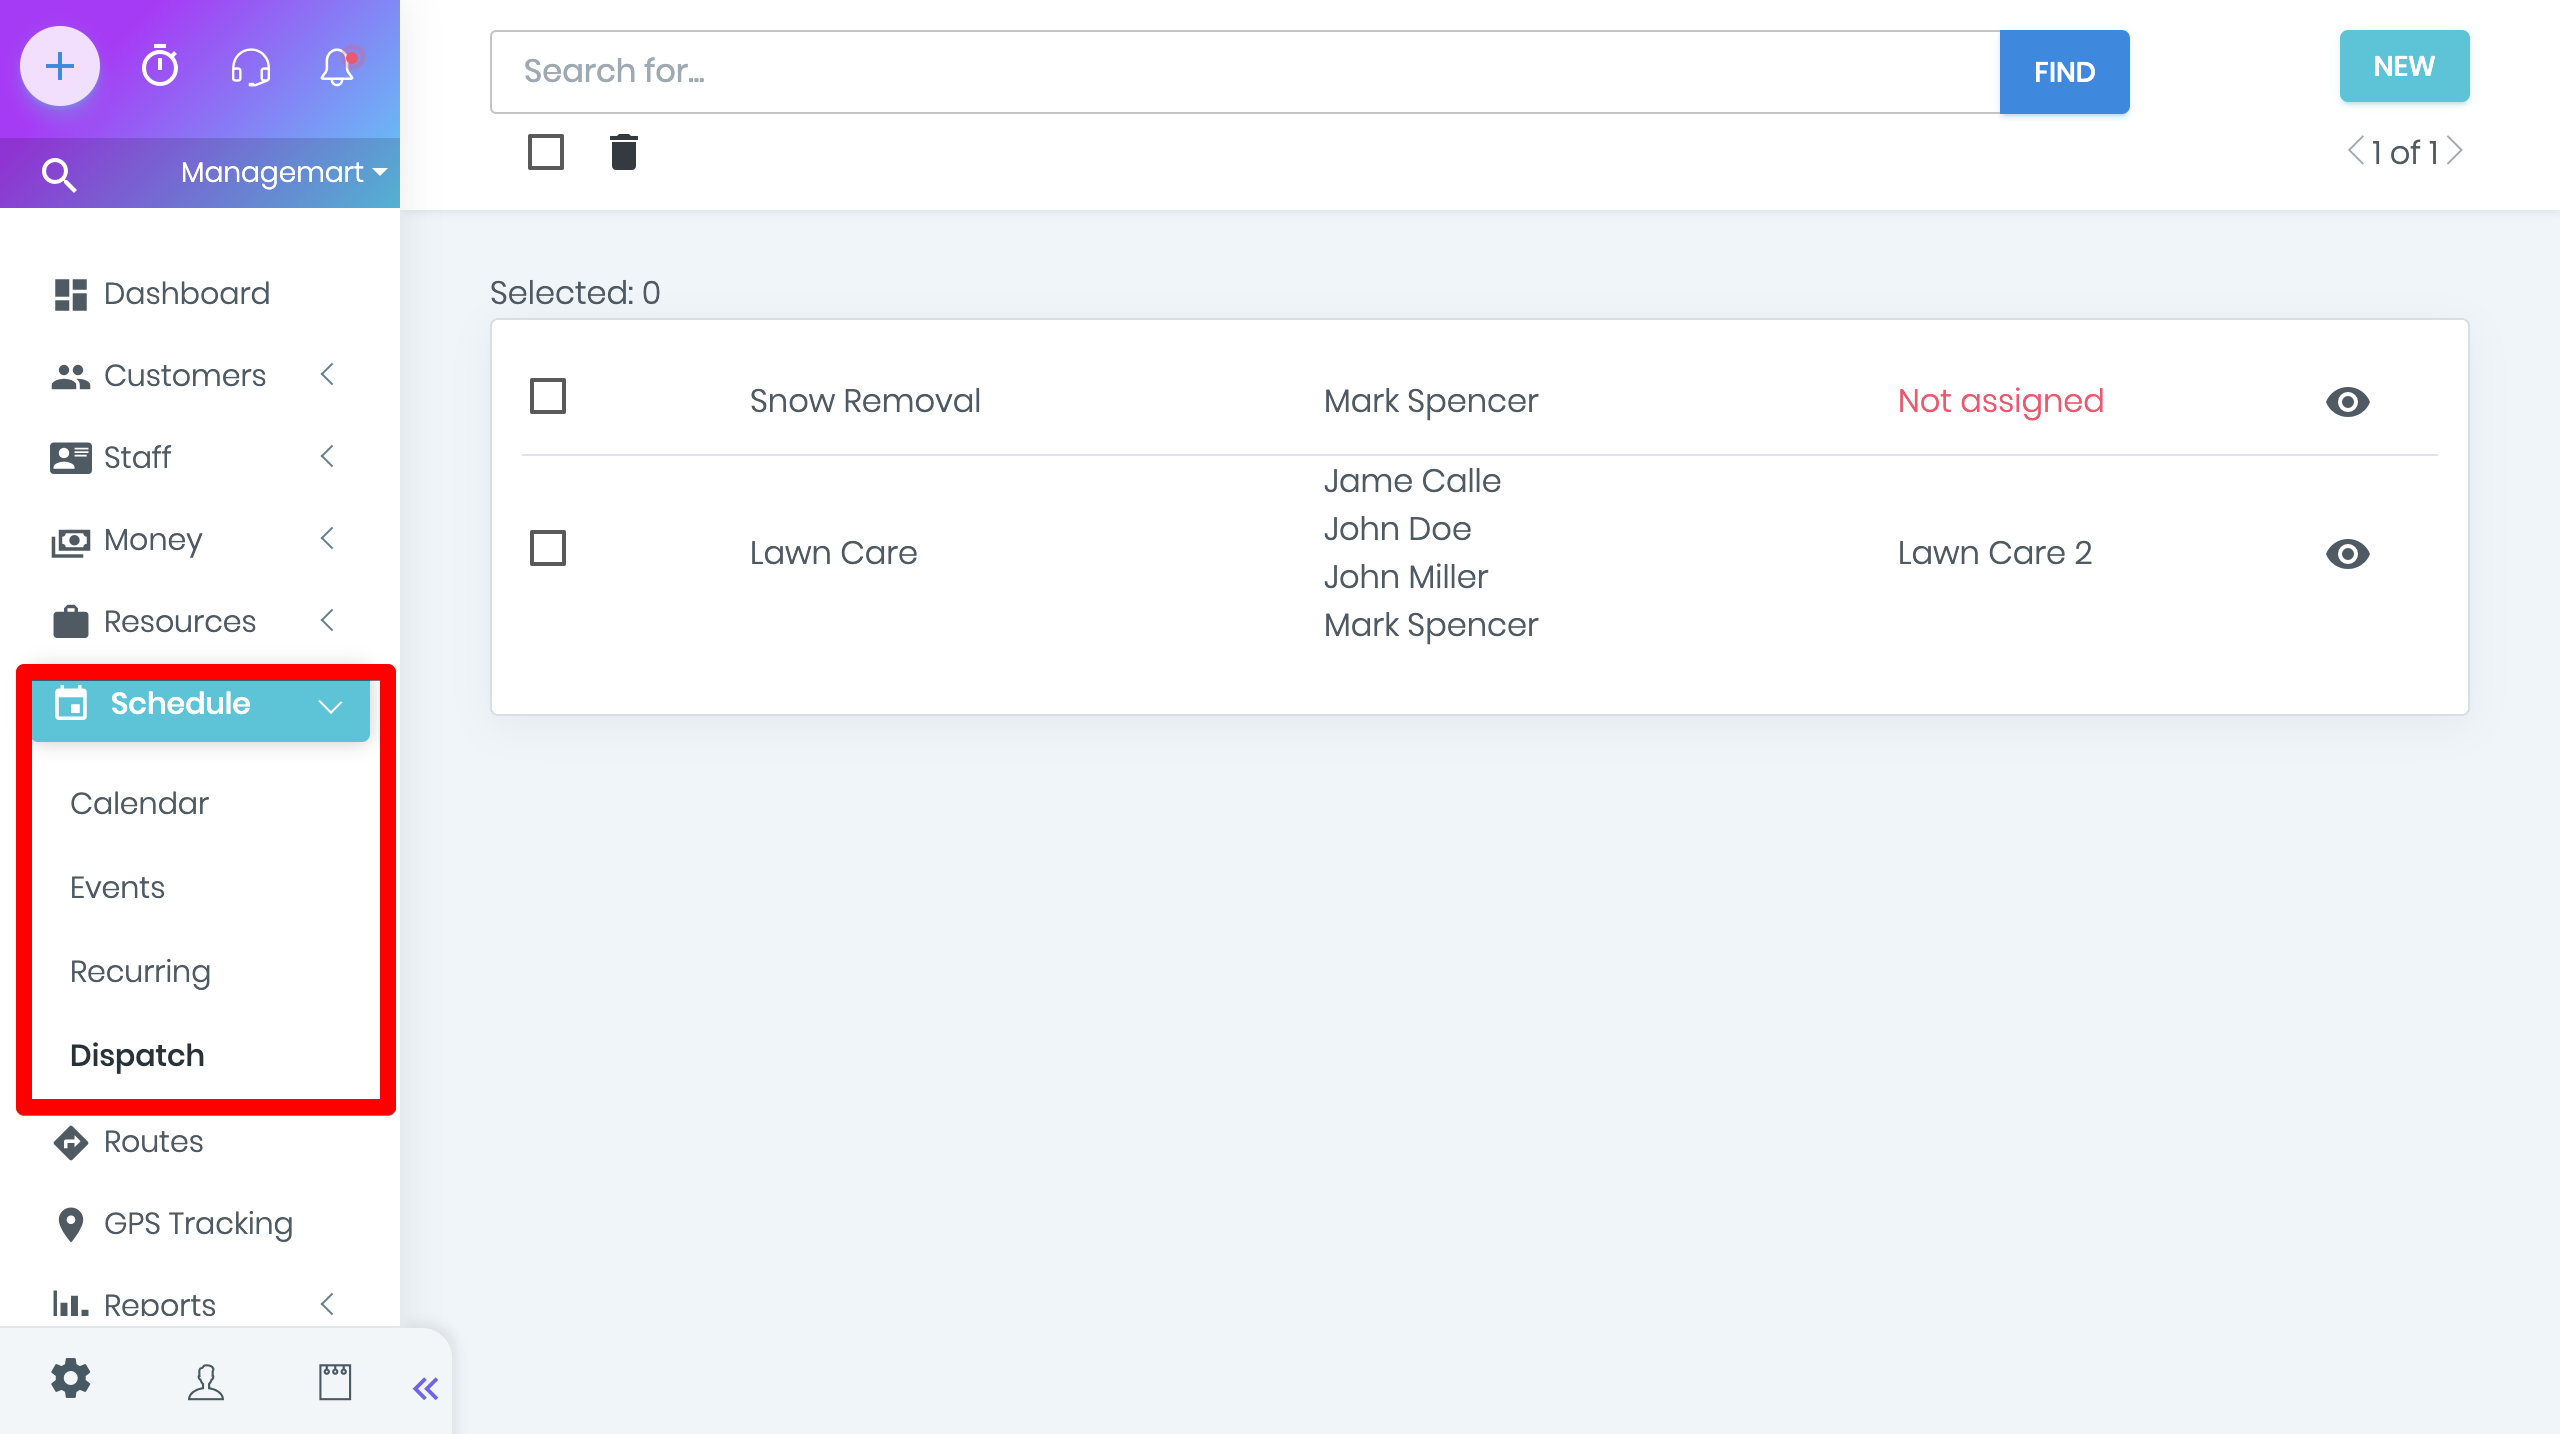
- To get to the Dispatch page you need to click on the “Schedule” menu item on left side navigation bar, then click on “Dispatch” submenu item.
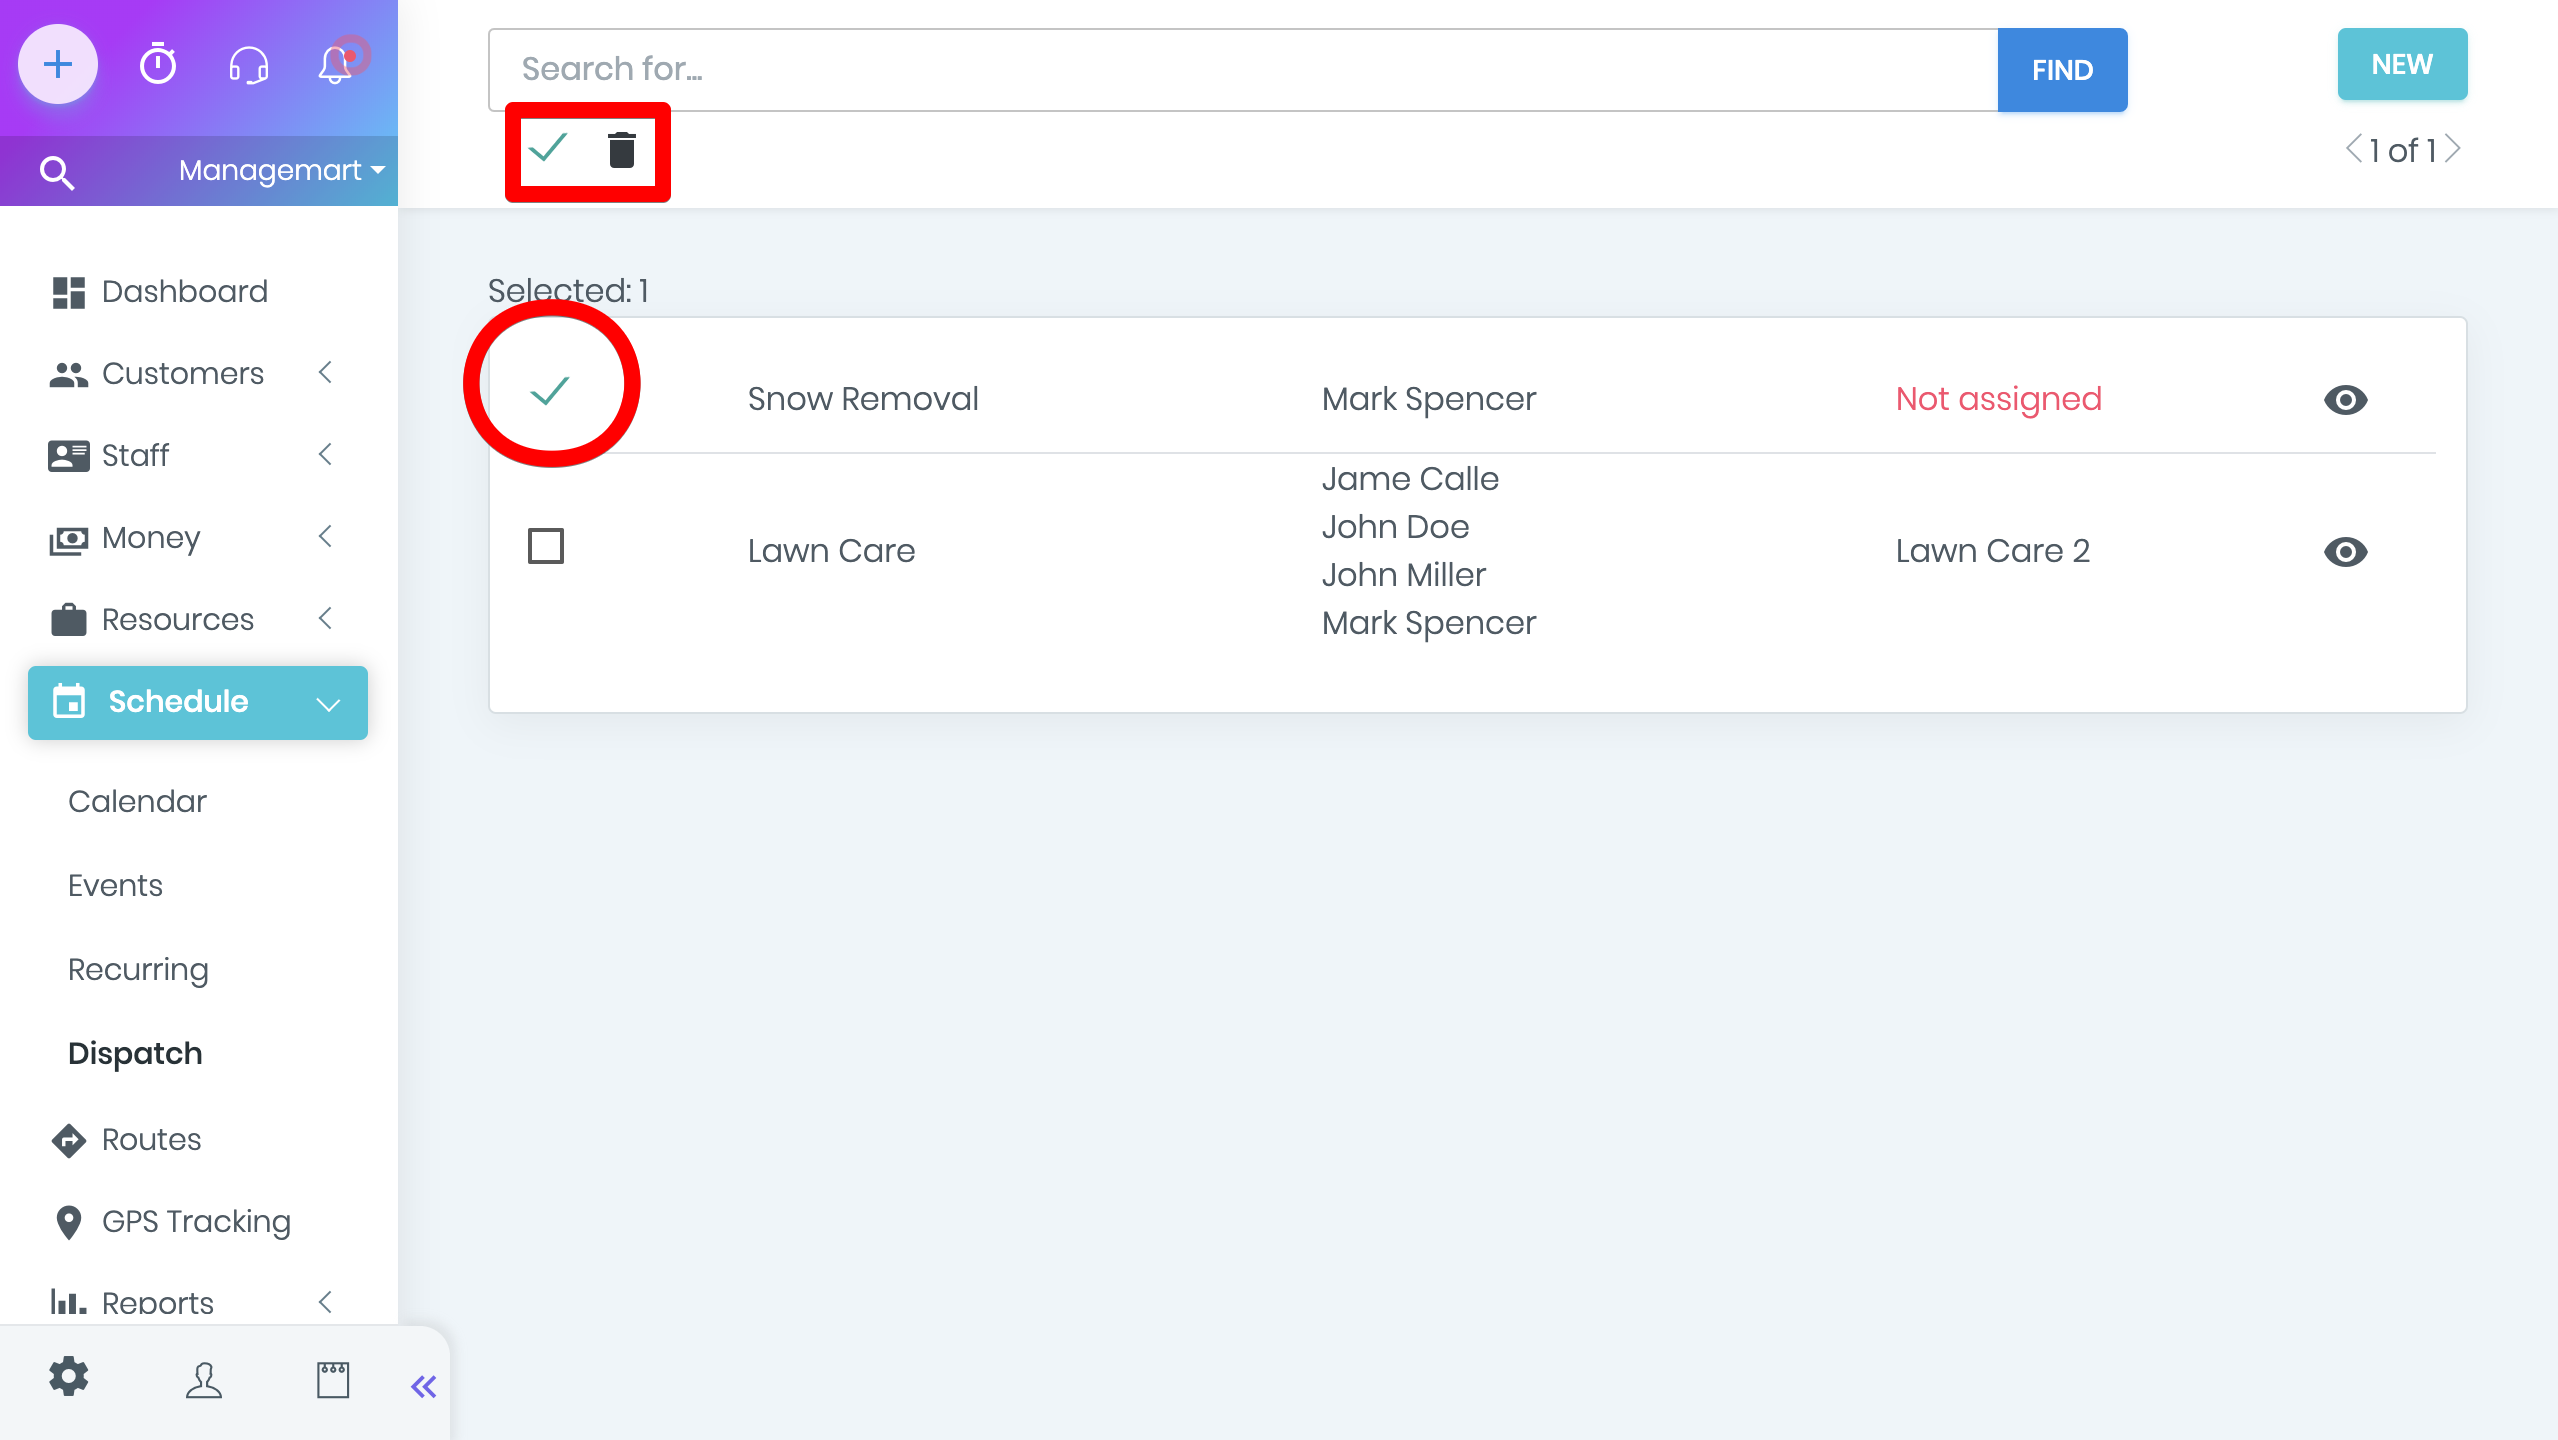
- On the Dispatch page, you can view the full list of your Dispatches.
- In the search bar on the top of the screen, you can find the needed Dispatch by entering customers name, title or additional information about the customer.
- After clicking the button “Find” the searched result will appear on the page.
How to create a new Dispatch
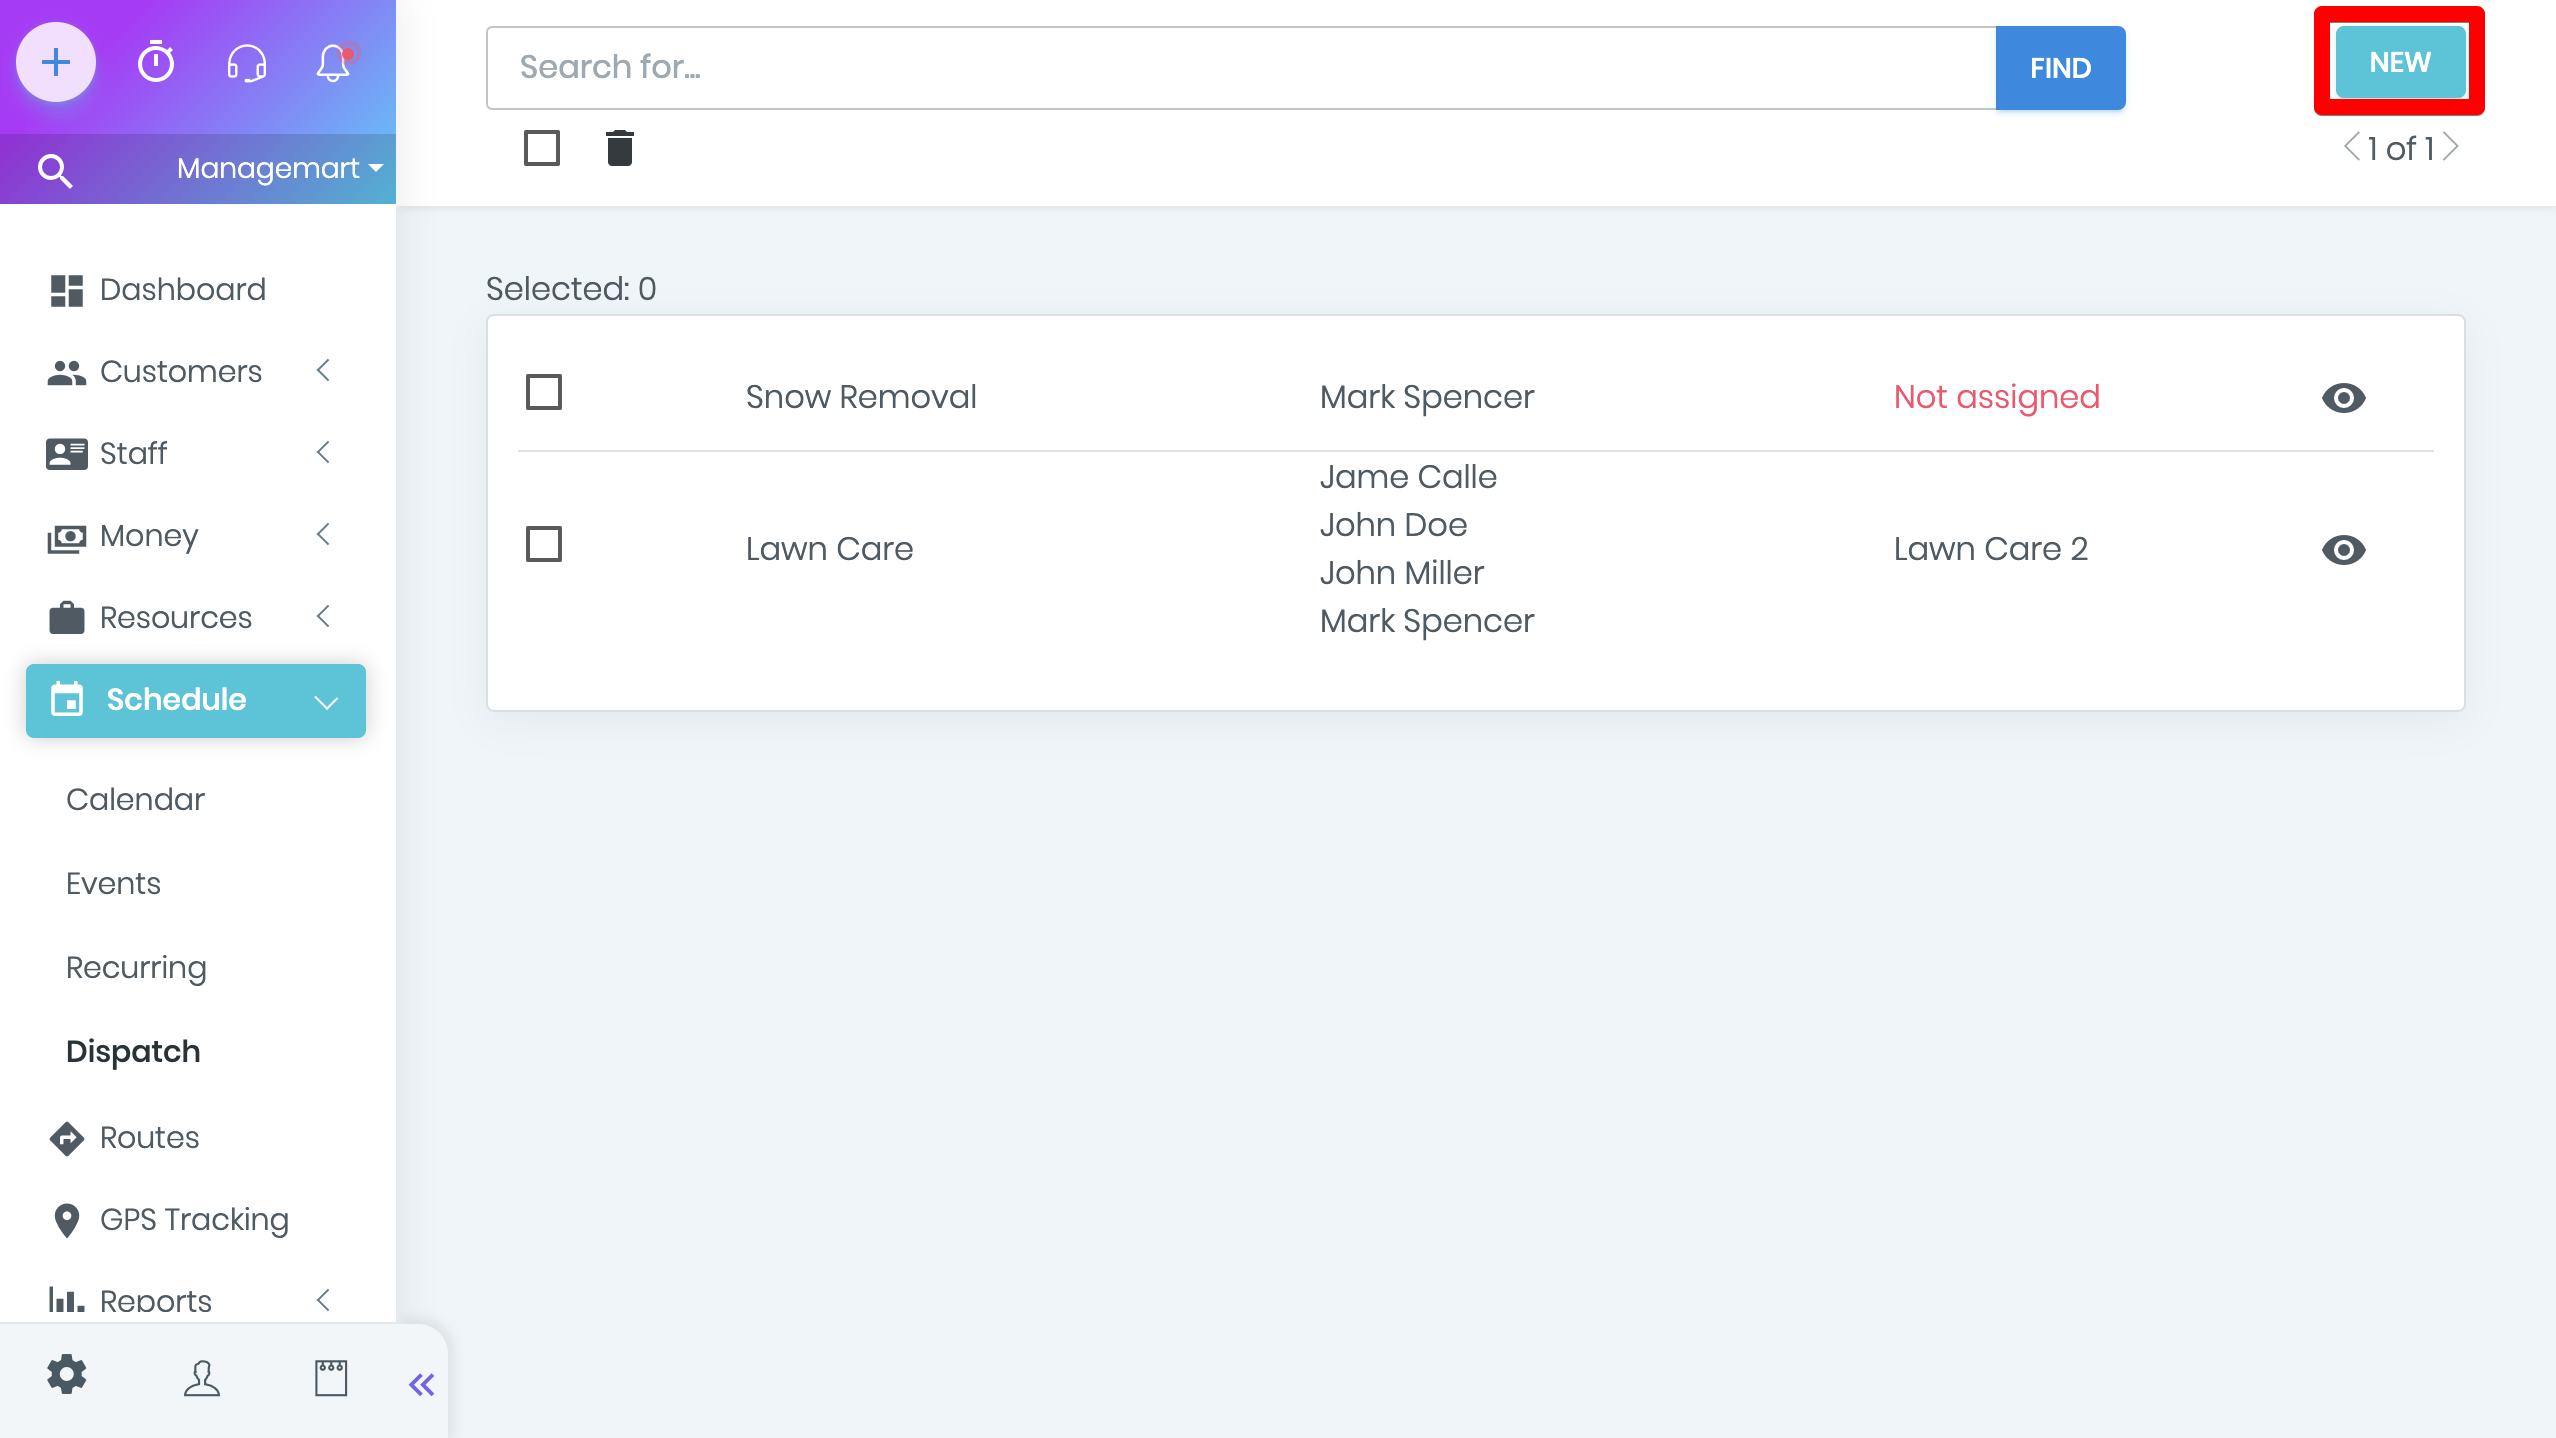
To create a Dispatch, please click on the button New in the top right corner of the page. In the appeared window, you need to submit all the required fields with the following information:
- Title - name of the dispatch
- Description - short description
- Customer - To assign the dispatch to the specific customer, select the name of the desired one from the drop-down list. In case you have a lot of customers, you can choose the right one, starting to enter the first letters of his name or surname. You can select multiple people by clicking on the names. The selected customers will be displayed in the next field.
Items and services section
In this section, you can specify information about the items or services involved in this task.
To do this, fill in the field specifying the name of items or services, Rate (cost), QTY (quantity), Taxe% (tax), in the total section - showed the automatically calculated total amount.
In the Additional information section, you can specify additional information.
Involved staff section
In this section, you can choose both specific employees to perform the task or the crew.
To assign a task to a specific employee, in the employee field select the name of the desired one from the drop-down list.
Or, if you have a lot of employees, you can choose the right one, starting to enter the first letters of his name or surname.
To assign a task to a crew, in the drop-down menu click on the crew you want to choose to complete the work.
Note: when selecting the crew, you will not be able to choose or improve individual employees. If you need to add employees to the crew, change the current crew on the corresponding crew page or add a new crew with a new list of employees included in it.
Additional information field:
if you need to enter information that is not included in the standard set of fields, you can do this in the additional info section. You can either enter individual fields or select a custom field template from the created area. (Watch the video about custom fields).
Once the Dispatch has been created Click "Save" on the right top corner of the form
The created new Dispatch entry will appear in the general list.
How to add a task to a specific Dispatch
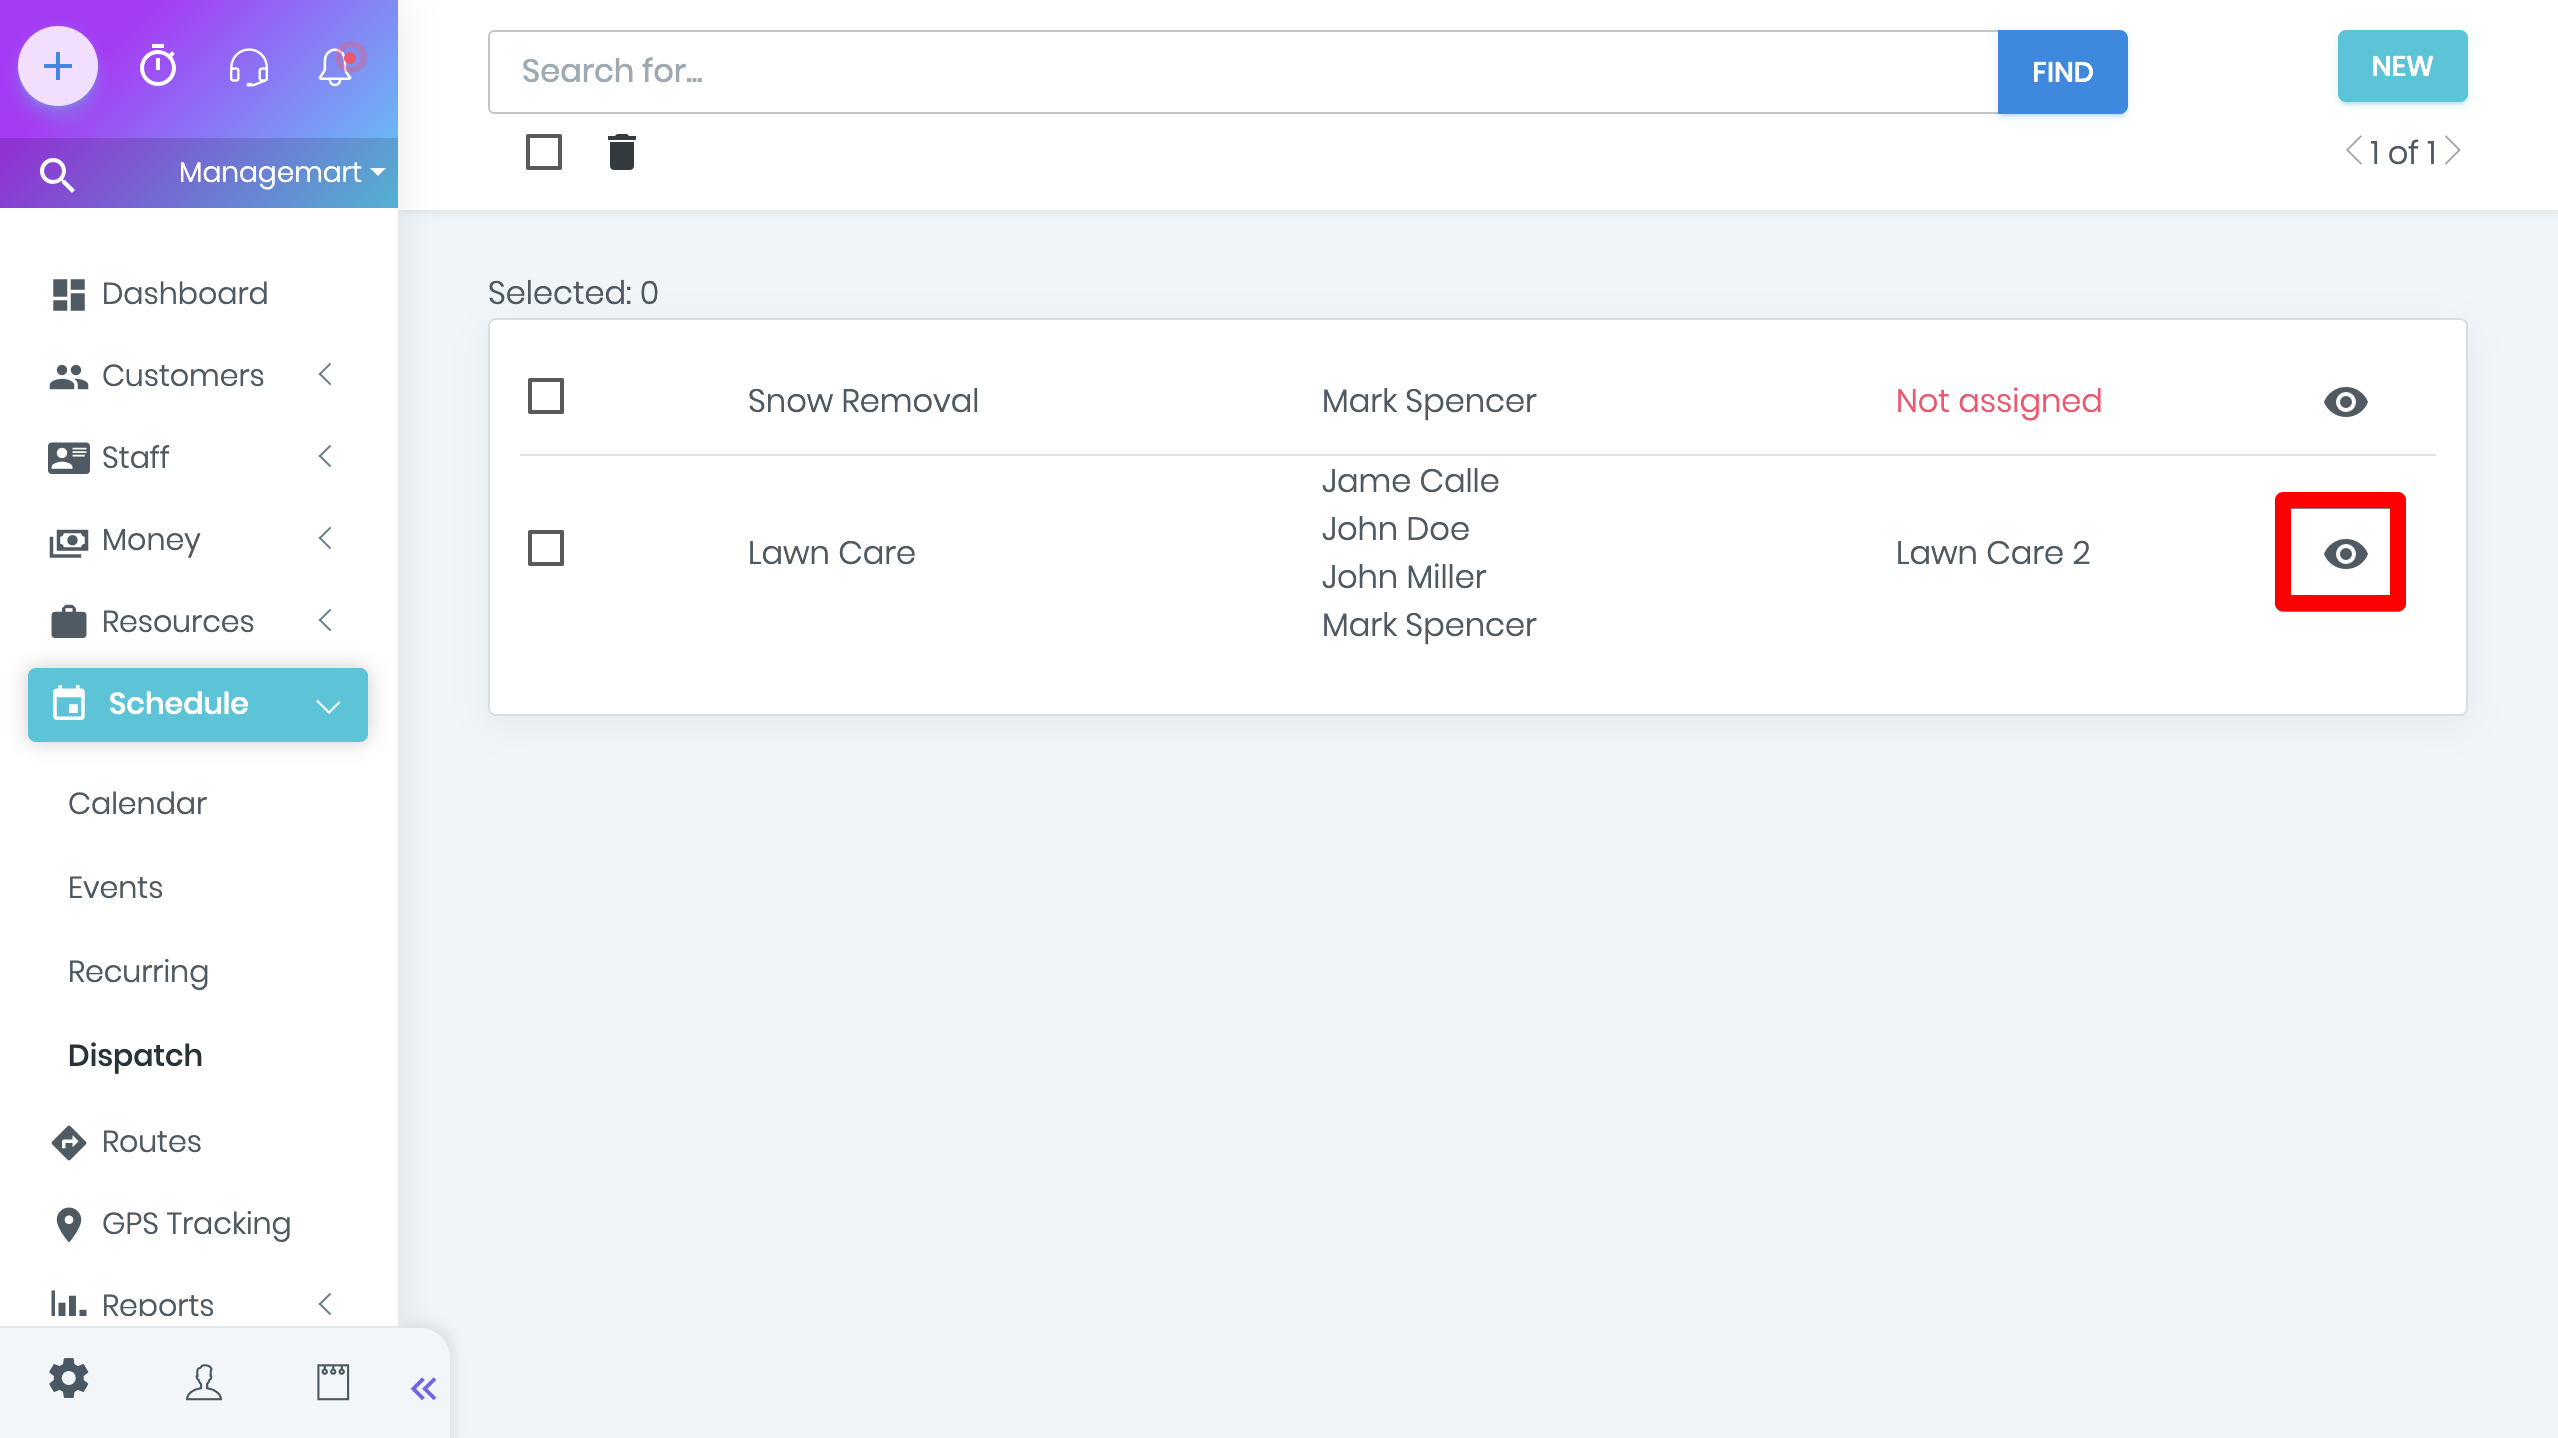
To view and add the information in the Dispatch, press the icon “eye” on the needed Disptach from the general list.
On the Dispatch page in the upper right corner click the button CREATE TASK.
In the appeared form, enter the following information:
Date - set the date for the task
Time - the time when it should be fulfilled
Customer - to assign a task to a specific customer, select the name of the desired one from the drop-down list. Or, if you have a lot of customers, you can choose the one you want, starting to enter the first letters of his name or surname. You can select multiple people by clicking on their names. The selected customers will be displayed in the near field.

How to edit Dispatch
To edit the information, press the icon “eye” on the needed Dispatch from the general list
On the appeared window with the Dispatch, please press the button EDIT on the right top corner
- In the appeared form edit all the required information about the Dispatch
- To save all the data please press the button “Save”
- To cancel the editing press the button “Cancel”
How to delete the record about the Dispatch
You can delete the record about the Dispatch both from the general list and in the Dispatch record itself
Click on the icon “Eye” on the needed Dispatch from the general list. In the appeared window press button “Delete” in the right top corner.
Also, you can delete the record about the Dispatch by putting a tick on the needed Dispatch and then by click on the “basket” icon under the search bar. You can delete several Dispatches at once.